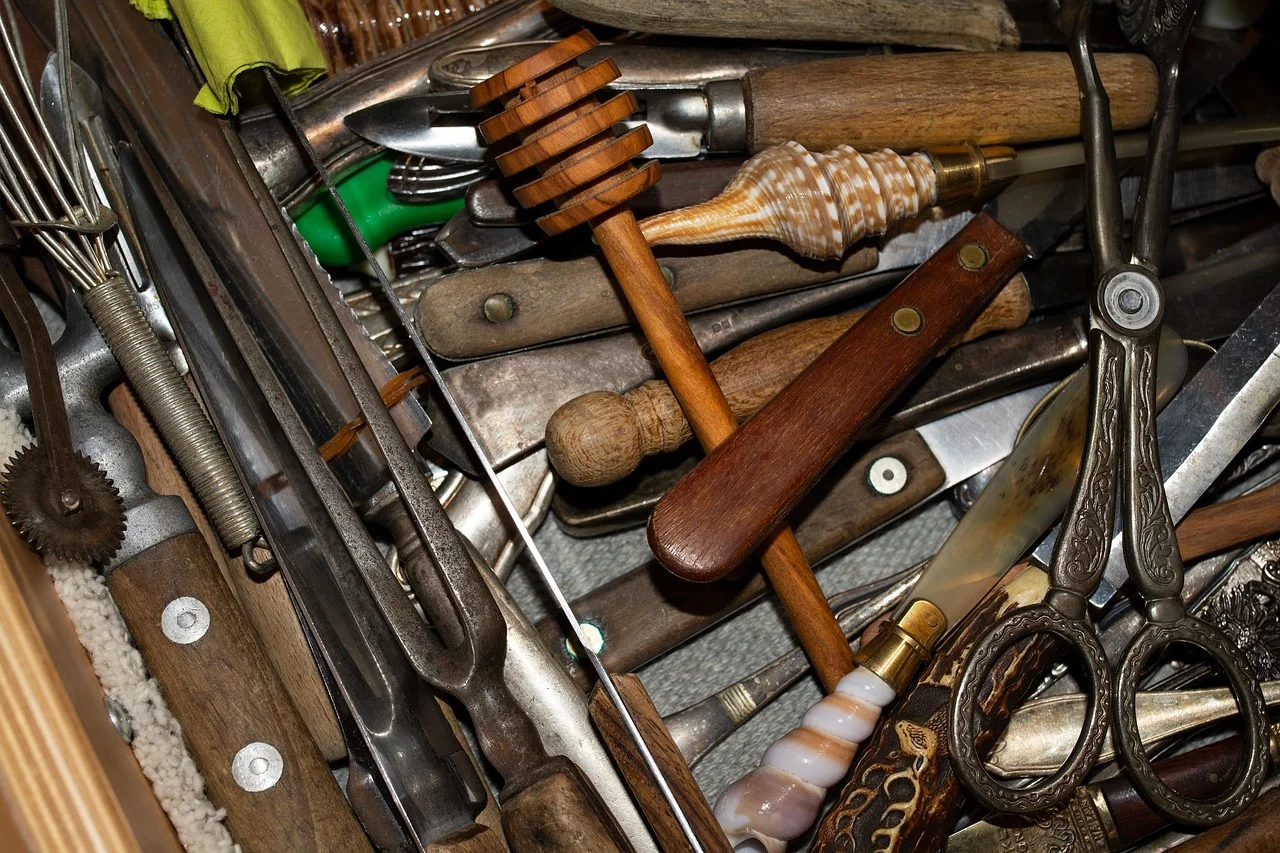
Your kitchen drawers are not a mystery box: 7 no-buy fixes
A no-buy kitchen-drawer reset with seven practical fixes for decluttering tools, building free dividers, grouping by task, containing small parts, and keeping the system usable.

Start with one drawer, not the whole kitchen
A drawer becomes hard to use when it has no job. The fix is not a prettier tray; it is deciding what belongs there, then giving each group a fixed lane. Work on one drawer at a time so you can test the system against your actual cooking routine instead of creating a perfect-looking setup that nobody maintains.
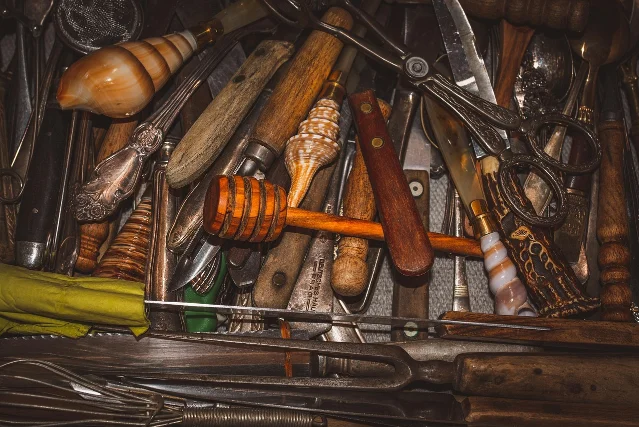
The basic sequence below is free: empty, edit, group, divide, test, and maintain. If the drawer contains loose knives, pause before sorting it. Sharp blades need a secure storage method; do not bury them under other tools.
1. Empty the drawer onto a towel
Steps
- Put a clean towel or sheet on the counter or floor so small pieces do not roll away.
- Remove every item from one drawer, including things hiding under the first layer.
- Make three groups: keep in this drawer, move elsewhere, and release by recycling, donating, or discarding where appropriate.
- Wipe the empty drawer and return only the first group.
Why it works: You cannot see duplicates, broken handles, or homeless objects while they are stacked on top of one another. Good Housekeeping recommends pulling everything out and grouping items by type or function before choosing an organizing system. 1
Common mistake: Do not empty every kitchen drawer at once. One finished drawer gives you a working pattern; six half-sorted drawers give you a larger mess.
2. Keep the tools that match your real cooking
Steps
- Hold up each utensil and ask when you last used it, not when you might use it in an imaginary recipe.
- Keep the everyday tools that cover cooking, food prep, and baking.
- Move duplicates to a separate test box for two weeks. If you do not reach for them, they do not need prime drawer space.
- Give specialty tools a specific reason to stay. If the task can be done just as easily with a tool already in the drawer, move the specialty item out.
Why it works: Fewer objects mean fewer collisions and a shorter search. The Kitchn's pro-organizer guidance recommends keeping essentials, allowing duplicates when your routine genuinely needs them, and questioning single-purpose gadgets that rarely earn their space. 2
Common mistake: “I paid for it” is not a storage rule. Keep an expensive tool if you use it; do not keep it in the easiest drawer just because it was expensive.
3. Sort by task, then place the group where the task happens
Steps
- Make small groups such as everyday prep, stove-side cooking, baking, serving, and food-storage tools.
- Put the group used most often closest to the place where you use it.
- Keep serving tools together even if they are not used every day.
- Put infrequent or seasonal tools in a less convenient drawer, cabinet, or box rather than letting them crowd the daily lane.
Why it works: A drawer is easier to remember when its layout follows a task. The Kitchn advises keeping daily-use tools accessible and moving less frequently used items, such as grilling tools and peelers, into drawers or other storage. 2
Common mistake: Do not force every utensil into a strict category if the placement makes you walk across the kitchen. A useful home beats a theoretically pure one.
4. Make free dividers from boxes, lids, or bowls
Steps
- Look around the home for clean, sturdy small boxes, shallow food containers, spare lids, or small bowls that are already the right height.
- Place them in the empty drawer to sketch lanes for each group.
- Cut a box down only after you know the drawer can close around it. Use flat cardboard strips as light dividers when a box is too bulky.
- Put small items inside the containers and leave a little room around each group so you can lift one item without disturbing the rest.
Why it works: A boundary stops tools from migrating into one another's space. Apartment Therapy's drawer ideas specifically point to reusing boxes, lids, and bowls to corral small items rather than buying a new system first. 3
Common mistake: Do not use a damp, greasy, or collapsing container around clean utensils. Recycle it, replace it with a dry container, or leave that lane open.
5. Give long tools their own lane
Steps
- Measure the inside length, width, and height of the drawer with a ruler or a strip of paper.
- Lay rolling pins, tongs, spatulas, and other long tools in the drawer without stacking them to see which direction uses the space best.
- Use clean cardboard strips or existing narrow containers to create long lanes. For a wide drawer, test a diagonal arrangement rather than making every divider run front to back.
- Open and close the drawer several times. Keep the layout only if the handle of one tool does not catch another.
Why it works: Long tools waste space when they are piled crosswise. The Kitchn highlights diagonal drawer dividers for baking tools and long items, while Apartment Therapy notes that a divider layout can be adapted to the drawer and the collection inside it. 4 3
Common mistake: A diagonal lane is not an excuse to pack more in. If a tool must be forced into place, the lane is too narrow or the tool belongs elsewhere.
6. Contain lids and tiny parts before they spread
Steps
- Collect the small pieces that roll or slide: container lids, measuring spoons, clips, and narrow attachments.
- Test a shallow container, spare bowl, or clean jar that fits without blocking the drawer sides.
- For loose container lids, try a small cooling rack set over a shallow plastic container so the lids stand in separate slots.
- For very small pieces, use one labeled cup or a single box. Do not create a separate container for every tiny category.
Why it works: Small pieces are the first things to fill the gaps between larger tools. The Kitchn describes a cooling-rack-over-container setup for lids and also suggests using jars inside drawers, both examples of using existing objects to create containment. 4
Common mistake: Check clearance before committing. A jar or rack that makes the drawer scrape, tilt, or stop short will turn a neat idea into a daily annoyance.
7. Use a one-minute closing reset
Steps
- At the end of cooking, return each tool to its lane before wiping the counter.
- Remove anything that does not belong in the drawer and put it directly in its next home.
- Once a week, pull the drawer open and remove only the objects that have migrated or become duplicates.
- If one lane repeatedly overflows, change the category or move its least-used item out. Do not keep rebuilding the same failed layout.
Why it works: A drawer stays organized when returning an item is easier than dropping it anywhere. Apartment Therapy describes drawers as chaos collectors when they are not continually sorted, which is why a tiny repeatable reset is more useful than an occasional marathon session. 3
Common mistake: Do not turn the reset into a second cleaning chore. The target is misplaced items and failed categories, not a full re-sort every night.
A safe finish line
Before you close the drawer, check three things: every tool has a reachable home, the drawer opens without catching, and nothing sharp is loose among the handles. If a container or divider makes access worse, remove it. The best no-buy organizer is the layout you can use with one hand while cooking, then restore without thinking.
関連コンテンツ
- ログインするとコメントできます。
More from this channel
- Your grocery list is not a guess: 7 free fixes for calmer shopping
- Your living room is not a drop zone: 7 free fixes for a room you can use
- Make the space under your bed earn its keep: 7 free fixes
- Your kitchen counter is not a landing strip: 7 no-buy fixes
- Your windows are not self-cleaning: 7 no-buy fixes for clearer glass
- Your linen closet is not a storage lottery: 7 free fixes
- Your under-sink cabinet is not a junk drawer: 7 free fixes
- Your vacuum is not a magic wand: 7 free fixes for cleaner floors