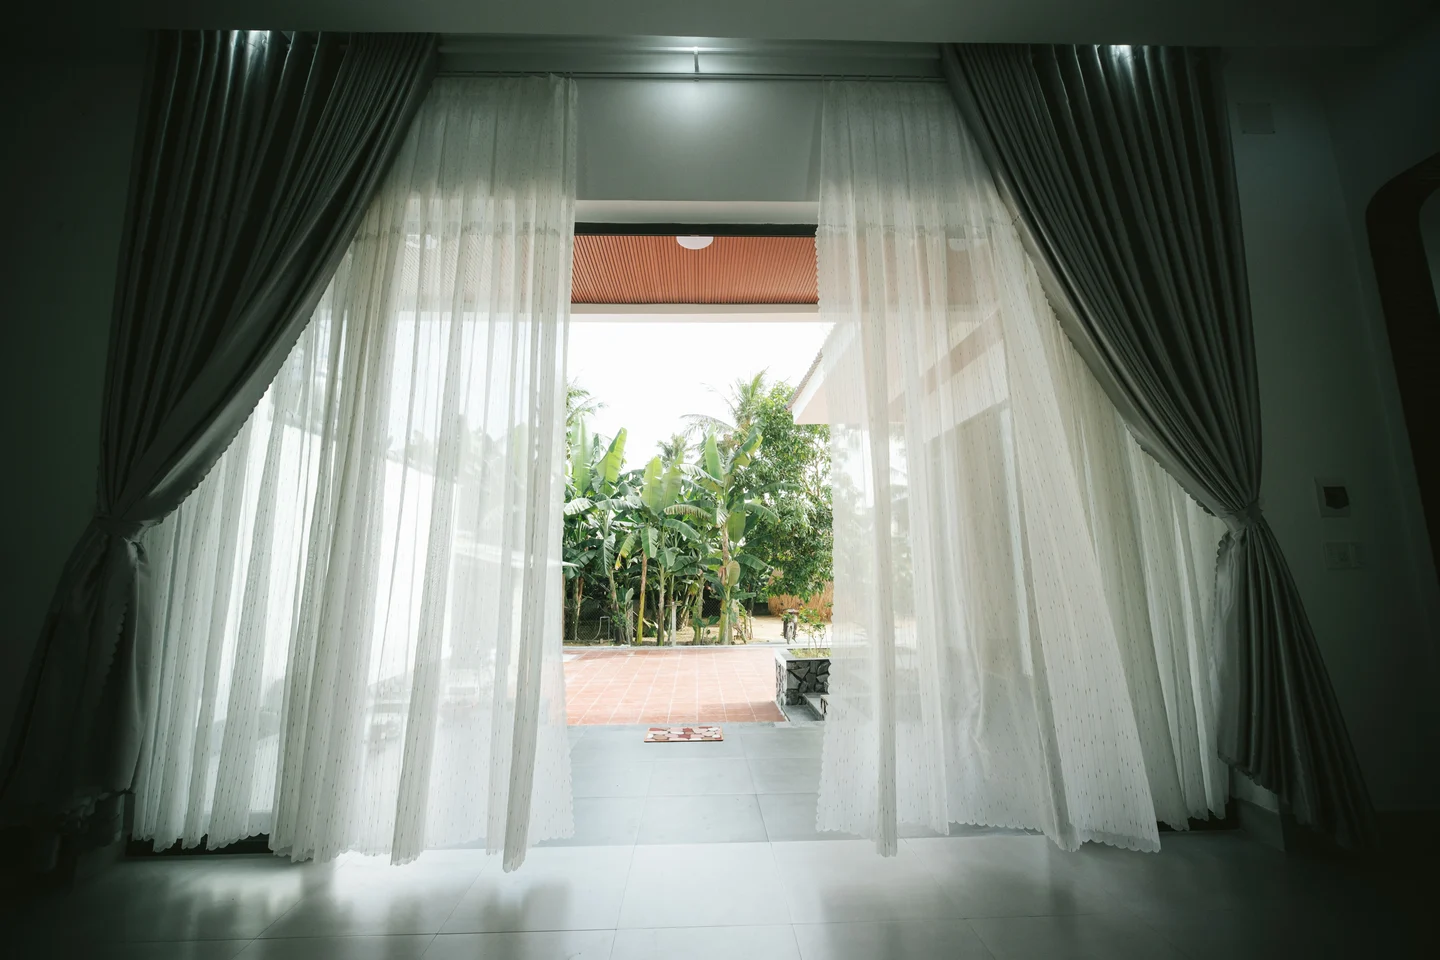
No-Drill Curtain Room Divider: Your Saturday Renter Project
Create a soft visual room divider with a pressure-mounted tension rod and two curtain panels, staying under $150 while protecting exits, surfaces, and your security deposit.

The weekend plan
If your studio needs a home office, a sleep corner, or simply a little visual separation, a curtain can do the job without turning the wall into a landlord conversation. This version uses a floor-to-ceiling tension room-divider rod and two curtain panels. There are no holes, anchors, paint, or adhesive strips.
Plan on a 48- to 84-inch-wide opening with a sound floor and ceiling, about two hours of hands-on work, and an estimated $109-$117 in materials before tax. The result is a soft visual screen, not a lockable wall or a soundproof partition.
The project is a good fit for a studio, bedroom doorway, or the edge of a living room. It is not a good fit for a required exit route, a stair landing, a heater alcove, or a ceiling with loose texture.
Materials and estimated cost
| Item | Quantity | Planning estimate | What to check |
|---|---|---|---|
| No-drill floor-to-ceiling room-divider tension rod | 1 | $31.34 | A current Walmart room-divider listing describes a no-drill rod adjustable from 4-11 ft high and 28-117 in wide. 1 |
| Grommet-top curtain panels, about 48 W x 84 L in | 2 | $34 each | The Target room-divider panel used as a sizing reference is 48 W x 84 L in and has a grommet top. 2 |
| Felt furniture pads or thin removable shelf liner | 4-6 pieces | $6 | Use only as a thin buffer at pressure points; do not use thick foam that can let the rod slip. |
| Painter's tape or paper labels | 1 roll or a few pieces | $4 | For marking the opening and contact points. |
| Tape measure | 1 | $0 if owned; about $8 if not | A small metal tape is enough. |
Estimated total: about $109 without a new tape measure, or $117 with one. Prices change by seller, color, and size, so treat the panel amount as a budgeting allowance rather than a quote. A one-panel version can cut roughly $34 from the project, but it will give you a narrower screen and less overlap.
Before you buy
Measure the opening at the left, center, and right. Use the smallest width and height. For two 48-inch panels, keep the opening around 48-84 inches wide so the fabric can overlap in the middle instead of looking stretched flat. Confirm that the rod's height range covers your ceiling height without forcing it against a fragile surface.
Choose panels whose top treatment matches the rod. Grommets, tabs, or a wide rod pocket can work; tiny decorative loops may not slide easily over a thicker room-divider bar.
Build it in a Saturday
1. Pick a safe location
Choose a straight line between a stable floor and a stable ceiling. The best contact surfaces are clean, dry, and firm. A strip of solid trim is usually a better pressure point than soft, peeling, heavily textured, or freshly painted drywall.
Do not place the curtain where it blocks a door you may need to use in an emergency, narrows a hallway, covers a smoke alarm, or sits near a stove, radiator, fireplace, candle, or space heater. The U.S. Fire Administration recommends keeping anything that can burn at least 3 feet from heat sources. 3
2. Mark the footprint
Use painter's tape to mark the two vertical contact lines and the center of the opening. Leave enough room for the fabric to move without catching on a door handle, ceiling fan, or sharp corner. If furniture will sit beside the screen, keep a clear path to windows and exits.
3. Protect and dry-fit the contact points
Wipe dust from the floor and ceiling with a dry microfiber cloth. Skip oily cleaners, which can reduce friction. Put a thin felt pad or a piece of removable shelf liner at each contact point only if it stays flat and cannot slide.
Before adding fabric, assemble the rod on the floor and set it a little shorter than the measured height. Check that the end pads are centered and that any locking buttons or adjustment joints are fully engaged.
4. Stand the rod and set light, even tension
With a helper if the rod is tall, stand it on your marks. Adjust the height until both ends touch squarely. Tighten it only until the rod stays upright and does not wobble when you give it a gentle side-to-side check.
A tension divider is held up by pressure, not by a wall fastener. More force is not automatically safer: too much pressure can mark paint, dent soft trim, or make a brittle ceiling surface fail. If one end rocks, the contact surface is not suitable. Stop and change the location rather than compensating with extra force.
5. Check alignment before hanging fabric
Use the edge of a door frame or a phone level to check that the rod is vertical. Look at both contact pads from the side. They should sit flat, not on a corner or on the edge of molding.
Open and close the nearest door once. The door should not rub the rod or fabric. This is also the moment to confirm that the screen does not reduce the usable width of an exit.
6. Hang the panels
Slide both panels onto the bar, then center them. Let the panels overlap by about 2-4 inches when closed. Keep the bottom hem just above the floor or at most barely grazing it; a puddled hem can catch feet, vacuum heads, or a robot vacuum.
If the fabric looks too full for the opening, keep the rod in place and use one panel as a partial screen. If it looks too flat, do not widen the rod beyond the fabric's useful coverage. Add a wider panel set only after checking the rod's actual range and the $150 budget.
7. Do a final movement test
Pull the curtains open and closed several times. Watch the rod ends, not just the fabric. If a pad shifts, the ceiling flakes, or the rod leans, remove the fabric and reset the installation.
Do not use the divider as a coat rack, pull-up bar, shelf, or anchor for string lights. Keep children and pets from tugging on the fabric, and do not leave a loose panel where it can become a trip hazard.
Renter checks before you call it finished
Wall and ceiling condition
This project avoids holes, but it is not risk-free. Pressure can leave a shiny spot on matte paint, a faint ring on soft trim, or a mark on a textured ceiling. Test one contact point in an inconspicuous location for a few hours before committing to the full setup. Skip the project if the surface is loose, damp, chalky, freshly painted, or covered with delicate wallpaper.
If the floor has thick molding and the ceiling has a matching ledge, the rod may not sit vertically. Do not bridge a gap with cardboard or stack loose objects under the end. Find a flatter location or use a freestanding divider instead.
Do you need to ask your landlord?
There are no holes to approve, but a quick message is still sensible if the curtain changes the use of a doorway, touches a textured ceiling, or will stay up for the full lease. Send a photo of the proposed location and say that the rod is pressure-mounted, removable, and not being used to hold weight. Ask whether the lease has rules about blocked openings, curtains, or fire-safety clearances.
A landlord's written yes does not make an unsafe location safe. Keep the egress and heater clearances in place.
Move-out removal
Start with the curtains. Support the rod with one hand, loosen the adjustment slowly, and lower it straight down. Do not twist it against the wall or pry one end sideways. Remove the felt pads, then inspect the floor, trim, ceiling, and wall from several angles.
For a light mark, try a dry microfiber cloth first. If the surface owner allows wet cleaning, test a small amount of mild soap solution in a hidden spot and dry immediately. Avoid magic erasers, solvent cleaners, and aggressive scrubbing on painted surfaces; they can remove the sheen or paint along with the mark.
Store the panels dry and loosely folded. Keep the rod joints and end pads together so the next installation starts with the same parts and no improvised hardware.
Is this the right Saturday project for you?
Choose it if you want a reversible visual boundary, have a stable opening within the rod's range, and can keep the fabric away from exits and heat. Skip it if you need sound control, a child-safe barrier, a secure pet gate, or a divider that can support anything. In those cases, a properly weighted freestanding screen is safer than trying to make a tension rod do structural work.
Next Saturday
Next week: a no-drill bathroom storage upgrade that clears the counter without adhesive, wall anchors, or a security-deposit gamble.
Cover photo: Pexels photo by Pew Nguyen.
関連コンテンツ
- ログインするとコメントできます。