13/6/2026 · 10:11
Damage-Free Floating Shelves: Your Saturday Renter Project
Two hardware approaches — zero-hole Command ledges and pin-mount High & Mighty shelves — that let renters put up real floating shelves without risking their security deposit. Full materials list with costs, step-by-step install, wall compatibility table, and move-out removal guide.
Your walls are blank. Your lease says "no permanent modifications." And yet every home decor account you follow is full of beautifully styled shelves. Good news: you can have both — shelves and your security deposit — if you pick the right hardware.
This Saturday, we're putting up damage-free floating shelves using two approaches that actually hold: Command Picture Ledges (fully adhesive, zero holes) and High & Mighty pin-mount shelves (two tiny pin holes that patch in seconds). Together they cover most renter scenarios, from a bedroom display ledge to a living room accent shelf.
Time: 1–3 hours depending on how many shelves you hang
Cost: $25–$85 total (see materials table below)
Tools needed: Pencil, tape measure, level (or a phone level app), isopropyl alcohol, clean cloth
The two options at a glance
Before buying anything, decide which approach fits your wall and your landlord:
| Command Picture Ledge | High & Mighty pin-mount shelf | |
|---|---|---|
| Holes left in wall | Zero | 2 tiny pin holes per shelf |
| Max weight | ~5 lb per ledge | 15–25 lb depending on shelf length |
| Best for | Small items: frames, small plants, paperbacks | Heavier displays: stacked books, potted plants, candles |
| Surface requirement | Smooth, clean drywall; satin or eggshell paint works if surface is dust-free | Standard ½" drywall |
| Deposit risk | Negligible if removed correctly | Negligible — pin holes fill with a $3 spackle pen |
| Price | ~$10–$18 per ledge | ~$20–$40 per shelf |
Both options require no drilling. The Command ledge uses adhesive strips; the High & Mighty uses hardened steel pins you push (or tap) directly into drywall — no anchor, no screw, no stud required. 1
Materials list
| Item | Est. cost | Where to buy |
|---|---|---|
| Command Picture Ledge (slate, 20" or 26") | $10–$18 | Home Depot, Target, Amazon |
| High & Mighty flat floating shelf (24" or 36") | $20–$40 | Amazon, Walmart |
| Isopropyl alcohol (70%+) wipes or bottle | $3–$5 | Drugstore, grocery |
| Small level (or use a free phone app) | $0–$8 | Hardware store |
| Spackle pen (for pin-hole touch-up at move-out) | $3–$5 | Home Depot, Lowes |
| Painter's tape | $4–$6 (you may already have it) | Any hardware store |
| Total | $40–$82 |
All items are reversible or reusable. The spackle pen is optional during installation — keep it for move-out day.
Step-by-step installation
Step 1: Choose your wall and check the surface
Run your hand along the wall where you want the shelf. You need:
- Smooth, painted drywall — not exposed brick, tile, or heavily textured walls
- No peeling paint or visible bubbles — adhesive won't bond to flaking surfaces and the shelf will fall
- Indoor, dry conditions — avoid walls directly above a stove or inside a shower
If you're not sure what paint finish your landlord used, test a small strip of painter's tape near the baseboard and peel it after 10 minutes. If any paint comes with it, the adhesion will be weak — skip the Command ledge and go with the High & Mighty pin system instead.
Step 2: Clean the surface
Wipe the mounting area with isopropyl alcohol and a clean cloth. Do not use soap or all-purpose cleaner — soap residue actually reduces adhesive grip. Let it dry fully (about 5 minutes). 3
This step is the most skipped and the most important. Dust and kitchen grease are the main reasons Command strips fail.
Step 3: Mark your placement with painter's tape
Cut a strip of painter's tape the length of your shelf and stick it to the wall at the height you want the shelf to sit. Step back and look. Adjust before anything touches the wall permanently.
Use a level (or your phone's level app) to confirm it's straight. For a 36-inch High & Mighty shelf, a quarter-inch tilt is visible from across the room.
Step 4a: Hanging the Command Picture Ledge
- Separate the Command strip pairs and click the two halves together.
- Press each pair firmly onto the back of the ledge mounting hardware for 30 seconds — not on the wall yet.
- Remove the red liner, then press the ledge hardware to the wall. Hold for 60 seconds. Press each strip firmly.
- Wait 1 hour before hanging the ledge shelf piece onto the hardware. Wait 24 hours before loading any items.
The 24-hour wait is non-negotiable. Most Command failures happen because someone loaded the shelf the same day. 3
Weight limit: Each Command Picture Ledge holds up to 5 lb — enough for 3–5 small frames, a succulent, or a row of paperbacks. Do not stack ceramics or put a full water-bottle-weight plant on it.
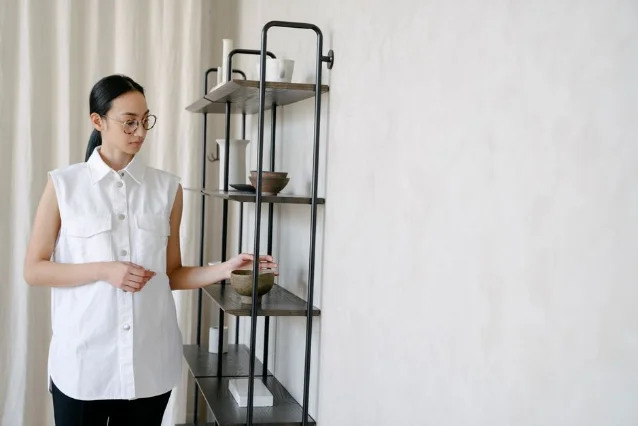
Step 4b: Hanging the High & Mighty pin-mount shelf
- Peel the backing off the included sticky level. Mark where you want the shelf, and stick the level to the wall at that position — it doubles as your guide for pin placement.
- Using the guide holes on the level, push (or gently tap with a hammer) the two hardened steel pins into the drywall. They go in at a slight upward angle. 1
- Slide the shelf down onto the pins until it clicks into place.
- Load immediately — no wait time needed for pin-mount systems.
The pin holes are slightly smaller than a standard thumbtack hole. At move-out, dab them with a spackle pen, let dry, and they disappear.
Weight limit: 15 lb (24" shelf) or 25 lb (36" shelf) — enough for a line of real books, a medium plant, or a small collection of ceramics and candles.
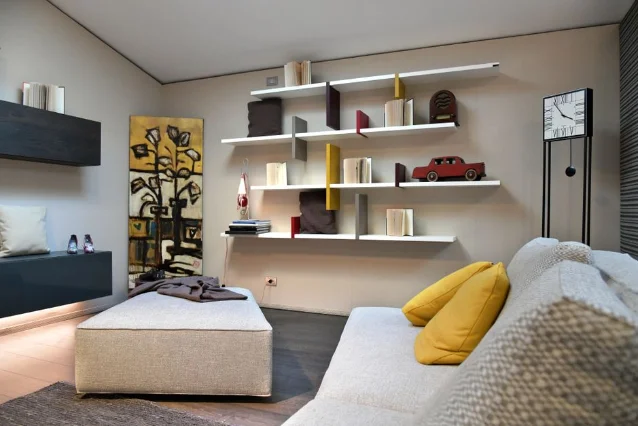
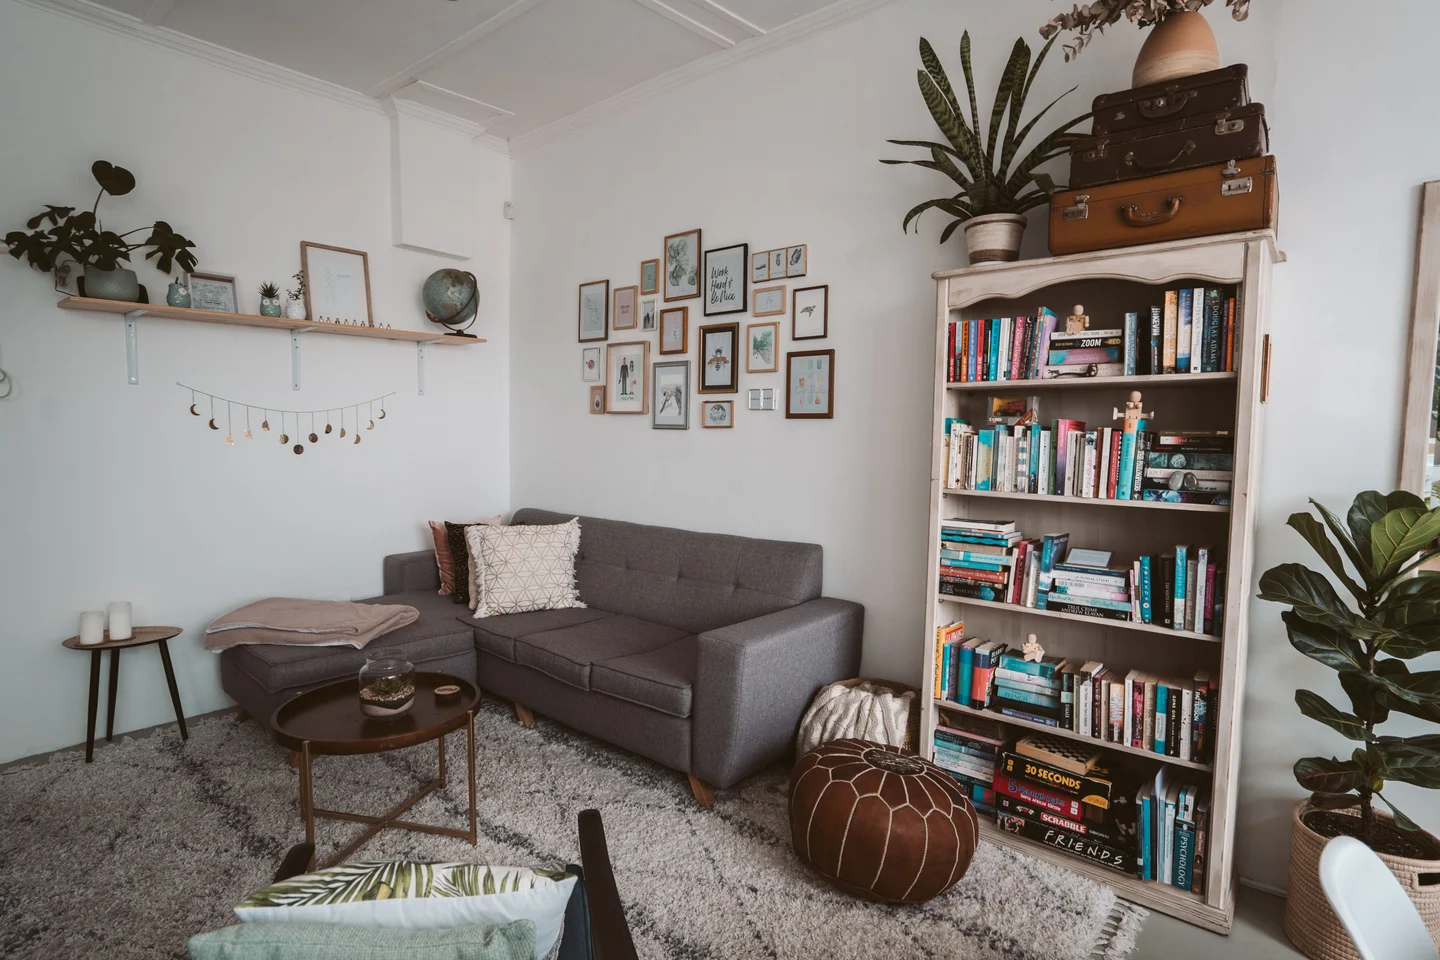
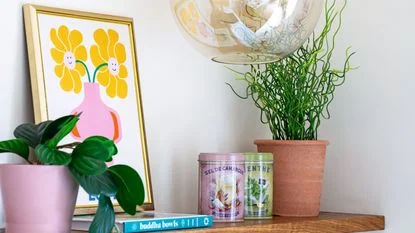
What to put on your new shelf
The shelf is up. Now the fun part. Some ideas that work well at the weight limits above:
- Picture ledge (≤5 lb total): 2–3 small frames layered at different heights, one mini succulent in a light pot, a couple of small paperbacks standing upright
- Pin-mount shelf (≤20 lb, staying under the rated limit): A trailing pothos in a ceramic pot (~3 lb), 4–6 books, a candle, and a small object or two
One practical note: don't mix plants and books on the same ledge. Watering drips are unkind to both books and adhesive strips.
Wall compatibility and deposit risk
| Wall surface | Command ledge | High & Mighty pin |
|---|---|---|
| Smooth satin/eggshell drywall | ✅ Works well | ✅ Works well |
| Flat (matte) painted drywall | ✅ Works — test first | ✅ Works well |
| Semi-gloss or high-gloss paint | ⚠️ Weaker bond — use fewer items | ✅ Works well |
| Textured/orange-peel wall | ❌ Won't bond reliably | ⚠️ Pins hold but shelf may tilt |
| Wallpaper | ❌ Do not use | ❌ Do not use |
| Tile, brick, concrete | ❌ Do not use | ❌ Do not use |
Deposit risk assessment: Both methods are low-risk on standard drywall. The main danger with Command strips is removing them too fast — always pull the tab slowly straight down the wall surface, parallel to the wall, not outward. A fast pull peels paint. 3
Renter notes and landlord communication
Do you need to ask your landlord? For Command ledges: almost certainly no — they leave zero damage. For pin-mount shelves: the holes are smaller than a finishing nail, and most leases allow small picture-hanging nails. That said, if your lease explicitly says "no holes of any kind," use the Command ledge system only.
At move-out: Remove all items from the shelf first. For Command strips, pull the tab straight down slowly — two or three inches per second. If a strip feels stuck, use dental floss to slide behind it. For pin-mount shelves, slide the shelf off, then use a flathead screwdriver to gently pry the pins out at the same angle they went in. 1
Safety notes
- Never exceed the rated weight. These products are tested in lab conditions on perfect drywall; in practice, stay at 70% of the rated limit, especially if your walls have multiple layers of old paint. 3
- Keep heavy, fragile, or irreplaceable items off adhesive-only shelves. A ceramic lamp or a glass vase should go on a pin-mount shelf, not a Command ledge.
- If you hear creaking or notice the shelf tilting days after installation, remove it before it falls.
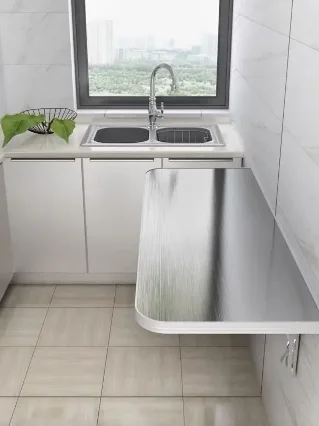
Next week's project
We're tackling peel-and-stick backsplash tiles — a way to give your rental kitchen or bathroom a real upgrade in an afternoon, with tiles that peel off clean when it's time to move.

Añade más opiniones o contexto en torno a este contenido.