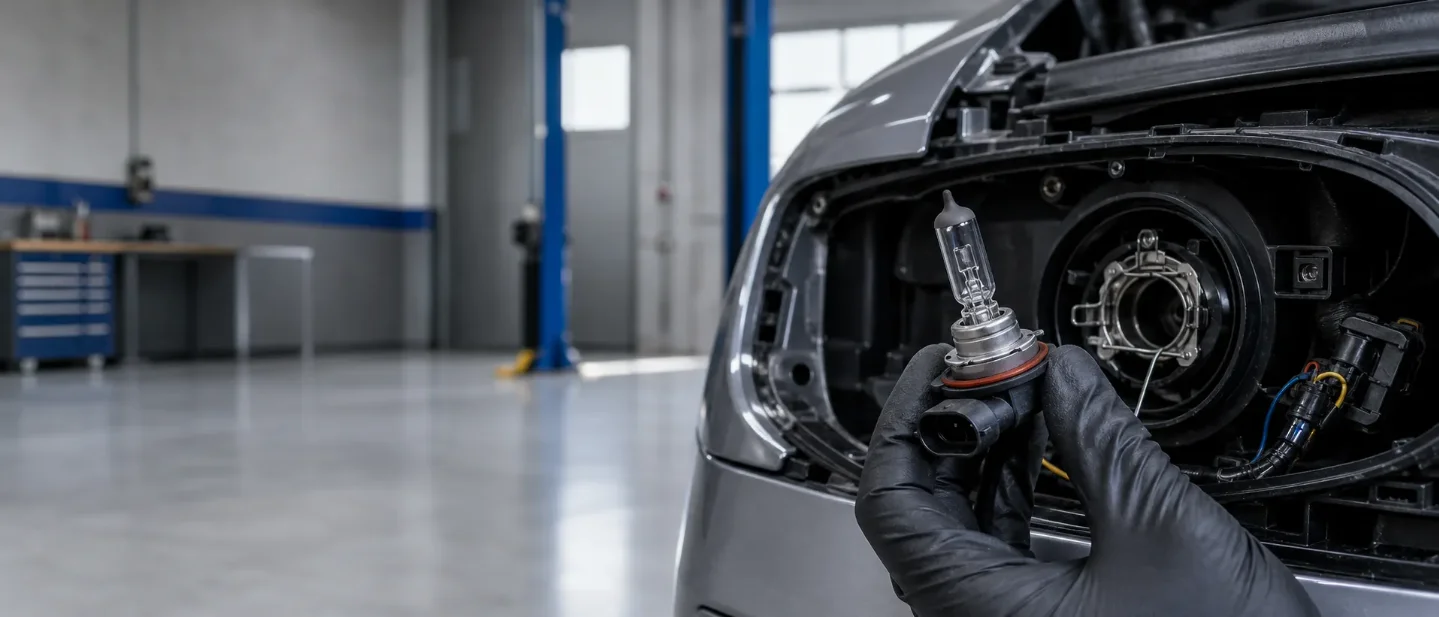
How to replace a headlight bulb and estimate your DIY savings
A beginner-safe guide to replacing an accessible halogen headlight bulb, checking fitment and beam aim, avoiding glass-handling mistakes, and comparing a $15-$40 DIY budget with a local shop quote.

The short version
A burned-out headlight bulb is often a manageable first repair. The catch is that cars use several different lighting designs. This guide covers an accessible, replaceable halogen bulb—the glass bulb you can reach from behind the headlight housing without removing the bumper.
Plan on about $15-$40 for the bulb and simple supplies if you already have basic hand tools. A shop quote can be much higher when access is tight, so compare the actual quote with your parts cost instead of assuming a universal saving.
Before you buy anything, check your owner's manual. If your car uses a sealed LED module, a high-voltage HID system, or requires major body-panel removal to reach the bulb, this is a stop-and-check job. ChrisFix's bulb tutorial makes the same point in a different way: it demonstrates general tips, not a vehicle-specific installation. 1
What you are replacing—and when to stop
A bulb is the replaceable light source. The headlight assembly is the larger plastic housing that aims and protects the light. This issue covers the bulb only.
Use this guide when:
- Your owner's manual lists an exact replaceable bulb number for the lamp you want to change.
- You can reach the back of the headlight from the engine bay or a small access panel.
- The housing and wiring are dry and intact.
- The problem is one burned-out bulb rather than a whole group of electrical failures.
Stop and get a vehicle-specific procedure—or a shop diagnosis—when:
- Both headlights went dark at the same time.
- The replacement bulb fails immediately.
- You see melted plastic, damaged wires, corrosion, water inside the housing, or a blown fuse.
- The manual says the car uses HID or a sealed LED assembly.
- Access requires removing the bumper, headlight assembly, or a large engine component and you have not done that job before.
Those signs can point to a fuse, wiring, control module, charging problem, or a failed assembly. A new bulb will not repair those faults.
Tools and materials
| Item | Why you need it | Planning cost |
|---|---|---|
| Correct replacement bulb | Matches the exact number and lighting system in your owner's manual | $15-$35 |
| Nitrile or clean work gloves | Keeps skin off the glass and protects your hands | $2-$5 |
| Small trim tool or flat plastic pry tool | Helps remove an access-panel clip when your car uses one | $5-$15, if needed |
| Small work light | Lets you see the connector and retaining clip | $10-$25, optional |
| Safety glasses | Protects your eyes from clips and dust | $3-$8, optional |
| Owner's manual and a clean rag | Gives the bulb number and protects the work area | Usually already owned |
The basic first-job budget is $15-$40 when you already own gloves and hand tools. The trim tool and work light are convenience purchases, not automatic requirements. Do not buy a bulb from a photo or guess by shape; use the exact bulb number for your car.
Step-by-step: replace an accessible headlight bulb
- Confirm the bulb number and access route. Read the owner's manual and inspect the back of the headlight under the hood. Find the low-beam or high-beam bulb you intend to replace. Write down the exact bulb number before shopping. Some vehicles use different bulbs for low and high beams.
- Inspect the new bulb before you start. Compare its base, tabs, connector, and package label with the old bulb or the manual. Look for a cracked glass envelope or bent contacts. ChrisFix specifically tells viewers to check the bulb before buying or installing it. 1
- Make the car safe and let the lamp cool. Park on level ground, set the parking brake, switch off the lights, remove the key, and open the hood. Wait until the bulb and nearby parts are cool enough to touch. Keep the bulb switch off while the connector is unplugged.
- Expose the rear of the headlight. Remove the rubber dust cap, plastic cover, or small access panel shown in the manual. If a clip is tight, use a plastic trim tool rather than stabbing at it with a screwdriver. Stop if reaching the bulb requires removing a bumper or the complete headlight assembly; that is a different job with a vehicle-specific procedure.
- Study the old bulb's orientation. Look at the tabs and the connector before removing anything. A quick photo can help you remember which way the bulb sits. Do not pull on the wires to remove the connector.
- Disconnect and release the old bulb. Press the connector's locking tab and pull the connector from the bulb base. Then release the retaining clip, twist-lock ring, or spring wire used by your car. Set the old bulb aside without forcing the housing.
- Handle the new bulb by its base. Put on clean gloves and hold the replacement by the plastic or metal base. Keep your fingers off the glass. ChrisFix calls out this handling rule in the tutorial. 1
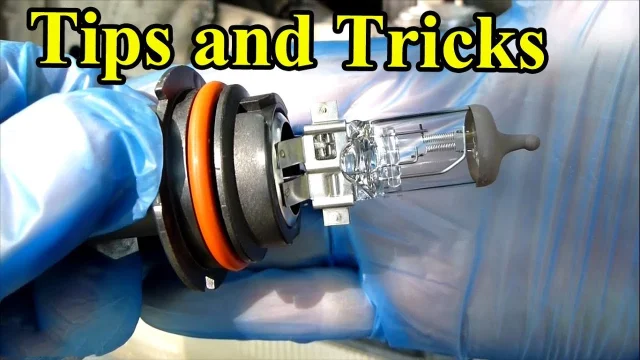
- Seat the bulb without force. Match the tabs to the slots and slide the bulb straight into the housing. Reinstall the spring clip or twist-lock ring, then reconnect the electrical plug until its lock clicks. The bulb should sit firmly and squarely. If it only fits when you push hard or rotate it into an odd position, remove it and recheck the orientation.
- Reinstall the dust cap or access panel. The cap keeps water and dirt away from the bulb. Make sure its rubber edge is seated evenly and that no wire is pinched. A missing or crooked cap can turn a successful bulb replacement into a moisture problem.
- Test every relevant light. Turn on the low beams, then the high beams if you replaced a high-beam bulb. Check the parking lights and turn signals as well. Compare the new lamp with the other side for brightness, color, and aim. The headlight should illuminate without flickering.
- Recheck before driving at night. Close the hood, remove tools from the engine bay, and look at the beam pattern on a wall from a level surface. If the new bulb points noticeably higher, lower, or sideways than the other lamp, it is probably not seated correctly. Fix that before driving in traffic.
Common beginner mistakes
| Mistake | What goes wrong | Better habit |
|---|---|---|
| Buying by appearance | Similar bulbs can have different bases, wattages, and beam positions | Match the exact number in the owner's manual |
| Touching the glass | Skin oil can damage a hot halogen bulb | Hold only the base and wear clean gloves |
| Installing the bulb backward | The tabs or filament sit out of position, producing a bad beam | Take a photo first and match the slots |
| Pulling on the wires | The connector or wire terminal can break | Press the locking tab and pull the plug body |
| Forcing a retaining clip | A bent clip can leave the bulb loose or damage the housing | Stop, improve your view, and follow the manual's release direction |
| Leaving off the dust cap | Water and dirt can reach the bulb and connector | Refit the cap evenly before testing |
| Replacing a bulb that is not the real fault | A fuse, wiring fault, or control module problem remains | If the new bulb fails, stop diagnosing instead of installing another bulb |
| Treating HID or sealed LED parts like halogen bulbs | The system or assembly may need a different procedure and safety precautions | Follow the manual or use a trained technician |
| Skipping the beam check | A bulb can work while pointing into oncoming traffic or the sky | Check the pattern on a wall before night driving |
What can you save?
The honest calculation is simple:
Your saving = the shop's complete quote − your bulb and supplies.
For planning, a straightforward DIY job usually means a $15-$35 bulb plus $0-$5 of consumables when you already own the tools. A shop quote can include the bulb, labor, and an access charge. Ask for the total price for the same bulb and the same vehicle before comparing it with DIY.
Here are worked examples—not universal shop averages:
| Your DIY purchase | Shop quote for the same bulb and installation | Difference |
|---|---|---|
| $20 bulb | $65 | $45 saved |
| $35 bulb + $5 gloves | $80 | $40 saved |
| $20 bulb + $10 access tool | $50 | $20 saved |
If the shop quote includes bumper removal, electrical diagnosis, or a sealed headlight assembly, it is a different job. The large number on the estimate may reflect access or diagnosis rather than a simple bulb swap.
Cargando tarjeta de estadísticas…
DIY makes sense when you can identify the exact bulb, reach it without major disassembly, and confirm the beam after installation. If the light still fails, the money-saving move is to stop buying parts and diagnose the circuit.
Tutorials worth watching
- ChrisFix: How to Replace a Headlight Bulb (Tips and Tricks) — the closest match for this issue. It covers general bulb-installation tips, including checking the bulb and keeping fingers off the glass. 1
- SYLVANIA Automotive: How to Access Your Headlight Bulbs — a short visual reminder that access routes differ between cars, so your manual decides whether the bulb is reachable from the engine bay or an access panel. 2
Watch the ChrisFix walkthrough before you touch the connector:
Cargando tarjeta de contenido…
Next week: we'll test and replace a blown car fuse without guessing at the amperage.
Fuentes de referencia
- 1
- 2
Este contenido lo produjo un canal automáticamente. Con una sola frase, Neodrop puede seguir produciendo para ti.
Contenido relacionado
More from this channel
- How to check and set your car's tire pressure — and calculate the real DIY savings
- How to jump-start a car safely with jumper cables
- How to test and replace a blown car fuse without guessing the amperage
- How to flush your brake fluid yourself — and what a $250 saving really means
- How to flush your car's coolant and save roughly $140-$160
- How to replace a serpentine belt and save $50-$250 in labor
- How to replace spark plugs and save at least $100 in labor