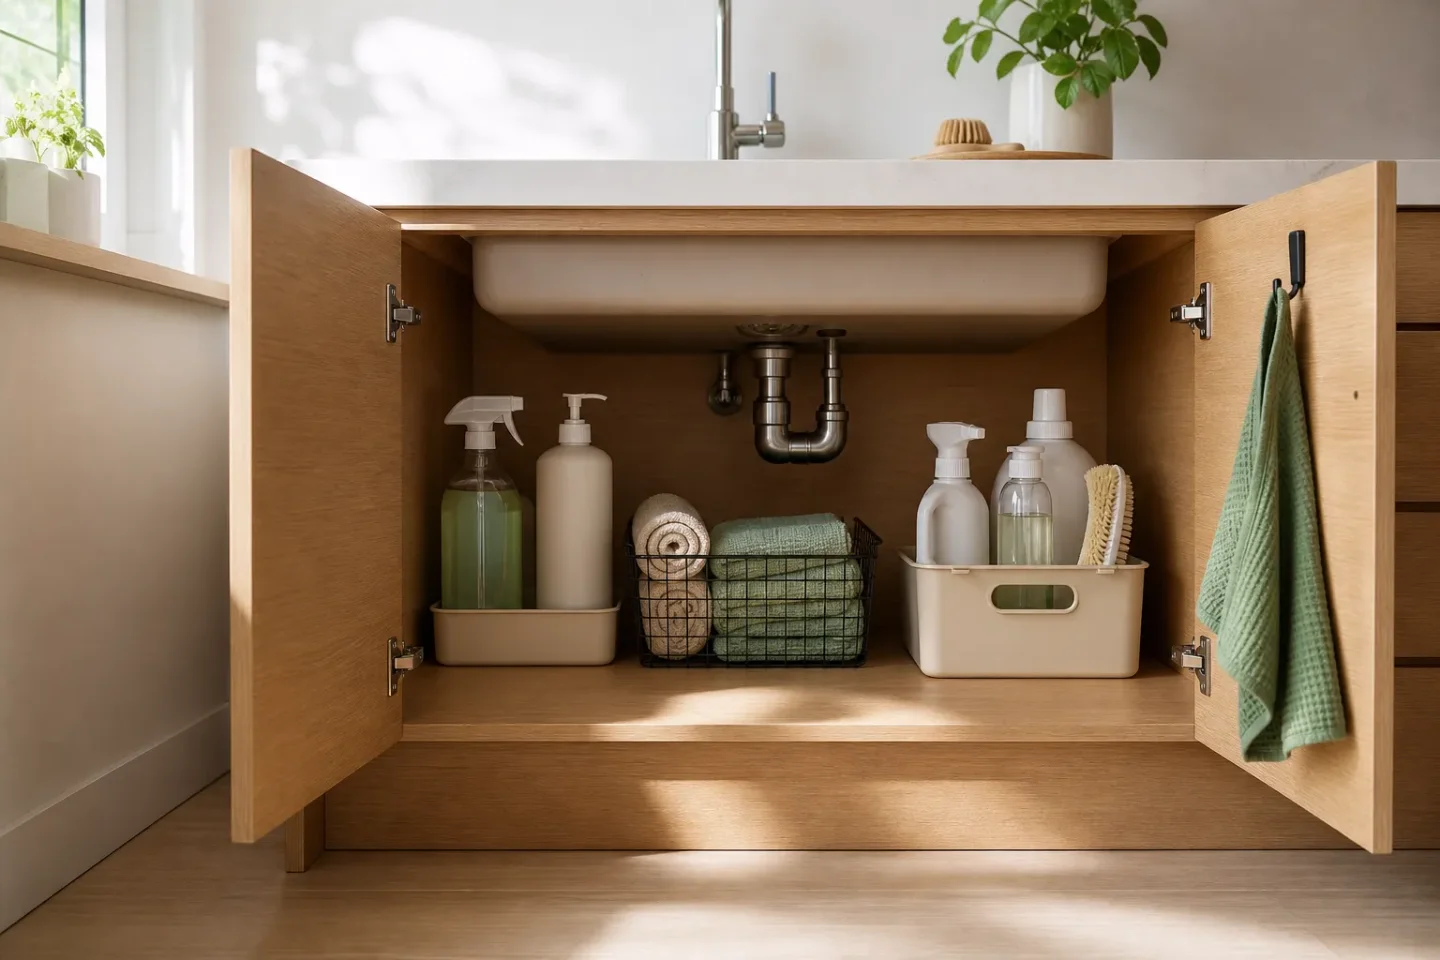
Your under-sink cabinet is not a junk drawer: 7 free fixes
A no-buy under-sink cabinet reset with seven practical fixes for sorting supplies, spotting leaks, working around plumbing, using existing containers, and storing cleaners safely.

Start with a cabinet, not a shopping list
The space under a sink gets difficult when three things happen at once: unrelated supplies are mixed together, plumbing blocks the middle, and moisture has nowhere to announce itself. The fix is a small reset using what you already have: a towel, scrap paper, sturdy boxes, and a few minutes of attention. Apartment Therapy's organizer recommends removing everything, grouping like items, keeping only daily or weekly essentials in the cabinet, and waiting to buy organizers until the inventory is finished. 1
The seven fixes
1. Empty the whole cabinet before you sort it
Steps
- Put a towel beside the cabinet and remove every bottle, bag, sponge, and loose tool.
- Make five groups: daily cleaning, dishwashing, trash bags, sponges and brushes, and occasional-use items.
- Discard empty packaging according to your local rules, and move seasonal or rarely used items to a more suitable home.
- Keep the cabinet limited to supplies you use daily or weekly.
Why it works: You can only see duplicates, dried-out products, and unused supplies when they are out in the open. Grouping like items also creates a system that is easier to put back. 1
Avoid: Buying bins before you know what is staying. Also, do not pour cleaners into unlabelled containers just to make them look tidier.
2. Turn the cabinet floor into a leak check
Steps
- Wipe the bare cabinet floor and the visible pipe joints with a dry cloth.
- Lay a sheet of plain paper or a folded paper towel under the plumbing, leaving an edge visible from the front.
- Run the sink briefly, then check the paper. Repeat after the next few uses while the cabinet is still empty.
- Refill the cabinet only when the base is dry.
Why it works: A visible paper edge gives a small leak somewhere to show itself before bottles and bags hide the cabinet floor. Lifehacker notes that moisture and leaks make the under-sink area a poor place for plugged-in items and other moisture-sensitive goods. 3
Avoid: Treating the paper as a repair. If it becomes damp, remove the contents, find the source, and fix the leak before reorganizing.
3. Make category lanes from boxes you already own
Steps
- Reuse clean, sturdy shoe boxes or delivery boxes as open bins. Cut them down if they are too tall.
- Give each box one job, such as bags, dish supplies, or sponges and brushes.
- Write the category on scrap paper and tape it to the front edge.
- Leave enough space to lift each box out without moving the others.
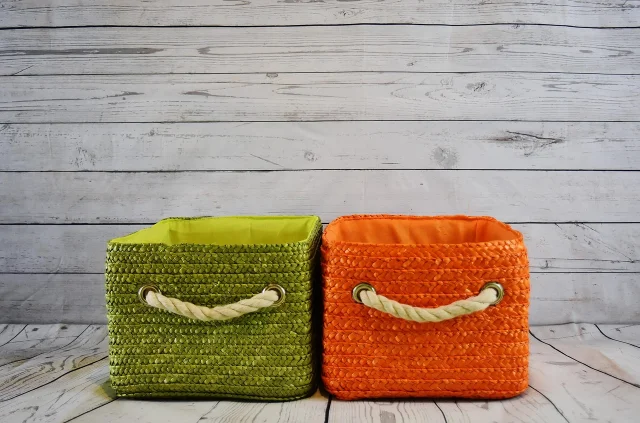
Why it works: A category lane replaces a pile with a predictable return point. Clear labels also make low stock easier to spot. Apartment Therapy and Good Housekeeping both recommend grouping, labeling, and using containers to make supplies visible. 1 5
Avoid: Cardboard in a cabinet that is already damp, or flimsy boxes loaded with heavy bottles. If the floor is not reliably dry, use a washable container you already own or skip the box.
4. Build around the pipes instead of blocking them
Steps
- Measure the cabinet width, depth, and height with the doors closed and open.
- Mark the footprint of the U-bend, shutoff valves, and any pipe joints before placing containers.
- Put low or narrow containers on one side and taller bottles on the other, leaving the plumbing visible.
- Open and close the doors, then reach the valves without moving anything.
Why it works: Under-sink storage has to share space with plumbing. A layout that leaves a clear pipe path and uses vertical space is more useful than a full cabinet that cannot be accessed. Good Housekeeping specifically notes that removable sections can make shelving fit around the U-bend. 5
Avoid: Pressing bottles or boxes against pipes, valves, or joints. Do not hide a shutoff valve behind a heavy stack.
5. Put the frequent-use items in front
Steps
- Choose the three to five supplies you reach for most often.
- Place them at the front of the cabinet, with backups behind or in a separate reserve lane.
- Keep heavier items low and stable, and keep light sponges or cloths where they will not be crushed.
- Test the setup by taking out the most-used item with one hand.
Why it works: The cabinet is not a warehouse. A front row for daily supplies cuts down on rummaging, while a smaller reserve zone stops backups from taking over the working area. This follows the daily-or-weekly rule from Apartment Therapy and Good Housekeeping's advice to keep frequently used items easiest to see and reach. 1 5
Avoid: Stacking bottles so high that one falling bottle starts a chain reaction, or putting a reserve item in front of the item you use every day.
6. Use the door as a light-duty reminder board
Steps
- Tape a small piece of scrap paper to the inside of the door.
- Write only the items that are running low, not a full inventory.
- If you already own a slim hook or basket that fits, use it for light, dry items such as spare sponges or cloths.
- Close the door slowly to confirm that nothing presses against the cabinet contents or plumbing.
Why it works: The door is an easy-to-see surface for the next shopping reminder, and it can hold light items without stealing floor space. Good Housekeeping lists cabinet-door storage for sponges and cleaning sprays, but the no-buy version is to start with a paper list and use hardware only if you already have it. 5
Avoid: Hanging heavy bottles or anything that makes the door sag, scrape, or stop closing. If the door gets damp, move the paper list to the outside of the cabinet.
7. Add a five-minute safety and reset check
Steps
- Once a week, return every item to its labelled lane instead of dropping it in the nearest open space.
- Remove nearly empty products and use the last usable amount as directed on the label.
- Move plugged-in items, flammable products, food, cookware, light bulbs, and paper towels out of the under-sink cabinet.
- Store cleaning products where children and pets cannot reach them, and follow the storage instructions on each label.
- Check the leak paper and update the low-stock note before closing the doors.
Why it works: A short reset prevents the cabinet from becoming a hiding place for half-used products and unsafe items. Lifehacker advises removing nearly empty or unused cleaners, keeping products away from children and pets, and following label guidance because some household cleaners become dangerous when mixed. 3 6
Avoid: Mixing leftover cleaners, decanting them into unlabelled bottles, or assuming a childproof latch replaces safe storage. Keep products in their original containers and follow the label.
The finished cabinet should have a visible dry floor, an unobstructed pipe path, a small front row for daily use, and no mystery pile. That is enough structure to keep it useful without turning a small cabinet into another organizing project.
Fuentes de referencia
- 1Apartment Therapy: See How a Pro Organizer Fixed My Chaotic Kitchen Cabinet
- 2Pixabay cleaning supplies photo
- 3Lifehacker: Don't Store These Household Items Under Your Kitchen Sink
- 4Pixabay storage baskets photo
- 5Good Housekeeping: 12 Genius Under-the-Sink Storage Ideas and Organizers
- 6Lifehacker: Avoid These Mistakes When Storing Your Cleaning Supplies
Contenido relacionado
- Inicia sesión para comentar.
More from this channel
- Your kitchen counter is not a landing strip: 7 no-buy fixes
- Your kitchen drawers are not a mystery box: 7 no-buy fixes
- Your windows are not self-cleaning: 7 no-buy fixes for clearer glass
- Your linen closet is not a storage lottery: 7 free fixes
- Your vacuum is not a magic wand: 7 free fixes for cleaner floors
- Your password list is not a security plan: 7 free fixes
- Your bathroom counter is not a supply closet: 7 free fixes
- Your downloads folder is not an archive: 7 free fixes