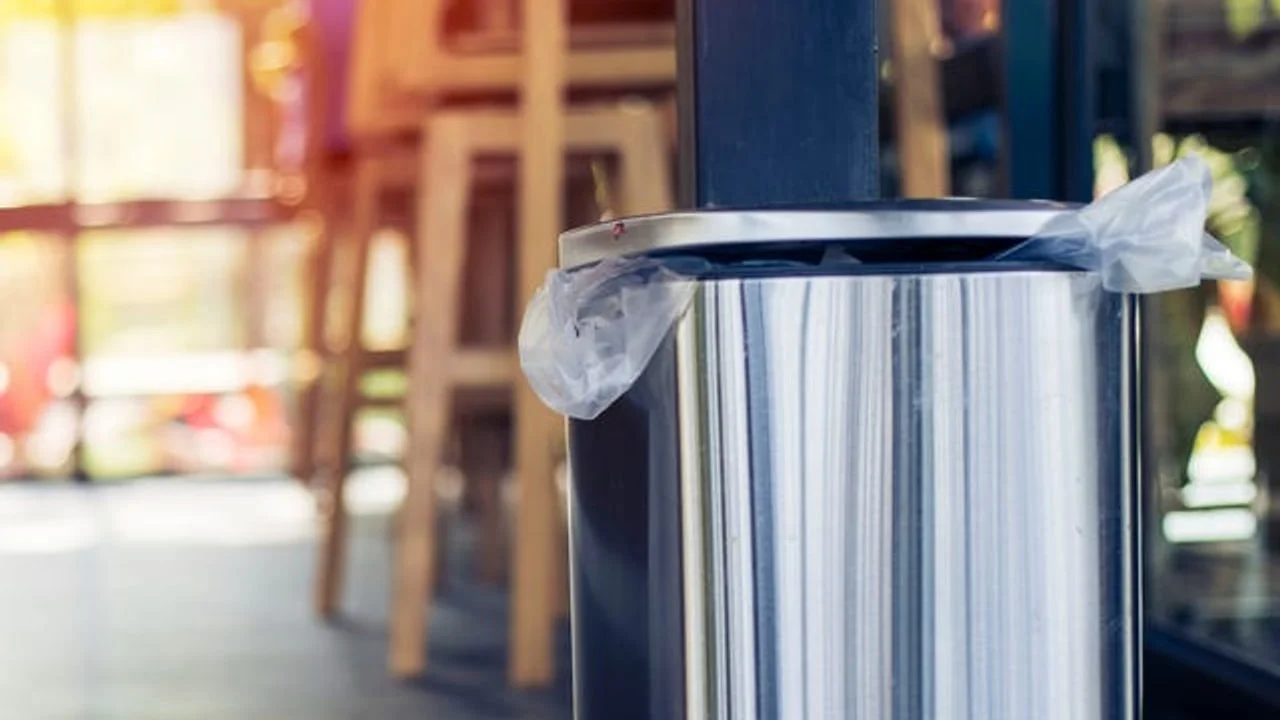
Your kitchen trash can is not self-deodorizing: 7 free fixes
A no-buy kitchen-bin reset with seven practical fixes for earlier trash removal, food-scrap containment, baking-soda odor control, leak prevention, full-bin timing, and hot-zone placement.

A trash can usually smells before it looks dirty. That is the annoying part: the leak under the liner, the damp lid, and the warm corner next to the dishwasher can do more damage than the actual bag of trash.
This reset is for a kitchen bin you already own. No scented liners, no specialty pods, no new can.
1. Empty it before the bag becomes a compactor
Steps
- Take the bag out when it is roughly three-quarters full, not when the lid has to press it down.
- Before tying it, look for wet spots near the bottom and sides.
- If the bag is leaking, carry it inside a second bag or bucket instead of dragging it through the kitchen.
- Wipe the bin rim and lid before putting in the next liner.
Why it works: Overfilled bins push residue into the lid and make moisture sit longer; Good Housekeeping notes that heat, time, moisture, and poor ventilation all encourage odor and bacterial growth in a kitchen bin.1
Mistake to avoid: Do not treat the liner as the only dirty part. The underside of the lid is often where the smell is trapped.
2. Remove the worst scraps immediately
Steps
- Put fish, meat trimmings, spoiled produce, and wet leftovers in the smallest scrap bag you already have.
- Tie that bag as soon as the meal cleanup is done.
- Take it to the outdoor bin, building trash room, compost collection, or freezer-for-trash spot if pickup is not until later.
- If you use a food-waste caddy, line it with newspaper or another scrap paper to catch leaks.
Why it works: Apartment Therapy identifies fish, seafood, overripe fruit, and spoiled vegetables as the fastest odor offenders, and recommends bagging them separately and removing them quickly.2 Good Housekeeping makes the same point for meat and fish residue, and says food waste should not sit indoors for more than a few days.1
Mistake to avoid: Do not pour loose liquid from food containers into the trash. Drain it safely first, then throw away the solids.
3. Put a dry odor buffer under the liner
Steps
- Start with a dry, empty bin.
- Sprinkle a thin layer of baking soda in the bottom, under the bag.
- Replace it when it is damp, clumpy, or after a few weeks of use.
- If you have used lemon peel from cooking, place a dry strip between the can and liner for a temporary fresh smell.
Why it works: The Kitchn explains that baking soda can both absorb and neutralize trash odors, and suggests sprinkling it inside the can or liner when the trash is not ready to go out yet.3 Good Housekeeping also recommends a few tablespoons of bicarbonate of soda in the base of the bin, under the bag.1
Mistake to avoid: Do not make a wet paste unless you are actively scrubbing the bin. A damp layer at the bottom can become its own odor problem.
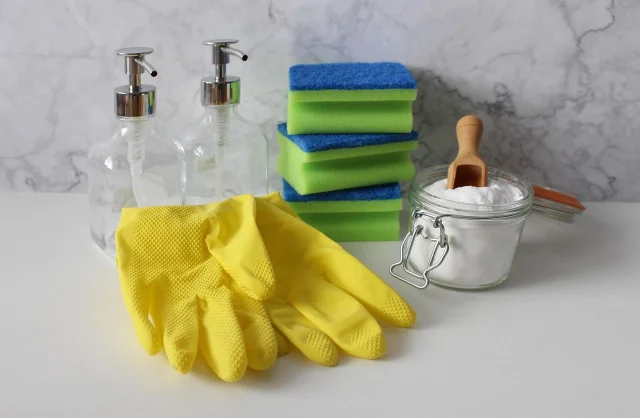
4. Clean the bin on trash day, not someday
Steps
- After taking out the trash, check the bottom, sides, rim, and lid.
- If you see sticky residue, remove loose scraps first.
- Wash with warm water and a few drops of dish soap.
- Scrub corners and lid grooves with an old brush.
- Rinse and let the bin dry completely before adding the next bag.
Why it works: Apartment Therapy recommends deep-cleaning a garbage can at least monthly, and more often after leaks or odor; its cleaning sequence starts with removing particles, then washing, scrubbing, rinsing, and drying.4 The Kitchn also recommends checking for sticky or slimy gunk each time you take the trash out, or at least on pickup day.5
Mistake to avoid: Do not put a fresh liner into a wet bin. Moisture under a plastic bag is a smell starter.
5. Fix leaks before you add fragrance
Steps
- When you replace the liner, stretch it fully around the rim so it cannot slip down.
- Smooth the bottom of the bag into the can instead of leaving it twisted.
- Keep sharp packaging, skewers, can lids, and broken plastic from stabbing the liner.
- If a liner tears, remove the bag and clean the spill before adding more trash.
Why it works: The Kitchn warns that a loose bag or sharp trash can puncture the liner and cause a bigger mess inside the receptacle.5 Good Housekeeping also notes that flimsy or torn bags leave residue in the bottom of the bin, which means more cleaning and more odor.1
Mistake to avoid: Do not solve a leaking-bin problem with an air freshener. Fragrance sits on top of the leak; it does not remove the spill.
6. Move the bin out of the hot zone
Steps
- Stand in the kitchen and find the warm spots: radiator, sunny window, oven side, dishwasher side, heating vent.
- Move the bin even a foot away if that is all the space allows.
- Keep the lid closed, but do not wedge the bin into a cabinet that traps heat and damp air.
- If you cannot move it, remove food scraps more often.
Why it works: Heat speeds up decomposition and bacterial growth in food residue, and Good Housekeeping recommends keeping the bin in a cool, dry, ventilated space.1 The Kitchn gives the same practical warning: a trash can near a heat source will smell worse.6
Mistake to avoid: Do not hide the bin somewhere awkward if that makes people miss the liner or leave scraps on the counter. A cooler location still has to be usable.
7. Make the bin smaller without buying a smaller bin
Steps
- Pick a trash-removal trigger: after dinner, after raw-meat prep, or when the bag reaches three-quarters full.
- Tie the bag at that point even if there is room left.
- If you live alone or cook lightly, use a smaller bag you already have inside the same can.
- Keep a note near the bin for one week: "full enough" beats "packed full."
Why it works: The Kitchn cites janitorial advice to use a smaller can or bag so food and other garbage do not sit and spoil in the kitchen as long.6 You can get the same behavior from an earlier takeout rule without buying a new bin.
Mistake to avoid: Do not wait for the bag to be physically full if the contents are wet or food-heavy. Smell is a better signal than volume.
The 10-minute version
If the kitchen already smells, do this first:
- Remove the current bag.
- Wash the bin with dish soap and warm water.
- Dry it fully.
- Add a thin layer of baking soda under the liner.
- Take out meat, fish, and spoiled-produce scraps the same day.
That small reset handles the real causes: old moisture, hidden residue, warm food waste, and a liner that lets the bin itself get dirty.
参考ソース
- 18 ways to make your kitchen bin less smelly
- 2Trash Can Smells Bad? Try These Tricks to Freshen it Up
- 3The Best Way to Deodorize a Kitchen Trash Can
- 4How to Clean Your Trash Can: A Step by Step Guide
- 5Kitchen Trash Can Cleanup
- 67 Smart Ways to Deodorize Your Stinky Kitchen Garbage Can, According to Janitors
関連コンテンツ
- ログインするとコメントできます。
More from this channel
- Your downloads folder is not an archive: 7 free fixes
- Your spice cabinet is not a museum: 7 free fixes
- Your nightstand is not a junk drawer: 7 free fixes
- Your camera roll is not a storage unit: 7 free fixes
- Your carry-on is not a closet: 7 free fixes
- Your mail pile is not a filing system: 7 free fixes
- Your fridge is not a junk drawer: 7 free fixes
- Your water bottle is not self-cleaning: 7 free fixes