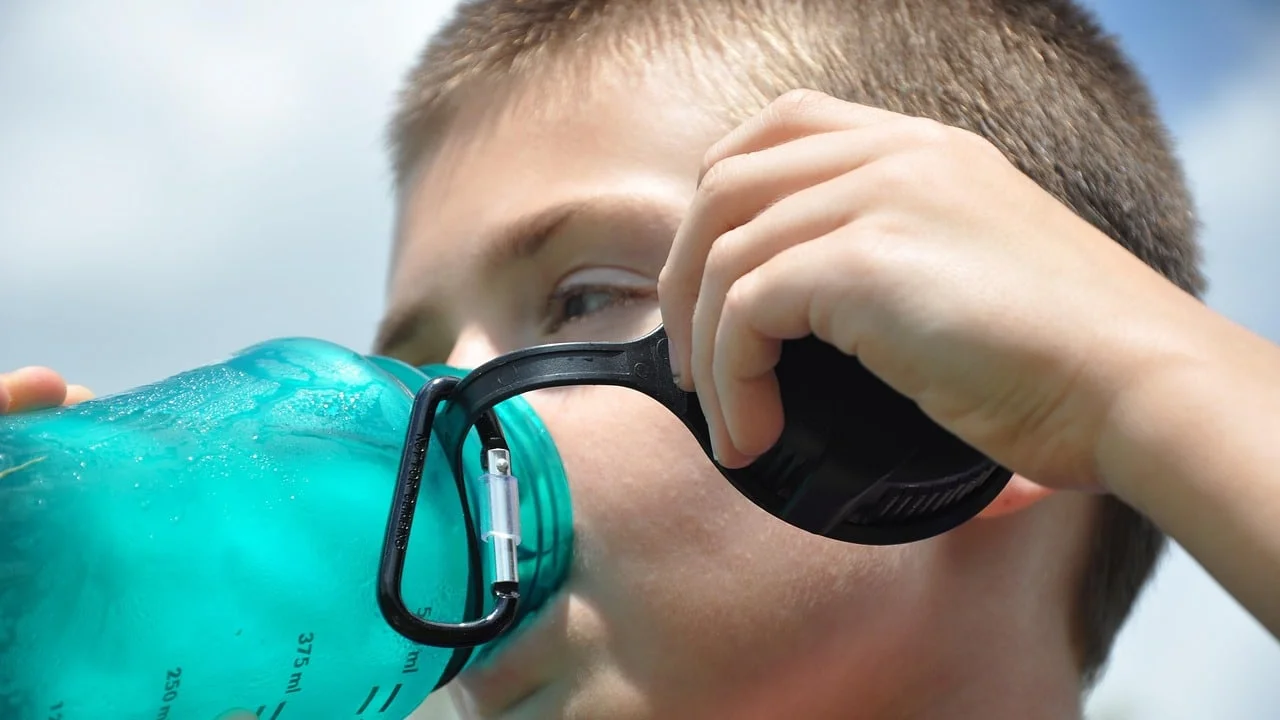
Your water bottle is not self-cleaning: 7 free fixes
A no-buy reset for the bottle you carry every day: seven free fixes for emptying, disassembling, scrubbing, drying, and handling flavored drinks before odor and film take hold.

The problem is not the bottle. It is the places you never see.
A reusable water bottle can look harmless because it mostly holds water. The trouble starts at the mouthpiece, threads, straw, rubber seal, and any water left sitting at room temperature. BBC Future cites scientists who found that every sip leaves microbes behind, and one study saw bacteria in bottle water rise from about 75,000 per millilitre in mid-morning to more than 1-2 million per millilitre over 24 hours. 1
This is a no-buy reset. You need hot water, ordinary dish soap, and whatever narrow cleaning tool you already have: a bottle brush, straw brush, pipe cleaner, or a clean old toothbrush for lid grooves. If your bottle has visible cracks, deep scratches, rust, a damaged seal, or a smell that will not shift, treat that as a replacement question rather than a cleaning challenge. 2
1. Stop letting yesterday's water become today's refill
Steps
- When you get home, empty the bottle instead of topping it up.
- If you cannot wash it right away, leave it open at the sink rather than sealed in a bag.
- Before the next refill, give it a real wash if it sat overnight.
Why it works
Water is not sterile once you have been drinking from the bottle. Saliva, hand contact, and room-temperature storage all give microbes time and moisture. BBC Future quotes microbiologist Primrose Freestone explaining that the longer water sits in a bottle at room temperature, the more bacteria can grow. 1
Common mistake to avoid
Do not count the fridge as a cleaning method. Cooling the bottle between sips can slow microbial growth, but it does not stop it or remove film from the inside. 1
2. Break the bottle down as far as it safely goes
Steps
- Unscrew the lid.
- Pull out the straw, bite valve, gasket, or removable silicone seal if your model allows it.
- Put the small parts in a bowl so they do not disappear down the drain.
- If you are not sure how a seal fits back in, take a quick photo before removing it.
Why it works
The Kitchn's cleaning guide calls out the exact trouble spots: rims collect debris, straws can get mildewy, and removable parts need separate cleaning. Good Housekeeping UK also tells readers to take lids, straws, and seals apart and clean them separately. 3 2
Common mistake to avoid
Do not force a part that is not designed to come out. A torn seal can create a new leak and a new grime trap. Remove what is meant to be removable, then clean the fixed grooves with a small brush.
3. Replace the cold rinse with hot soapy water and friction
Steps
- Add a drop of dish soap and hot water.
- Close the bottle, shake it, then reopen it.
- Scrub the inside walls, the bottom, the threads, and the drinking rim.
- Rinse until the water runs clear and there is no soap smell.
Why it works
A cold rinse is not enough when a biofilm has started to form. BBC Future says rinsing with cold water will not get rid of the slimy bacterial layer, while Lifehacker recommends hot water, dish soap, and a bottle brush as the simplest daily method. 1 4
Common mistake to avoid
Do not use boiling water on hard plastic unless the maker says it can handle it. Good Housekeeping UK recommends hot, not boiling, soapy water for hard plastic bottles. 2
4. Clean the straw, spout, and seal like they are separate dishes
Steps
- Run a straw brush or pipe cleaner through the straw from both ends.
- Use a clean old toothbrush on the mouthpiece, threads, hinge, and silicone seal.
- Look for dark specks, slippery patches, and trapped residue.
- Rinse each small part on its own.
Why it works
The drinking parts get the most mouth contact and are often the hardest to rinse. Lifehacker says straw bottles need a narrow brush or pipe cleaner, and The Kitchn specifically tells readers to scrub the straw, spout, vent holes, rim, and small crevices. 4 3
Common mistake to avoid
Do not assume the lid is clean because the bottle looks clean. If a seal is damaged, smells bad after washing, or has staining you cannot remove, Good Housekeeping UK lists damaged seals, lids, lingering smells, and visible deterioration as reasons to consider replacement. 2
5. Dry it open, apart, and completely
Steps
- Shake off excess water.
- Stand the bottle upside down at a slight angle so air can move through it.
- Put the lid, straw, and seal beside it, not back on it.
- Reassemble only when every part is dry.
Why it works
Moisture is the friend of lingering microbes. BBC Future notes that microorganisms prefer moist environments and recommends air-drying after a hot-water wash. The Kitchn gives the same practical warning: do not reassemble and stash the bottle until all parts are dry, or it can get mildewy again. 1 3
Common mistake to avoid
Do not screw the cap onto a wet bottle before putting it in a cabinet or gym bag. That turns a cleaned bottle back into a sealed damp container.
6. Treat anything that is not plain water as a same-day wash
Steps
- If the bottle held coffee, juice, squash, electrolytes, a smoothie, or a protein drink, wash it that day.
- If you are away from home, empty and rinse it as soon as possible, then do the full soap-and-brush wash later.
- Do not leave sweet or milky drinks in the bottle in a warm car or gym bag.
Why it works
BBC Future quotes Freestone saying anything other than water is especially friendly to bacteria and fungi, and reports that bottles containing tea, coffee, or juice were more contaminated than bottles that only held water. Good Housekeeping UK also recommends immediate cleaning after flavoured drinks. 1 2
Common mistake to avoid
Do not treat clear flavoured water as "basically water" if it contains sugar, sweeteners, powders, or residue. If it changes the smell or feel of the bottle, it earns a wash.
7. Make a two-minute bottle closeout part of the kitchen shutdown
Steps
- Pick one landing spot near the sink for used bottles.
- Keep the bottle brush or small cleaning brush there, not buried in a drawer.
- Check the maker's instructions before using the dishwasher.
- If the bottle is dishwasher-safe, put the bottle and parts on the top rack when the label allows it.
- Once a week, check for smell, cloudiness, scratches, rust, damaged seals, or a lid that no longer closes cleanly.
Why it works
The routine matters because bottles need frequent cleaning, not occasional rescue. Lifehacker recommends daily cleaning, or every few days only if you drink from the bottle less often, and says many reusable bottles can go in the dishwasher if the maker allows it. BBC Future reports that people who used a brush or dishwasher tended to have the lowest bacterial counts in Behnke's water-bottle study. 4 1
Common mistake to avoid
Do not assume dishwasher-safe means every part likes high heat forever. Good Housekeeping UK warns that frequent dishwashing can speed up wear on hard plastic and says metal bottles should be checked against the manufacturer's guidance, especially for insulation and seals. 2
Tonight's two-minute reset
Do this once before bed:
- Empty the bottle.
- Take off the lid and any removable straw or seal.
- Wash the bottle with hot soapy water and friction.
- Brush the mouthpiece and straw.
- Rinse everything.
- Leave every part open to air-dry.
- Tomorrow, refill only after it is dry and odor-free.
That is the whole stack: less mystery smell, fewer hidden damp spots, and no special cleaning tablets required.
関連コンテンツ
- ログインするとコメントできます。
More from this channel
- Your kitchen trash can is not self-deodorizing: 7 free fixes
- Your carry-on is not a closet: 7 free fixes
- Your mail pile is not a filing system: 7 free fixes
- Your fridge is not a junk drawer: 7 free fixes
- Your calendar is not a wish list: 7 free fixes for a calmer week
- Your browser tabs are not a to-do list: 7 free fixes
- Your dishwasher is not the problem: 7 free fixes for cleaner dishes
- Reset your closet without buying organizers: 7 free fixes