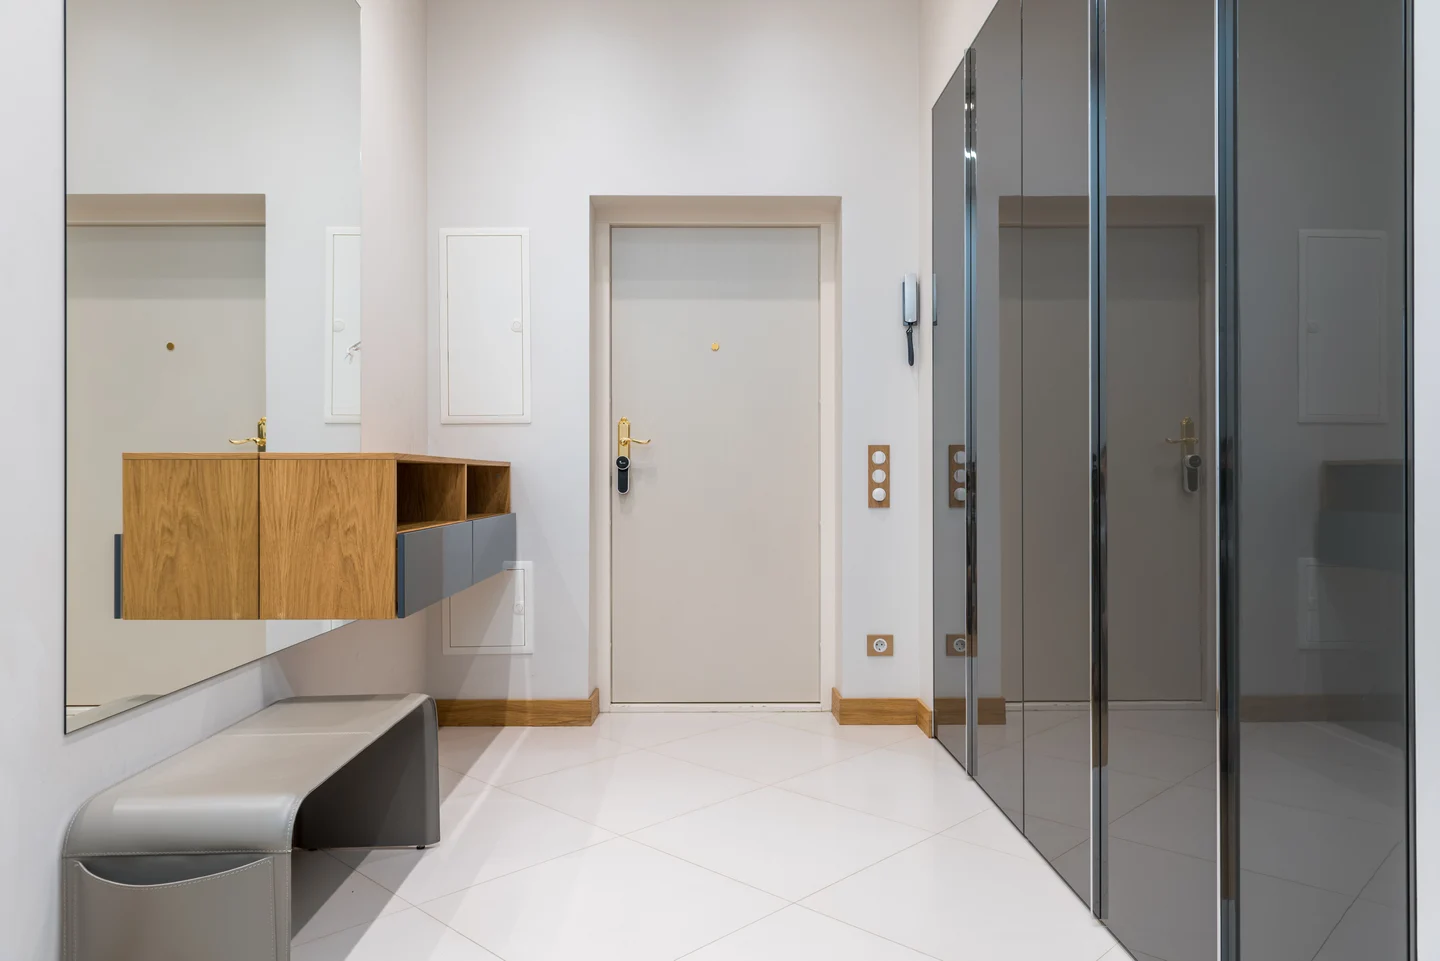
No-Drill Entryway Drop Zone: Your Saturday Renter Project
Build a freestanding entryway landing strip with a shoe-storage bench and light-duty over-door hook rail, keeping it reversible and under $150.
The weekend plan
A narrow entryway can become a daily drop zone without drilling into the wall: pair a freestanding shoe-storage bench with a light-duty over-the-door hook rail, then add a loose tray and bins for the small stuff. Everything lifts out when you move, and the full materials plan comes to about $134 before tax, or about $142 if you also need a tape measure.
Plan on three to four hours, including bench assembly and a test run with the door open and closed. This project is for shoes, keys, a jacket, and a small bag. It is not a substitute for a secured coat rack, a child-safety barrier, or storage in a shared hallway.
The layout needs a level floor, an interior door that still latches with the hook rail installed, and a clear path through the entry. Keep the bench inside your unit and away from radiators, space heaters, candles, and the swing of the front door.
Materials and estimated cost
| Item | Quantity | Planning estimate | What to check |
|---|---|---|---|
| Freestanding shoe-storage bench | 1 | $69.99 | The IKEA TJUSIG bench is 42 1/2 in wide, 13 3/8 in deep, 19 5/8 in high, and listed to hold about eight pairs of shoes. 1 |
| Over-the-door hook rail | 1 | $15 | Choose a six-hook rail made for your door thickness. The Target Brightroom model is steel, powder-coated, and requires no assembly. 2 |
| Shallow catch-all tray | 1 | $12 | Pick a tray that sits flat on the bench and has a raised edge. |
| Small fabric bins | 2 | $20 total | Use soft-sided bins for gloves, hats, or reusable bags. |
| Loose non-slip shelf liner | About 2 sq. ft. | $8 | Cut it to sit under the tray and bench accessories. Do not glue it down. |
| Felt pads or thin furniture glides | 4-6 | $5 | Use a removable, non-adhesive option where the bench touches the floor. |
| Labels and a marker | 1 set | $4 | Optional; use paper labels inside the bins. |
| Tape measure, if needed | 1 | $8 | A basic 12- to 16-foot tape is enough. |
Estimated total: about $142 with a tape measure, or $134 without one if you already own it. The prices for the smaller accessories are allowances, not quotes; color, store, and sales will move the total. The bench and hook rail are the two items that determine whether this particular layout fits your space.
Measure before you buy
Measure the wall-side floor area where the bench will sit. Leave the door swing, baseboard, and any radiator clear. The TJUSIG reference size is about 42 1/2 in wide by 13 3/8 in deep, so use the actual product dimensions rather than guessing from a listing photo.
For the hook rail, measure the door thickness and the gap above the door. A hook that is too tight can scrape the finish or keep the latch from catching. A hook that is too loose can rattle every time the door moves. If the product page does not state a fit for your door, choose another model or ask the retailer before buying.
Build it in a Saturday
1. Pick the landing spot
Choose a flat, dry section of floor inside the apartment. The bench should not sit on a threshold, on top of a thick rug edge, or where the front door can strike it. Keep the unit's required exit route usable, and do not put the bench in a shared corridor or stair landing.
Check nearby heat sources before you unpack anything. The U.S. Fire Administration says to keep anything that can burn at least 3 feet from fireplaces, wood stoves, radiators, space heaters, and candles. 3 That includes coats, fabric bins, the tray, and the bags you plan to hang.
2. Protect the floor without bonding anything to it
Sweep or vacuum the footprint. If the floor is hard and smooth, place a loose piece of non-slip liner under the bench's contact points. Add thin felt pads only if they stay flat and do not make the bench rock. Do not stack cardboard, folded towels, or thick foam under one leg to correct an uneven floor.
On plush carpet, test the bench before loading it. Sit on the floor nearby and press the bench gently from each side. If it rocks, twists, or walks, move it to a firmer surface. A deposit-safe project still needs to be stable enough for normal use.
3. Assemble the bench
Follow the bench's included instructions and keep every fastener in the box until the frame is complete. Tighten each joint by hand until the frame is square; forcing a screw can damage the board or strip the hardware.
Before standing the bench in its final position, check that the shoe bars or shelves are fully seated and that no fastener head protrudes. Lift the bench with a second person if the assembled frame feels awkward. Do not drag it across the floor.
Place it in the footprint and give it a light push from the front and both sides. If it shifts, stop and correct the floor contact before adding shoes or a tray.
4. Fit the door hook rail
Install the hook rail on an interior door that opens and closes normally. Keep the rail centered over the door rather than over the hinge edge. Close the door slowly and listen for scraping. The door must still latch, the hinges must not bind, and the hook body must not pinch the frame.
The Target Brightroom reference is a six-hook, no-assembly steel rail. Use the model's fit instructions for your actual door thickness, and treat the rail as light-duty until its own load information is confirmed. Start with one light jacket or scarf per hook. Do not hang a loaded backpack, a suitcase, a wet laundry bag, a pull-up bar, or anything that invites a child or pet to pull on it.
If the rail shifts when you open the door, remove it. Do not add adhesive, screws, folded cardboard, or tape to make an incompatible rail fit.
5. Set up the bench top
Place the tray near the door side of the bench so keys and a wallet have one landing spot. Put one fabric bin under or beside the tray for hats and gloves, and reserve the second for reusable bags or small umbrellas.
Keep the tray shallow enough that it cannot catch the opening door. Leave the bench's shoe area open for the pairs you use most often. Store heavier items on the lowest level and keep the top clear enough that you can sit or reach past it without knocking the tray off.
Avoid turning the bench into a makeshift step. Use a proper step stool for anything overhead, and only sit on the bench if the product instructions and its finished assembly support that use.
6. Test the whole station
Open the door fully, close it, and repeat the movement with the hooks holding one jacket. Walk through the entry with shoes on. Check that the bench does not narrow the path, the door does not hit the tray, and nothing catches on the hook rail.
Leave the station lightly loaded for the first day. Recheck the bench after you use the door several times and look at the floor under each contact point. A shifting rack or a new mark is a reason to remove the load, not to add more weight.
Renter checks before you call it finished
Surface compatibility
| Area | Good condition | Stop and change the plan if... |
|---|---|---|
| Floor under the bench | Level, dry, firm, and clean | The floor is damp, soft, sloped, or covered by a rug edge that makes the frame rock |
| Door and frame | Interior door with enough top clearance and a working latch | The rail scrapes, the door will not latch, the frame is delicate, or the hinges bind |
| Bench top | Flat and clear of the door swing | The tray projects into the opening or the bench is being used as a step |
| Shared areas | None; keep the project inside the unit | The plan would occupy a corridor, stair landing, or common entry without written permission |
Do you need to ask your landlord?
There are no wall holes, but send a quick message if the bench will sit near the unit's front door, if the hook rail touches a painted door, or if your lease has rules about door hardware and egress. Include the proposed location and say that the station is freestanding, the hook rail is removable, and you will keep the doorway and heat sources clear.
Ask before placing anything outside your apartment or in a shared hallway. A landlord's approval does not make a blocked exit safe, and a "no-drill" label does not remove the risk of scratches, hinge strain, or a door that no longer latches.
Move-out removal
Empty the tray, bins, bench, and hooks first. Lift the bench straight up with help rather than sliding it. Remove the felt pads and loose liner, then inspect the floor from several angles.
Support the hook rail with one hand while lifting it off the door. Do not twist it sideways against the finish. Close the door and confirm that the latch, hinge side, and top edge all look and work as they did before installation.
For dust or a light scuff, start with a dry microfiber cloth. If the surface owner allows wet cleaning, test a small amount of mild soap solution in a hidden area and dry it right away. Skip solvent cleaners, abrasive sponges, and aggressive scrubbing on painted doors or finished floors.
Keep the bench hardware, pads, tray, and hook rail together in a labeled bag. The station should leave the apartment as a set of ordinary, reusable items rather than a collection of improvised fixes.
Is this the right Saturday project for you?
Choose it if you need a defined place for shoes, keys, and a few daily layers, and you have a firm floor plus a compatible interior door. Skip it if your entry is part of a required exit route, the door is unusually thick or delicate, the floor is unstable, or you need to store heavy bags. In those cases, use a freestanding cabinet or a landlord-approved built-in solution instead of forcing an over-door rail to do more than it was designed to do.
Next Saturday
Next week: a no-drill bedroom closet refresh using a freestanding garment rack and removable fabric storage, with a small-space layout that stays clear of doors and heat sources.
関連コンテンツ
- ログインするとコメントできます。