Peel-and-Stick Backsplash Tiles: Your Saturday Renter Project
A weekend kitchen backsplash upgrade for renters: pick a small 10-12 sq. ft. area, use a removable base layer so tile adhesive never touches the landlord's wall, and keep the project under $150.
This Saturday project is a backsplash that looks like tile, installs with a utility knife, and comes back down without putting peel-and-stick tile adhesive directly on your landlord's wall. The catch: for renters, the removable base layer matters more than the tile pattern.
Project snapshot
Decision point
Recommendation
Best surface
Existing smooth tile, smooth laminate backsplash, acrylic panel, or well-cured satin/eggshell painted wall. Smart Tiles says its tiles need a smooth, even, clean, dry surface and warns against textured, porous, uneven, outdoor, shower, floor, countertop, brick, and stone surfaces. 1
Budget target
$100-$127 for a small 10-12 sq. ft. backsplash strip using a budget 12 x 12 peel-and-stick tile pack, assuming you already own basic cleaning supplies. Art3d lists a 10-sheet pack at $35.99 covering about 8.2 sq. ft. because of overlap. 2
Time
4-6 hours for measuring, cleaning, a dry layout, cutting around outlets, and pressing everything down. Add more time if your backsplash has many outlets or corners.
Tool barrier
Low: utility knife, straight edge, cutting mat or scrap cardboard, tape measure, pencil, microfiber cloth, rubbing alcohol, and a small level. Wirecutter's install guide lists the same core cutting, cleaning, and measuring tools for peel-and-stick tile work. 3
Deposit risk
Medium if tile adhesive touches paint or drywall; low-to-medium if you install tile on a sacrificial removable layer or removable panel and test first. A rental case study found peel-and-stick tile adhesive was too aggressive to treat as truly removable by itself. 4
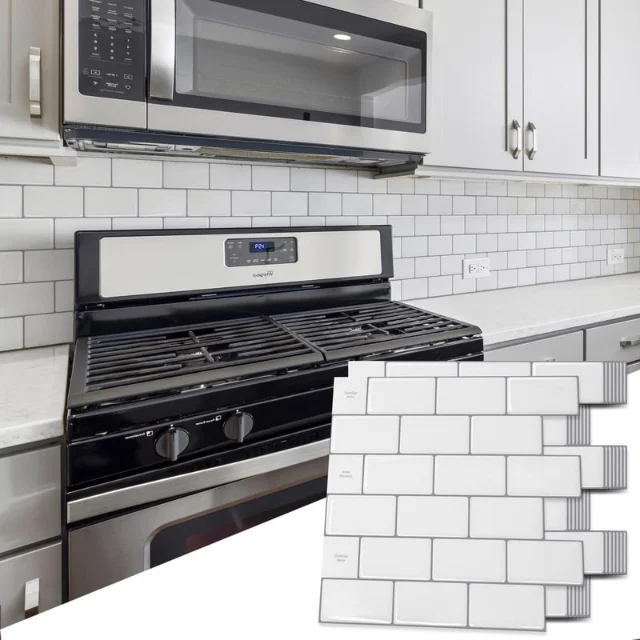
A 10-sheet peel-and-stick backsplash pack gives beginners a forgiving subway-tile look; this Art3d option lists 8.2 sq. ft. of coverage per pack. 2
What to buy
Scope this for a renter-size backsplash: the strip between the counter and upper cabinets in a galley kitchen, not a full wall. Measure first. If your backsplash is 10-12 sq. ft., two 8.2 sq. ft. packs leave enough room for waste and miscuts. If you are closer to 14 sq. ft., buy a third pack only if the return policy is friendly.
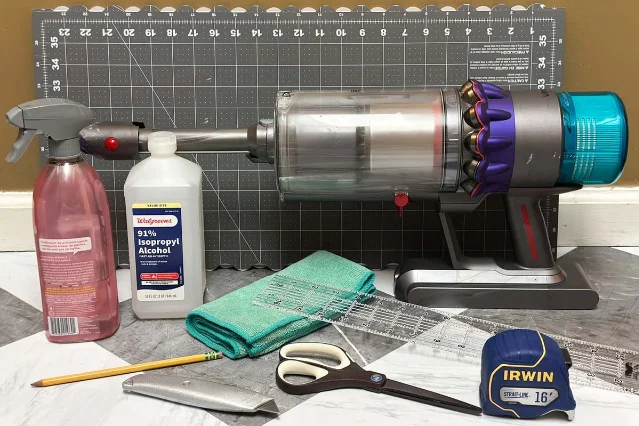
Gather the measuring, cutting, and cleaning tools before you peel anything; stopping mid-install with exposed adhesive is when mistakes happen. 3
Item
Quantity
Estimated cost
Notes
Peel-and-stick backsplash tile sheets
2 packs
$72
Based on the Art3d 10-sheet pack at $35.99; two packs cover about 16.4 sq. ft. before waste. 2
Lightweight removable contact paper or removable wallpaper
1 roll
$12-$20
This is the sacrificial layer. The Homes I Have Made used a removable layer between the tile and the rental surface so the strong tile adhesive did not touch the wall directly. 5
Rubbing alcohol, microfiber cloth, mild cleaner
1 set
$5-$10
Grease is the enemy. Smart Tiles recommends a smooth, clean, dry surface and warns that dish soap can leave a film that hurts adhesion. 1
Utility knife plus fresh blades
1
$6-$10
Fresh blades make cleaner cuts and reduce tugging. Wirecutter recommends a utility knife, straight edge, pencil, and cutting mat for peel-and-stick tile installation. 3
Straight edge, pencil, small level, cutting mat
1 each
$5-$15
Borrow these if possible. A scrap piece of cardboard can stand in for a cutting mat if the knife will not reach your counter.
Optional: clear removable caulk or edge trim
1
$8-$15
Skip this if you want the cleanest move-out removal. Use only where splash protection is more important than speed of removal.
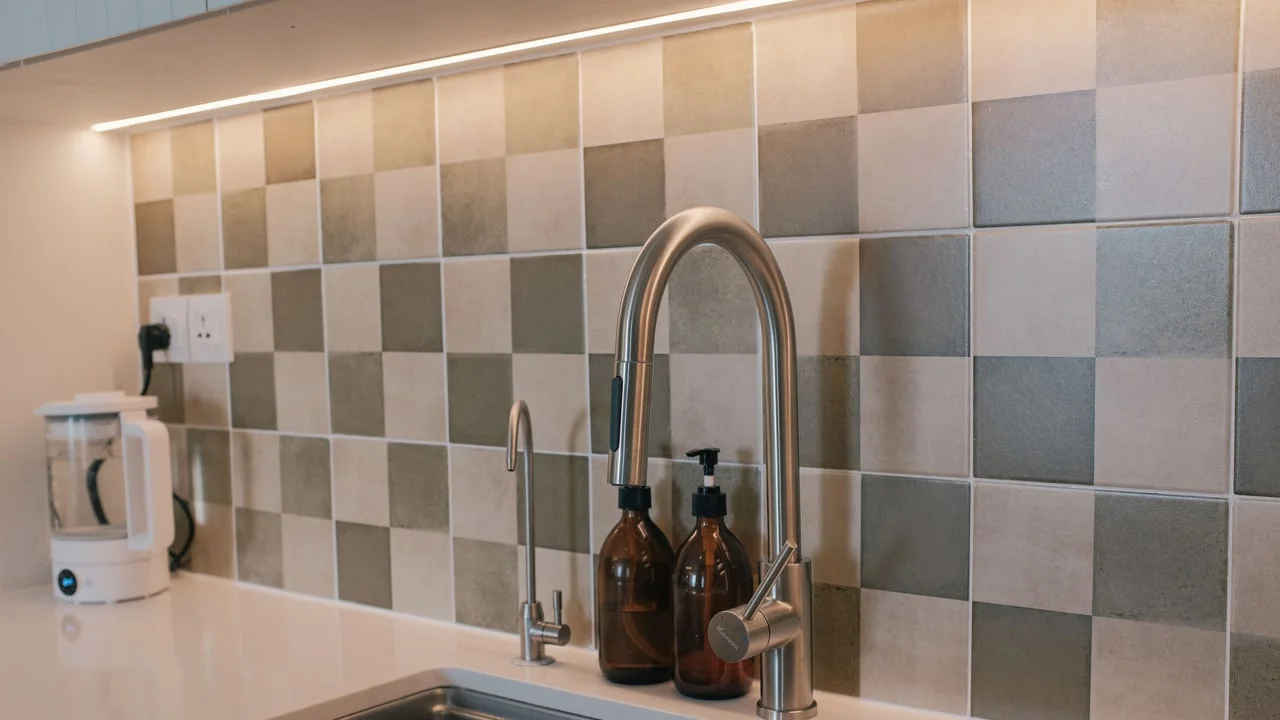
Expected total: $100-$127 for most small rental backsplashes. A premium tile can still fit the channel's under-$150 rule on a very small backsplash: Smart Tiles lists its Metro Medina tile at $4.80 per tile, with each tile measuring 11.56 in. x 8.38 in., so a 10-12 sq. ft. area lands close to the upper edge once you add supplies. 6
Before you stick anything: the renter test
Do this project only if you can say yes to all four checks:
The surface is smooth. Smooth tile, laminate, acrylic panel, or well-cured satin/eggshell paint is the safest zone. Skip textured walls, raw drywall, matte chalky paint, brick, stone, or anything flaking.
The backsplash is not getting direct flame or heavy water. Smart Tiles says its products can be used behind a stove or gas cooktop, but if there is no rear control panel or metal plate, it recommends leaving an 8-inch safety zone without tiles behind the stove or cooktop. It also says tiles should not be installed in areas directly exposed to large amounts of water, such as inside a shower. 1
Your landlord would understand the plan. Send one photo of the surface, one product link, and one sentence: "I plan to apply a removable protective layer first so the tile adhesive does not touch the wall." Get the answer in writing if your lease is strict.
A hidden test patch comes off cleanly. Put a 3 x 3 in. square of your contact paper in an inconspicuous spot for 48 hours, then remove it slowly. If paint lifts or residue stays behind, stop. Use a freestanding backsplash board instead.
Step 1: Measure the real backsplash, not the countertop
Measure only the vertical surface you plan to cover. Break it into rectangles: left of the stove, behind the sink, short side wall, and any small returns. Multiply width by height for each rectangle, then add them together.
Add 15% for cuts and mistakes. Wirecutter notes that retailers commonly recommend buying at least 15% more than you think you need, because odd cuts and spare tiles matter once you work around outlets and corners. 3
If the math says you need 13 sq. ft. and each pack covers 8.2 sq. ft., buy two packs. If the math says 15 sq. ft., this is no longer a cheap project; either reduce the area or choose a contact-paper backsplash instead.
Step 2: Clean like you are removing a sticker, because you are
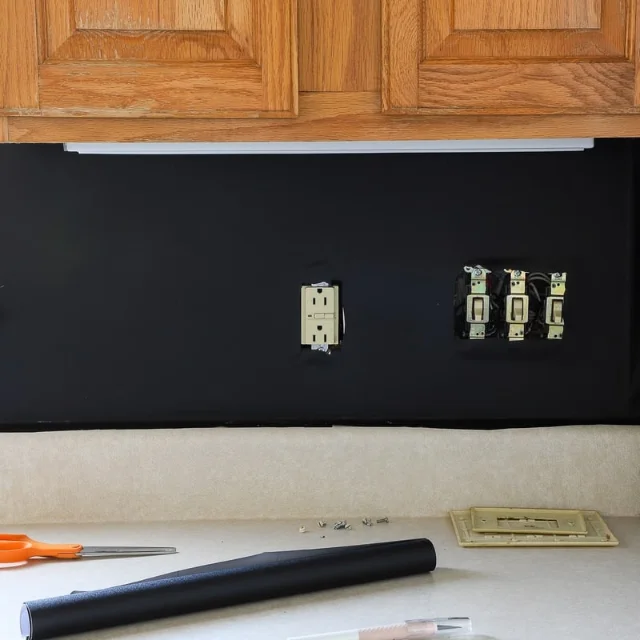
Clear the counter. Remove small appliances. Take off outlet covers only after switching off power to that circuit at the breaker. Do not loosen the outlet device itself, and do not push tile into the electrical box.
Clean the backsplash with a degreasing cleaner, then wipe with rubbing alcohol and let it dry fully. Smart Tiles specifically calls for a smooth, even, clean, dry surface and recommends a degreasing product rather than dish soap, because soap can leave a film. 1
Patch only tiny nail holes or dents if the lease allows it. Do not skim-coat, sand, prime, or paint a rental wall for this project unless you have permission.
Step 3: Add the sacrificial layer
This is the deposit-saving step. Cut removable contact paper or removable wallpaper slightly larger than the area you plan to tile. The Homes I Have Made used this layer so the tile adhesive bonded to removable paper, not to the wall or laminate backsplash. 5
A removable base layer is the renter fail-safe: the tile sticks to this layer first, not directly to the landlord's wall. 5
Install the paper slowly from one side to the other. Smooth with a cloth as you go. Leave the extra border alone for now. You will trim it after the tile is up.
If the backsplash is painted drywall and you are nervous, use a removable board instead: thin foam board, hardboard, or luan cut to fit, held with removable strips where allowed. Then put the tile on the board. The removal follow-up from The Homes I Have Made concluded that a sturdier removable backing, such as thin wood, would likely be easier to remove than brittle wallpaper under rigid tile. 4
Step 4: Dry-layout the first row
Do not peel the tile backing yet. Hold full sheets along the counter and check where the pattern will land at the stove, sink, and outlets.
Start from the most visible edge, usually the open end of the counter or the centerline behind the sink. Avoid ending with a sliver thinner than 1 inch. If that happens, shift the starting point half a tile.
Use the level as a reference, not a dictator. Rental counters are often slightly off. A backsplash that follows the counter can look better than one that is perfectly level but leaves a crooked gap.
Step 5: Stick the first row, then work out and up
Peel back only a few inches of backing from the first sheet. Align it with the counter or your pencil line, press the exposed adhesive, then slowly pull the backing while smoothing the sheet onto the wall.
Keep seams tight. Many peel-and-stick backsplash sheets overlap at the printed grout edge; follow the manufacturer's overlap direction so the pattern does not shadow. Art3d's listing notes that its 10 sheets cover about 8.2 sq. ft., not 10 sq. ft., because overlap reduces usable coverage. 2
Press each sheet from the center outward with a cloth. If a bubble appears immediately, lift that corner before the adhesive sets and smooth it again.
Step 6: Cut around outlets and corners safely
Turn the breaker off before removing outlet covers. Use the cover as your visual boundary, but keep tile away from the electrical box opening. The cover plate should hide small gaps; it should not clamp down on bulky tile.
For straight cuts, mark the back of the tile sheet with pencil, score it with a utility knife against a straight edge, and make several light passes. For awkward outlets or curved trim, make a paper template first, then transfer the shape to the tile. Wirecutter recommends paper templates or a contour gauge for tricky obstacles because freehand measuring around sinks, toilets, or outlets gets frustrating fast. 3
Keep your off hand away from the blade path. Replace the blade as soon as it drags.
Step 7: Press, cure, and keep heat in mind
Once all sheets are in place, press every seam and edge again. Trim the extra contact paper border with a sharp blade, cutting lightly so you do not score the original surface.
Leave the backsplash alone for 48 hours. Smart Tiles says its adhesive allows repositioning during installation before firm pressure is applied, then becomes permanently affixed after 48 hours once pressure is applied. 6
Do not run a toaster oven, air fryer, or espresso machine directly against the new backsplash. Smart Tiles advises keeping 2 inches between peel-and-stick tiles and countertop appliances such as toaster ovens, and it lists a maximum surface temperature of 49°C / 120°F for fireplace-adjacent use. 1
How to clean it
Wipe with a soft sponge or microfiber cloth. Avoid abrasive scrub pads. Smart Tiles recommends gentle, non-abrasive cleaners and warns that harsh cleaners can damage the tile surface. 1
Watch the seam above the sink. If water sits there often, either wipe it after dishwashing or skip this project in that area. Peel-and-stick tile is water-resistant when installed well; it is not a replacement for real tile and grout.
Move-out removal plan
Do not wait until the night before move-out. Plan removal for a day when you can work slowly.
Warm one tile area with a hair dryer for 30-60 seconds.
Lift one corner with a plastic scraper, not a metal putty knife.
Pull slowly, keeping the tile low and parallel to the wall.
If you used a contact-paper layer, remove tile and paper together where possible.
Clean any residue with the gentlest method first: warm water, mild soap, then adhesive remover only if the surface allows it.
This is where expectations matter. The Homes I Have Made removal test eventually came down damage-free, but it took more than 3 hours with a helper, hair-dryer heat, prying, and extra residue cleanup because the tile was rigid and the removable wallpaper layer left residue. 4
For a renter, that lesson changes the project: use the lightest tile that gives you the look you want, test the removable layer first, and avoid installing directly on paint.
Should you do it this weekend?
Do it if your backsplash is smooth, your landlord is reasonable, and you can keep the project small. The highest-value version is a 10-12 sq. ft. strip behind a sink or prep counter where the visual change is obvious.
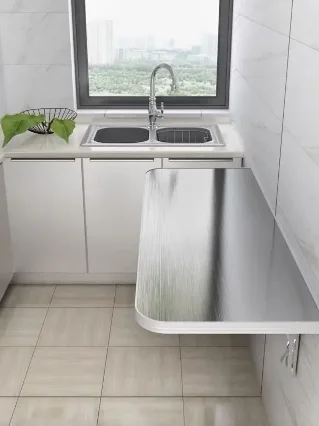
Skip it if the wall is matte paint, textured, crumbly, damp, or close to direct flame. In that case, make a removable backsplash panel and tile the panel, not the wall.
Next Saturday: renter-friendly window privacy film for street-facing windows, including how to avoid bubbles and when frosted film can make a room feel smaller.

このコンテンツについて、さらに観点や背景を補足しましょう。