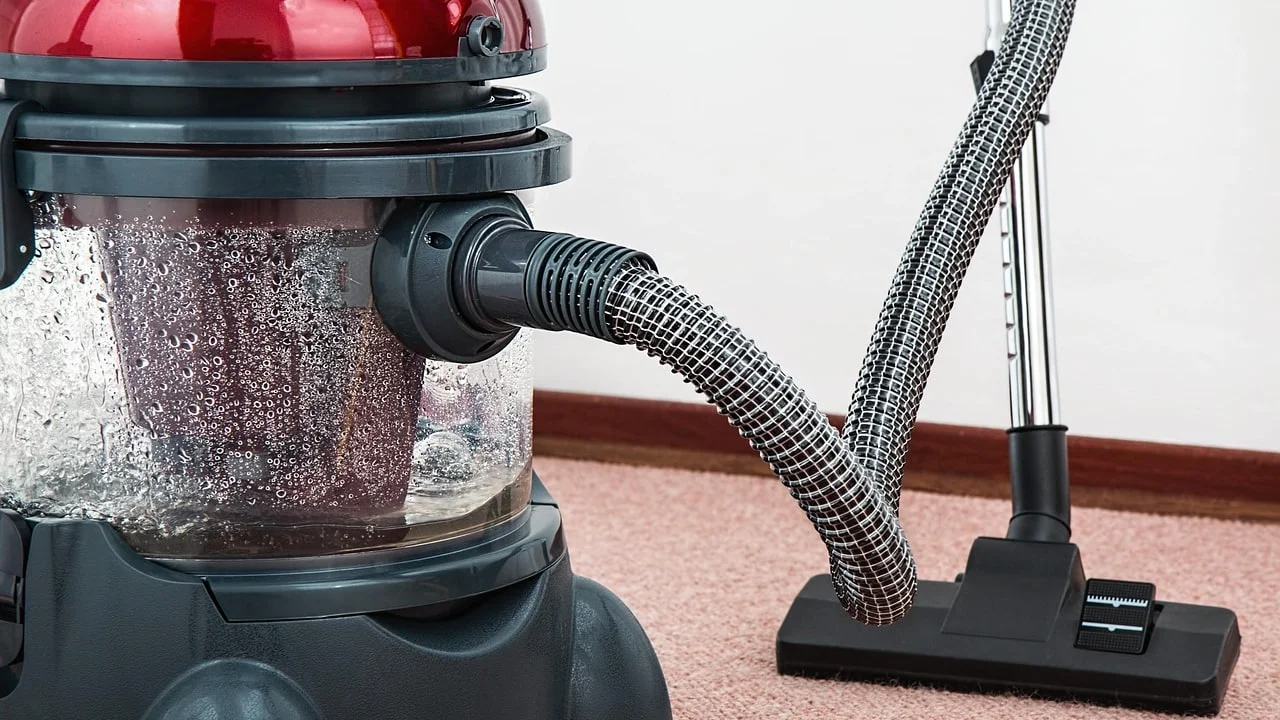
Your vacuum is not a magic wand: 7 free fixes for cleaner floors
A no-buy vacuuming reset with seven practical fixes for cleaner floors, stronger airflow, better surface settings, and fewer blockages.

The useful reset
A vacuum does not compensate for a blocked brush roll, a packed canister, or a head that is wrong for the floor. The free upgrade is a repeatable order: clear the floor, set up the machine, work slowly in a pattern, then keep the airflow path open.
The seven fixes below work with the vacuum you already have. They do not require fragrance beads, essential oils, or a new attachment set.
1. Clear the floor before you switch it on
- Pick up obvious objects such as coins, toys, paper, and large scraps.
- Move light furniture or curtains far enough away that the floor head can pass without catching them.
- Put fragile or sharp items somewhere else before you start.
- If you find liquid, fireplace ash, drywall dust, or a large hard object, deal with it separately instead of asking a regular household vacuum to swallow it. 1
Why it works: You spend the pass collecting floor dirt rather than stopping to rescue a cord or dislodge a blockage. Clearing the route also lets you keep the head flat and moving at a steady speed.
Avoid: Do not use a standard household vacuum as a wet/dry or shop vacuum. Moisture, fireplace ash, construction dust, and oversized debris can damage the machine or spread fine dust through the room. The right response is removal by hand or with a tool designed for that material.
2. Empty the collector before a serious clean
- Check the canister or bag before you begin.
- Empty a bagless canister if it is near its fill line, or earlier if suction has already dropped.
- On a bagged machine, replace a noticeably full bag rather than trying to stretch it. Do not reuse a disposable bag.
- Close the collector securely, then check that the hose and inlet are not blocked. 2
Why it works: A crowded collector leaves less room for incoming dirt and can reduce the machine's efficiency. Starting with an open collector gives the first pass a better chance of picking up what is actually on the floor. 3
Avoid: Do not turn an emptying routine into a universal rule that ignores your model. Some vacuums use a fill indicator, some use a maximum line, and some lose suction before either is obvious. Use the indicator and the manual for your machine.
3. Match the floor head to the surface
- Identify the surface before you start: low-pile carpet, high-pile carpet, wood, tile, or another hard floor.
- On carpet, set the pile-height control so the head can move without sealing itself to the fibers. A lower setting suits low-pile carpet; a higher setting makes a high-pile carpet easier to move across. 4
- On hard floors, use the hard-floor setting or the hard-floor tool if your vacuum has one.
- If the brush roll cannot be switched off and your manual does not approve it for that surface, use a different head or sweep that area instead. 4
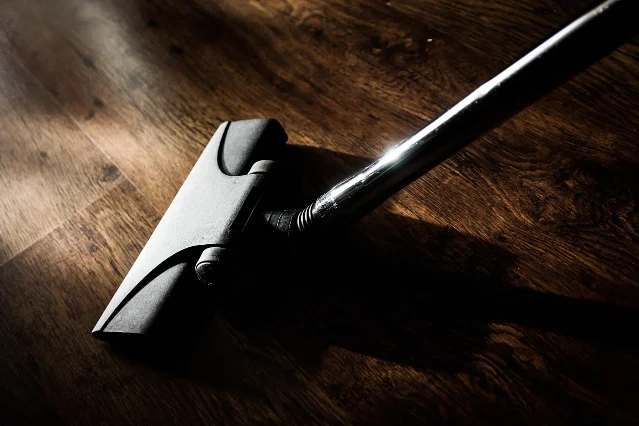
Why it works: The head is the part that makes contact with the floor. Its height and brush action determine whether the vacuum can move air and dirt through the surface without dragging, sealing, or brushing a vulnerable finish too aggressively.
Avoid: Do not copy a setting from a different vacuum. A control marked for carpet on one model may mean something different on another. If the head feels stuck or the floor finish is delicate, stop and check the manual.
4. Vacuum slowly in overlapping lanes
- Begin in the farthest corner of the room.
- Point each pass toward the door so you do not walk repeatedly over the area you just cleaned.
- Push the head forward in a straight line, then pull it back over the same lane.
- Shift over slightly and overlap the previous lane before repeating.
- Keep the pace slow enough that the head stays in contact with the floor instead of skimming over it. 3
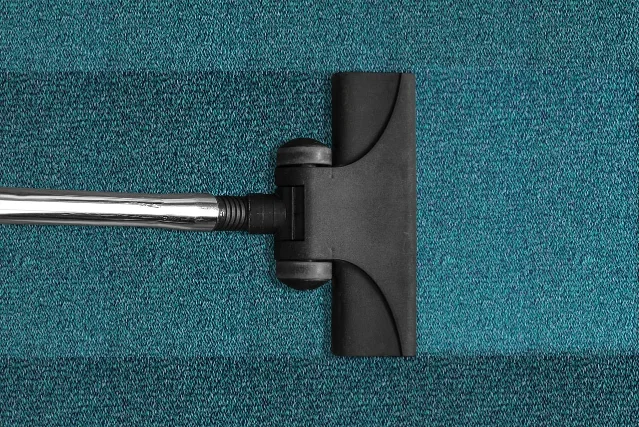
Why it works: A fast, random sweep can skip strips of floor. Overlap closes the gaps, and the slower movement gives suction more time at each patch.
Avoid: Do not keep making extra passes just because the room feels unfinished. If dirt remains in one spot, look for a full collector, a tangled roll, a blocked hose, or a surface-setting problem before simply moving faster.
5. Use the small tools for edges and gaps
- Finish the open floor with the main head.
- Attach the crevice tool for baseboards, corners, thresholds, and the narrow space under furniture.
- Use a dusting brush on delicate trim or dusty table legs if your model includes one.
- For upholstery, use the upholstery tool instead of forcing a narrow crevice nozzle into the fabric. 4
Why it works: The broad floor head is built for open areas. A narrow nozzle or soft brush can reach the places where the wide head cannot seal or turn.
Avoid: Do not press a hard crevice nozzle into painted trim, soft upholstery, or a fragile floor seam. Let the tool do the reaching; pressure is not extra suction.
6. Cut brush-roll tangles before they become a blockage
- Turn the vacuum off and unplug it, or remove the battery if that is how your model is isolated.
- Turn the floor head over and check the roller for hair, thread, dental floss, and string.
- Cut the tangle along the roller's intended cutting groove if your model has one. Otherwise, use small scissors carefully and keep the bristles out of the cutting path.
- Pull the loosened strands away, then spin the roller by hand only if the manual allows that check.
- Repeat whenever you empty the canister or replace the bag, rather than waiting for the roller to stop. 1 2
Why it works: A wrapped roller cannot agitate carpet normally and can make the vacuum work harder. Removing the tangle restores the moving part before it becomes the reason for a weak clean.
Avoid: Never cut while the machine is powered, and do not yank a tight tangle. If the brush head contains electrical parts, do not wash it unless the manual explicitly says you can. Dry, loose strands are the low-risk cleanup.
7. Keep the filter and air path dry and clear
- Turn the vacuum off and unplug it before opening the filter area.
- Check the filter every time you empty the canister, or at the interval in your manual.
- If the filter is not washable, tap it over a bin or brush it gently as the manual permits. Do not rinse it by habit.
- If the filter is designed to be washed, use cold water and let it dry completely, standing in a ventilated place. Good Housekeeping advises allowing a washed filter at least 24 hours to dry before reinstalling it. 2
- While the filter is out, check the hose, inlet, and other accessible air paths for a clog. Put every part back only when it is clean, dry, and seated correctly.
Why it works: A clogged or failed filter can leave dust behind even after you empty the collector. Keeping the air path clear helps the vacuum move air through the machine instead of fighting its own buildup. 1
Avoid: A damp filter is not a shortcut. Moisture left inside the machine can create odor and other problems, and a filter that is not marked washable may be damaged by water. The model manual wins over a generic cleaning hack.
A five-minute version for busy days
When you do not have time for a full room, clear the route, empty the collector if needed, and vacuum the high-traffic lane from the farthest point toward the door. Use the crevice tool only on the one edge that collects the most grit. Before putting the vacuum away, check the brush roll for hair and leave any washed part out until it is fully dry.
That small routine keeps the machine ready for the next proper pass. It also makes the next clean shorter because you are not rebuilding the same blockage or walking around the same objects.
Contenido relacionado
- Inicia sesión para comentar.
More from this channel
- Your kitchen drawers are not a mystery box: 7 no-buy fixes
- Your windows are not self-cleaning: 7 no-buy fixes for clearer glass
- Your linen closet is not a storage lottery: 7 free fixes
- Your under-sink cabinet is not a junk drawer: 7 free fixes
- Your password list is not a security plan: 7 free fixes
- Your bathroom counter is not a supply closet: 7 free fixes
- Your downloads folder is not an archive: 7 free fixes
- Your spice cabinet is not a museum: 7 free fixes