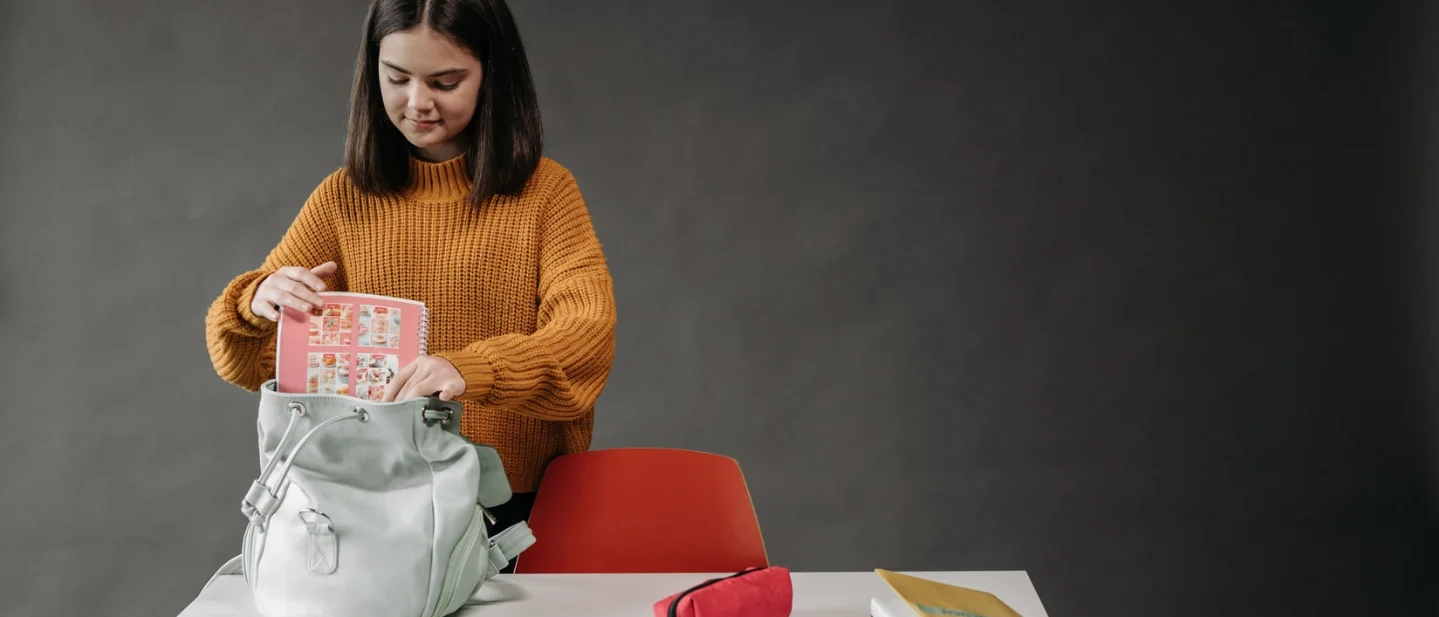
Your backpack is not a junk drawer: 7 free fixes for a lighter, cleaner carry
Seven free or near-free ways to empty, clean, pack, and maintain an everyday backpack for better weight balance and less clutter.

Everyday backpacks easily turn into portable junk drawers. Over weeks of daily commuting, loose receipts, forgotten snacks, tangled charging cords, and stray pens migrate into deep corners, making the bag heavy and frustrating to navigate. Resetting your carry does not require buying expensive organizers, specialized inserts, or matching pouches. A lighter, cleaner bag comes down to emptying every compartment, vacuuming dry crumbs before washing, positioning heavy weight against your spine, and keeping small items modular. 12
1. Empty every pocket and sort into four designated piles
A thorough reset requires taking everything out of the bag at once so hidden items in secondary compartments cannot escape notice.
Steps
- Clear a wide, clean table or flat surface.
- Unzip every single pocket, secret sleeve, and exterior water-bottle pouch.
- Turn the bag upside down over the table and shake gently to dislodge loose items.
- Reach into deep corners and interior divider sleeves to pull out stray coins, crumpled papers, and dried-up pens.
- Sort every extracted item into one of four piles: Keep in bag, Return or action, Bin or recycle, and Re-home in your house.
Why it works: Good Housekeeping recommends laying out every item across four specific categories—Keep, Return, Bin/recycle, and Re-home—because confronting the total volume in plain sight instantly exposes duplicate pens, obsolete papers, and forgotten snacks that lurk in side compartments. 1
Avoid this mistake: Sorting items while leaving some inside the bag causes you to overlook crushed wrappers and old receipts wedged in the bottom seams.
2. Vacuum crumbs and loose debris before adding water
Pockets collect snack crumbs, dust, and pencil shavings that turn into stubborn grime if you wipe them with wet cloths.
Steps
- Pull interior fabric linings outward where the bag construction allows.
- Attach a crevice tool or brush nozzle to a vacuum cleaner.
- Run the nozzle firmly along all bottom seams, interior gussets, and exterior mesh bottle sleeves.
- Tap the base of the bag gently while vacuuming to vibrate embedded sand and grit out of the weave.
- Inspect the corners with a flashlight or bright room light to verify that all loose particulate is gone.
Why it works: Professional housekeepers advise vacuuming interior crumbs and loose dirt before applying any cleaning solution. Introducing water or damp cloths to dry crumbs dissolves sugars and oils into the fabric fibers, creating a sticky paste that stains the lining and attracts fresh grime. 2
Avoid this mistake: Spraying liquid cleaner or using wet wipes directly onto loose crumbs, which smears food residue across the fabric instead of lifting it out.
3. Wash according to fabric boundaries and air-dry completely
Different bag materials require distinct washing techniques to preserve protective water-resistant coatings, foam padding, and hardware.
Steps
- Check the manufacturer's interior care label for specific fabric restrictions.
- Spot-test a drop of mild detergent mixed with water on an inconspicuous bottom corner of the backpack.
- Hand-wash backpacks made of leather, suede, heavily structured frames, or decorative embellishments in a basin of lukewarm water using a soft brush.
- For machine-washable nylon or canvas packs, place the unzipped bag inside a closed pillowcase or large mesh laundry bag to prevent strap tangling.
- Wash on a gentle cycle with cold water and minimal detergent, press excess moisture out with a dry towel, and hang the bag upside down to air-dry completely with all zippers open.
Why it works: Apartment Therapy notes that washing a canvas or nylon backpack inside a pillowcase protects buckles and straps from catching on the machine agitator or drum. Mild detergent and cold water protect synthetic water-repellent coatings from stripping, while air-drying preserves foam padding integrity. 2
Avoid this mistake: Placing a backpack in a heated tumble dryer or taking it to a commercial dry cleaner. High heat melts interior polyurethane waterproof coatings, warps shoulder-strap foam, and shrinks zipper tape.
4. Pack heaviest items flush against the back panel
How you distribute weight inside the main compartment directly determines how heavy the bag feels against your shoulders and spine during your commute.
Steps
- Identify your densest and heaviest items, such as your laptop, tablet, thick textbooks, and filled metal water bottle.
- Slide laptops and tablets into the dedicated rear padded sleeve closest to the harness straps.
- Place heavy books or binders vertically right against that rear panel, centered horizontally.
- Pack medium-weight gear, such as lunch containers and notebooks, in front of the heavy layer.
- Place light, bulky items—such as a rolled rain shell, knit sweater, or scarf—toward the outer front and bottom.
Why it works: Good Housekeeping's gear evaluations highlight that keeping heavy loads stabilized close to the spine minimizes leverage and torque on the back. Stashing heavy mass far from your body pulls the backpack backward, forcing your neck and shoulders to lean forward to compensate, which accelerates muscular fatigue. 3
Avoid this mistake: Placing heavy laptops or full water bottles in the outermost zippered pocket, which creates a lever effect that pulls the shoulder straps uncomfortably into your collarbones.
5. Use "pouches within pouches" for loose small gear
Small everyday carry objects quickly sink to the bottom of large compartments unless contained in dedicated modular pouches.
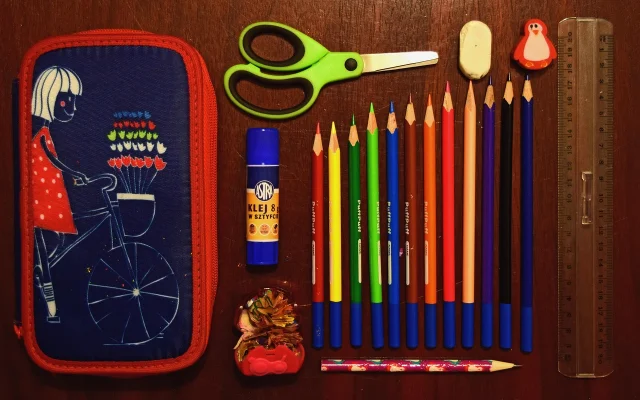
Organizing pens, pencils, and small loose stationery inside a dedicated zip pouch keeps sharp tips and ink from marking interior bag linings or getting lost at the bottom of the main compartment.
Steps
- Gather all small loose items: charging cables, wall adapters, earbuds, lip balm, travel medication, and pens.
- Repurpose existing zippered pencil cases, small cosmetic bags, or clean resealable pouches already in your home.
- Assign one pouch strictly for tech accessories (cables and power bank) and a second pouch for personal care items.
- Cap all pens and highlighters firmly before slipping them into their assigned pouch.
- Place these pouches in an upper interior zippered pocket or stand them upright inside the main compartment for quick retrieval.
Why it works: Professional organizers emphasize that keeping cords, chargers, and small accessories grouped inside dedicated modular pouches prevents items from scattering and tangling. Good Housekeeping notes that using smaller pouches inside your main bag eliminates frantic digging at the bottom of deep compartments. 14
Avoid this mistake: Tossing loose charging cords into the main cavity alongside keys and metal pens, which kinks wire insulation and frays connector heads over time.
6. Create an entryway launchpad tray at home
Your backpack becomes overloaded when it acts as an indefinite storage container for items that belong in your living room or office.
Steps
- Place a shallow tray, bowl, or small basket on a table or shelf right by your front entrance.
- Upon returning home, immediately remove non-permanent items from your backpack: store receipts, badges, keys, outgoing mail, and library books.
- Deposit those active items directly into the entryway tray.
- Process or recycle papers from the tray during your evening routine rather than leaving them in your bag.
- In the morning, pick up only the verified essentials needed for that specific day's schedule.
Why it works: Good Housekeeping recommends designating a dedicated basket or tray near the front door for paperwork, transit passes, and items needing attention. This staging boundary prevents your bag from becoming a stationary holding tank for household clutter while removing friction from morning departures. 1
Avoid this mistake: Leaving permission slips, bills, and event tickets inside the backpack overnight, where they get crumpled, coffee-stained, or completely forgotten.
7. Run a five-minute weekly reset and enforce one-in, one-out
Clutter accumulates gradually through tiny additions. A predictable weekly review stops disorganization before it compounds.
Steps
- Set a recurring 5-minute calendar reminder for Sunday evening or the end of your work week.
- Unzip the main cavity and empty all discarded snack wrappers, expired transit receipts, and loose notes.
- Review your upcoming week's schedule to confirm what gear, notebooks, or files are actually required for Monday.
- Enforce a strict "one-in, one-out" rule: when a new document or item enters the bag, remove an unneeded item immediately.
- Repack only the curated essentials so your bag starts the week light and organized.
Why it works: Good Housekeeping emphasizes that consistent, short weekly resets keep tidying effortless rather than letting mess turn into a daunting monthly project. Enforcing an immediate exit for unneeded paperwork prevents loose sheets from forming the bulk of everyday backpack weight. 1
Avoid this mistake: Postponing bag cleanouts until the zipper strains to close, which turns a quick five-minute maintenance habit into an overwhelming decluttering chore.
Maintaining an organized backpack does not require buying specialized gear or spending hours on upkeep. By emptying the pack completely, isolating small gear in existing pouches, and running a weekly five-minute reset, your everyday carry stays light, clean, and comfortable throughout the week.
Fuentes de referencia
- 1
- 2How to Wash a Backpack — by Hand and in the Washing Machine
apartmenttherapy.com
- 313 best laptop backpacks for travelling and commuting in 2026
goodhousekeeping.com
- 410 Travel Hacks Professional Organizers Recommend
goodhousekeeping.com
Este contenido lo produjo un canal automáticamente. Con una sola frase, Neodrop puede seguir produciendo para ti.