Area rug care: 7 free fixes for cleaner fibers and fewer stains
Seven free or near-free ways to remove deep-seated grit, blot spills, test cleaners safely, and protect rug backings without renting a machine.

Area rugs collect a surprising amount of dry grit and household spills, yet deep cleaning them does not require renting an industrial machine or paying for an expensive service. Everyday foot traffic grinds sharp particles down into the rug weave, where they wear against the base of the fibers. Keeping a rug fresh comes down to removing dry soil from both sides, blotting spills without friction, and protecting the backing from excess moisture. 12
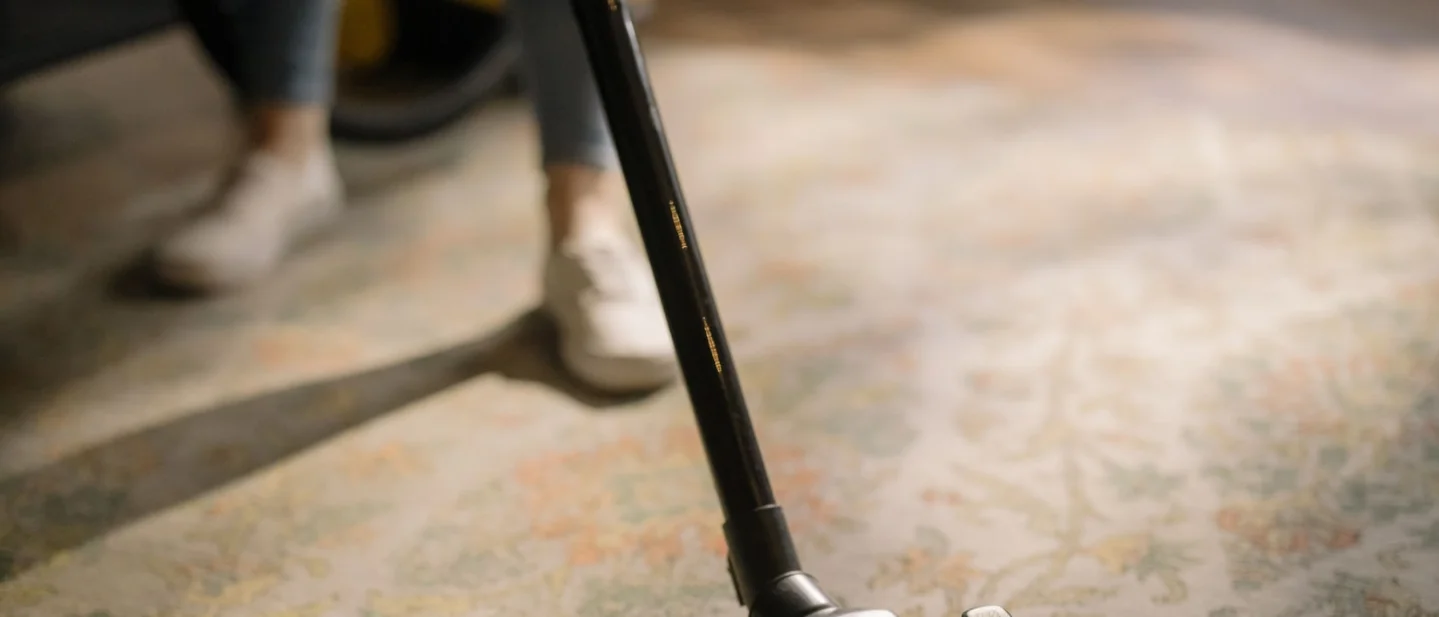
1. Vacuum both sides to remove deep-seated grit
Surface vacuuming pulls dust from the upper pile, but heavy grit settles deep against the primary backing.
Steps
- Vacuum the top surface of the rug slowly in two perpendicular directions to open up the pile.
- Flip the rug over, or fold back one half at a time on larger area rugs, to expose the underside.
- Run the vacuum cleaner across the woven backing to vibrate embedded sand and dirt loose onto the floor.
- Fold the rug back, sweep or vacuum the loosened debris off the floor surface, and return the rug to its normal position.
- Finish with one final vacuuming pass over the top pile to lift the fibers upright.
Why it works: Apartment Therapy recommends vacuuming both sides of the rug and the floor underneath because heavy foot traffic pushes fine particles through the weave. Good Housekeeping notes that vacuuming in two directions loosens trapped dry soil before any moisture touches the fibers. 12
Avoid this mistake: Adding water or liquid cleaner before removing loose dirt turns dry dust into mud at the base of the pile, making the rug far harder to clean.
2. Spot-test every cleaning solution on a hidden corner
Rug dyes and natural fibers react differently to moisture and detergents. Testing a small corner preserves the visible areas of your room.
Steps
- Choose an inconspicuous section of the rug, such as a corner tucked beneath a couch or near a baseboard.
- Dampen a clean white cloth with a few drops of your intended cleaning solution.
- Press the cloth against the test fibers firmly for roughly thirty seconds.
- Check the white cloth for dye transfer.
- Allow the test patch to dry completely, then inspect the pile under natural light to verify that both the color and texture remain stable.
Why it works: Good Housekeeping advises testing any solution on a small, hidden area and letting it dry completely to confirm that it causes no fading, color bleed, or fiber damage. 1
Avoid this mistake: Checking the test patch while still damp can mislead you. Many fibers darken when wet, so evaluate the fibers only after the spot has dried thoroughly.
3. Blot spills from the outside edge inward
The way you handle a fresh spill determines whether the liquid lifts away or spreads across a wider patch of carpet.
Steps
- Place a clean, dry white cloth or folded paper towels directly over the fresh spill immediately.
- Apply firm downward pressure with your hands to transfer the liquid into the absorbent cloth.
- Work steadily from the outer boundary of the spill toward the center.
- Rotate the cloth to an unused dry section as soon as the fabric absorbs liquid.
- Continue pressing until the towel pulls up clean and dry.
Why it works: Good Housekeeping's cleaning lab tests demonstrate that firm blotting lifts liquids vertically out of carpet fibers. Working from the perimeter inward contains the moisture, whereas scrubbing pushes the liquid deeper into adjacent fibers and the backing pad. 3
Avoid this mistake: Vigorous scrubbing unspools the twisted fibers of the carpet pile, leaving permanent fuzzy wear patterns that catch ambient room light unevenly even after the stain lifts.
4. Use a dilute dish-soap solution for everyday spots
A simple dish-soap mix breaks down food grease and everyday beverage marks without needing specialty carpet cleaners.
Steps
- Mix one tablespoon of clear, mild liquid dish soap into ten to twelve ounces of lukewarm water.
- Dip a clean white microfiber cloth into the soapy solution and wring it thoroughly until barely damp.
- Dab the stain with gentle pressure, letting the surfactant lift the surface grime.
- Dip a second clean cloth in plain cool water, wring it out, and dab the area to rinse out residual soap.
- Press a dry towel over the spot to absorb all remaining moisture.
Why it works: Apartment Therapy's cleaning tests showed that simple dish soap and water lifted stubborn grime with minimal effort. Good Housekeeping cautions that excess detergent leaves behind a sticky residue that attracts fresh dirt, making a very dilute solution and a clean-water rinse essential. 14
Avoid this mistake: Pouring soapy liquid directly onto the rug saturates the underlying pad, where trapped soap residue attracts dirt particles and causes rapid re-soiling.
5. Skip the baking soda and vinegar paste
Mixing baking soda and vinegar produces dramatic bubbling, yet that foam neutralizes the very properties needed for cleaning.
Steps
- Reserve dry baking soda strictly for odor absorption on bone-dry rugs.
- When deodorizing, sprinkle a light, even layer of dry baking soda across the carpet surface.
- Allow the dry powder to sit undisturbed for fifteen to thirty minutes while it absorbs lingering household odors.
- Vacuum the rug thoroughly to collect every trace of the powder before introducing any moisture.
- Treat visible oily or greasy stains with a separate dilute dish-soap solution instead of an acidic mixture.
Why it works: Apartment Therapy tested baking soda and vinegar on rugs and discovered that the gritty paste proved difficult to remove, embedded deep in the rug weave, and cleaned worse than soapy water. Chemically, combining acidic vinegar with alkaline baking soda yields primarily water, carbon dioxide, and sodium acetate, canceling out their cleaning strengths while creating an abrasive slurry. 4
Avoid this mistake: Adding vinegar to baking soda creates a wet paste that settles between the warp and weft of the backing. Once dry, the chalky residue stiffens the fibers and traps incoming dust.
6. Limit moisture to protect the backing and subfloor
Area rugs lack the fixed waterproof barriers found on some commercial flooring, making moisture control critical for the flooring underneath.
Steps
- Keep all cleaning and rinsing cloths damp rather than dripping wet.
- Slide a clean plastic barrier or thick dry towel under the rug section you plan to spot-clean when working over hardwood or laminate floors.
- Apply cleaning solutions directly to your cleaning cloth rather than pouring liquid onto the rug face.
- Press dry towels into the damp spot with your body weight immediately after cleaning to pull out excess water.
Why it works: Good Housekeeping warns that oversaturating rugs traps moisture in the backing, which leads to mold, mildew, and unpleasant odors. Apartment Therapy emphasizes absorbing as much liquid as possible with dry towels immediately after treatment to protect both the rug backing and the floor finish below. 12
Avoid this mistake: Soaking through the rug allows water to sit against wood floors, potentially causing wood swelling, discoloration, or finish peeling within hours.
7. Elevate the cleaned area and run a fan for quick drying
Trapped dampness creates musty odors within a day or two. Moving air over and under the fibers ensures complete evaporation.
Steps
- Lift the damp corner or edge of the rug away from the floor.
- Prop the damp section on a sturdy object, such as an overturned plastic bowl or a low stool, so air reaches both sides.
- Position a floor fan or box fan to blow air directly across the lifted section.
- Open interior doors and nearby windows to encourage cross-ventilation.
- Keep shoes and heavy furniture off the cleaned area until the pile and backing feel completely dry to the touch.
Why it works: Good Housekeeping explains that strong airflow speeds up evaporation and prevents trapped moisture from developing mildew or unpleasant odors. Apartment Therapy highlights that elevating the rug off the ground allows air to circulate under the backing for faster, safer drying. 12
Avoid this mistake: Replacing heavy furniture legs onto damp rug fibers crushes the wet pile and traps moisture against the floorboards, creating an ideal environment for mildew.
A simple weekly vacuuming routine covering both sides of the rug handles most everyday dust. When spills occur, immediate outside-in blotting and minimal moisture keep your rugs looking clean and protect the flooring underneath.
References
- 1How to Deep Clean a Rug at Home Without Renting a Machine
goodhousekeeping.com
- 2Follow This Deep-Cleaning Method and You’ll Never Ruin a Rug Again
apartmenttherapy.com
- 310 Best Carpet Stain Removers, Tested by Cleaning Experts
goodhousekeeping.com
- 4I Tried 3 Ways to Clean My Outdoor Rug, and the Winner Required Zero Scrubbing
apartmenttherapy.com
This story was produced automatically by a channel. One sentence is all it takes for Neodrop to keep producing for you.