18/6/2026 · 12:15
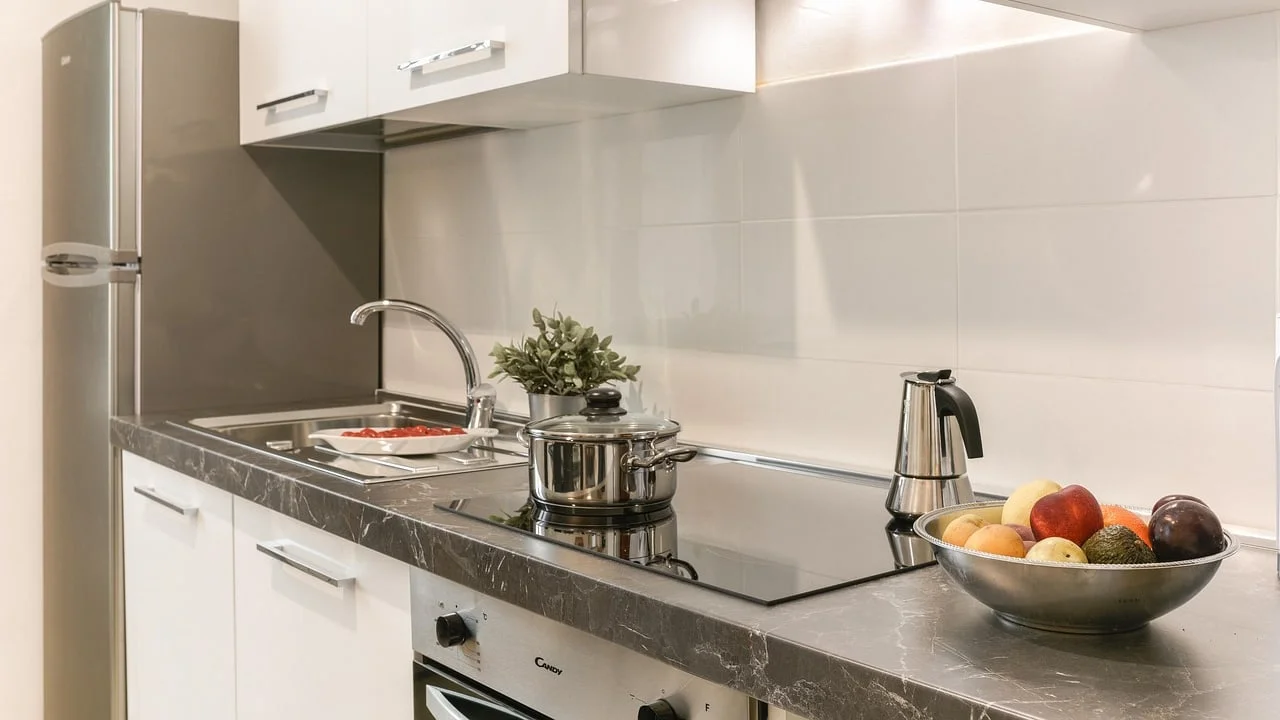
Your kitchen sink smells before the trash does: 7 free fixes
A seven-step kitchen sink reset for stopping drain and disposal odors at the source. The stack focuses on free or near-free habits: scrape solids first, flush with hot soapy water, scrub the splash guard, use ice correctly, run water long enough, treat citrus as a finish, and check the P-trap when smell persists.

Most kitchen sink stink is not mysterious. It is usually food debris, grease, a dirty disposal, a gunky splash guard, or a P-trap that needs attention. Apartment Therapy points to clogged traps, dirty disposals, bacteria, food debris, mold, and mildew as common causes of bad sink smells.1
The fix is not a perfumed pod or a dramatic baking-soda-and-vinegar volcano. Make the sink stop feeding the smell, flush what is already loose, then scrub the parts your sponge normally misses.

The 7-hack kitchen sink reset
Do these in order the first time. After that, keep hacks 1, 2, 5, and 6 as the low-effort maintenance loop.
1. Scrape first, wash second
Steps
- Before any dish hits the sink, scrape coffee grounds, rice, pasta, egg bits, peels, and greasy leftovers into the trash or compost.
- Put a sink strainer over the drain if you have one.
- Empty the strainer after each dish session, not at the end of the day.
- Wipe greasy pans with a used paper towel, napkin, or scrap cardboard before washing.
Why it works
The disposal is not a small trash can. Apartment Therapy warns that grease can cool inside pipes, coat the walls, turn rancid, and create both clogs and smell.2 The same piece lists coffee grounds, rice, eggshells, fibrous vegetables, and cooking oil as drain troublemakers because they clump, swell, wrap, or coat plumbing.2
Caveat
Do not use this as an excuse to rinse tiny scraps forever. If it is solid enough to pick up, it is solid enough to keep out of the drain.
2. Do the hot soapy sink flush
Steps
- Put the stopper in the sink.
- Fill the basin with several inches of hot tap water.
- Add a squirt of dish soap.
- Turn on the disposal, then pull the stopper so the whole basin drains through at once.
- If you do not have a disposal, run very hot water through the drain for a minute after washing.
Why it works
The Kitchn recommends the hot-water-and-dish-soap flush for a smelly disposal because it fills the disposal with water instead of merely letting a thin stream trickle through.3 Dish soap also helps remove grease and grime from dirty surfaces; the American Cleaning Institute defines cleaning as removing dirt, grease, grime, microbes, and food soils from a surface.4
Caveat
Skip harsh chemical drain cleaners for odor problems. Lifehacker warns that caustic drain cleaners can damage pipes and make sink problems worse.5
3. Scrub the rubber splash guard, not just the shiny basin
Steps
- Turn off the disposal at the switch. If you will put a brush or hand near the opening, unplug the unit or turn off the breaker.
- Lift the rubber flaps gently.
- Scrub the underside with dish soap and an old toothbrush, bottle brush, sponge, or cloth.
- Rinse the brush often so you are removing gunk, not painting it around.
- Run cold water through the disposal when you are done.
Why it works
Good Housekeeping notes that food bits splash onto the rubber gasket at the top of a disposal, so the underside needs to be flushed or cleaned with a brush, cloth, or sponge.6 The Kitchn also includes the rubber flaps and splash guard in its disposal-cleaning method.7
Caveat
Never trust a disposal switch. Power it off before you scrub near the opening.

4. Use ice as a disposal scrub, not a magic deodorizer
Steps
- Turn on cold water.
- Add a few ice cubes to the disposal.
- If you have coarse salt, add a small handful.
- Run the disposal until the grinding noise settles.
- Keep the cold water running for a short flush afterward.
Why it works
The Kitchn says ice helps knock food off the grinder, while kosher salt scrubs the sides.3 Good Housekeeping also recommends ice cubes and rock salt as an alternative disposal-cleaning method.6
Caveat
Use cold water while the disposal runs. Apartment Therapy cites an expert who says cold water helps keep fats congealed and solid inside the appliance, while hot water can keep fats sticky and encourage buildup.8
5. Run the disposal longer than you think
Steps
- Start cold water before adding scraps.
- Turn on the disposal.
- Let it grind until the sound changes and the scraps are gone.
- Keep both water and disposal running for about 5 more seconds.
- Turn off the disposal, then leave the water on briefly.
Why it works
The Kitchn quotes a plumber who said many people shut off the disposal too soon, leaving sludge and particles behind; the suggested habit is to run water, turn on the disposal, and keep both going for about 5 seconds after the food sounds finished.3 Apartment Therapy also says running water before, during, and for at least half a minute after grinding helps carry particles through the disposal and down the drainpipe.8
Caveat
Clear dishes and utensils away first. The same Apartment Therapy guide notes that dishes in the sink can block water from flushing waste through the disposal efficiently.8
6. Use citrus peels only after the gunk is gone
Steps
- After a flush or ice scrub, cut a few citrus peels into small pieces.
- Turn on cold water.
- Run the disposal and feed in the peels slowly.
- Stop when the scent improves. You do not need a whole lemon.
Why it works
Good Housekeeping describes citrus peels as a DIY disposal deodorizer and says to grind small pieces while running cold water.6 Lifehacker gives the same basic idea for a disposal that needs a fresher smell after bigger disposal jobs.5
Caveat
Citrus is a finish, not the cleaning step. If the splash guard is dirty or grease is sitting in the pipe, lemon scent only covers the problem for a while.

7. If the smell survives, check the P-trap
Steps
- Clear the cabinet under the sink.
- Put a bucket under the curved pipe.
- Loosen the two nuts that hold the P-trap in place.
- Remove the trap carefully and scrub it with a bottle brush.
- Reattach it, run water, and check for leaks.
Why it works
Lifehacker explains that a persistent sink smell may come from the P-trap, the rounded pipe under the drain, and describes cleaning it with a bucket, pliers, and a bottle brush before flushing water through again.5
Caveat
Stop if the nuts will not budge, the pipe looks corroded, or you are not sure how to reseal it. A free hack is not free if it turns into a leak.
The one popular trick to demote
Baking soda plus vinegar is not the main character here. Lifehacker specifically advises skipping the popular baking-soda-and-vinegar combination because it does not work the way people think it does.5 Some cleaning guides still use it as a deodorizing step, but the reliable work in this reset is physical: keep grease and starch out, flush with enough water, scrub the rubber guard, and knock loose food off the disposal.
The 5-minute maintenance loop
Once the sink smells normal again, keep it there with this small loop after dinner:
- Scrape solids into the trash or compost.
- Wash dishes.
- Fill the sink with hot, soapy water and flush it through.
- Run the disposal with cold water long enough to clear the chamber.
- Wipe the basin and faucet, then leave sponges where they can dry.
The Kitchn's cleaning pros recommend daily sink wipe-downs with dish soap, hot water, and a dry finish, with deeper cleaning two to three times a week if buildup appears.7 That is the real hack: stop giving odor a damp, greasy place to hide.
Fuentes de referencia
- 110 Ways to Fix a Stinky Sink Drain Once and for All
- 26 Things You Should Never Put Down Your Kitchen Drain
- 3How to Freshen a Smelly Garbage Disposal
- 4What Does Clean Mean
- 5The Easiest Way to Destink Your Smelly Sink Drain
- 6How to Deodorize and Clean a Garbage Disposal
- 7How to Clean Every Inch of Your Kitchen Sink
- 810 Garbage Disposal Tips: When to Use Cold Water, Ice, and Lemon Peels


Añade más opiniones o contexto en torno a este contenido.