Your baking is not bad luck: 8 free fixes for sinking cakes and spreading cookies
Eight free fixes that stop a home bake going wrong before it does: flour weighed not scooped, an oven that is actually at temperature, a raising agent that still works, room-temperature butter, a light hand with the spoon, chilled dough, the right tin, and knowing when to take it out.

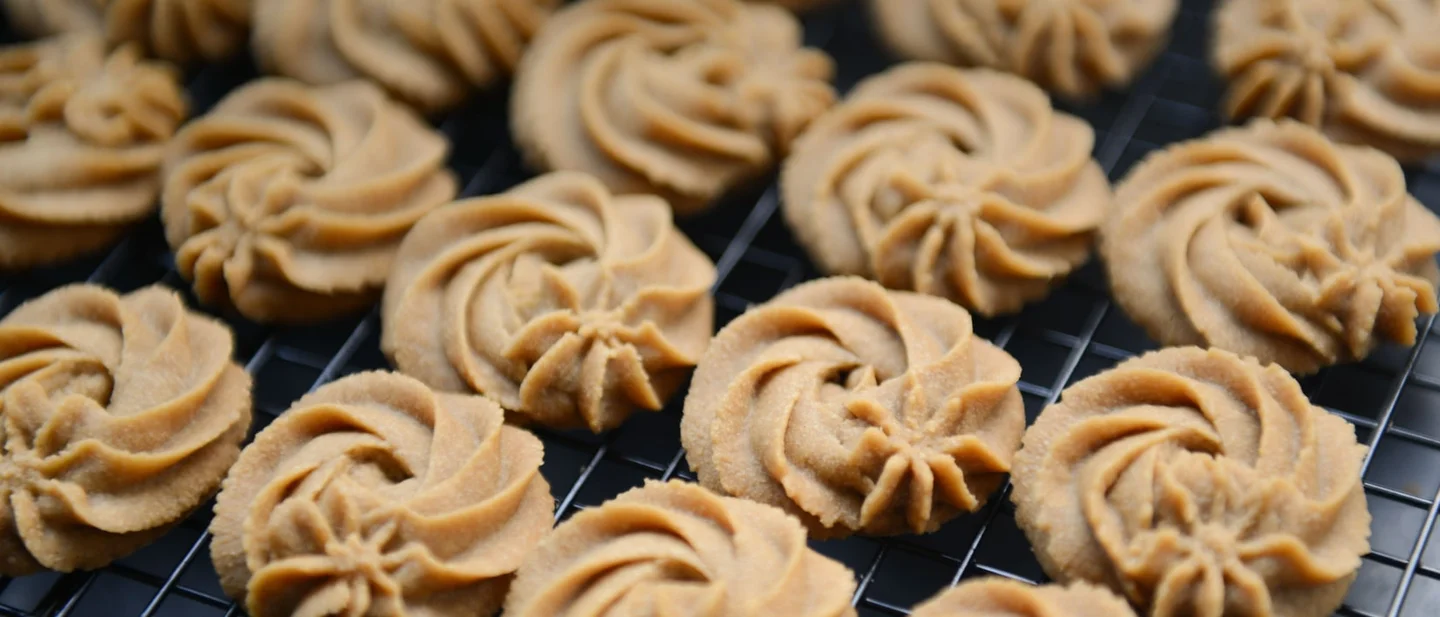
Same recipe, same ingredients. One tray of cookies runs into a single sheet and the cake beside it sinks in the middle.
Nothing strange is happening. Almost every failed home bake traces back to a step that happened before the tin reached the oven: how the flour was measured, whether the raising agent was still alive, whether the butter was cold.
These eight fixes run from the bowl to the oven door, in the order a bake goes wrong, and each one costs nothing.
Two things to settle first. The recipe in front of you is the authority on its own weights, temperatures and times, and where this page and the recipe disagree, the recipe wins. 1 And this issue asks you to buy one small thing, an oven thermometer, and only when fix 2 gets to it.
1. Weigh the flour instead of scooping it from the bag
Steps
- Put your bowl on the scale, zero it, and add flour until the recipe's weight is reached. 2
- Learn your own cup once: a cup of plain flour should weigh about 130 g. 3
- With no scale, stir the flour to loosen it, spoon it lightly into the cup, and level the top with the back of a knife. 3
- Measure the small amounts with proper measuring spoons. Kitchen cutlery spoons vary enormously in size. 2
- Follow the weights in the recipe, and leave a substitution alone unless you know how that ingredient behaves. 2
Why it works: Flour settles and compacts, so one cup holds wildly different amounts depending on how it was filled. One baker's packed cup weighed 184 g against the roughly 130 g it should hold, almost half as much again, and the extra flour drinks liquid the bake needed. 3 Too much flour or sugar has a bigger effect on the finished cake than most people expect. 2
Avoid this mistake: scooping straight from the bag and pressing the flour down into the cup. That is the error that turns a light sponge into a dry, dense brick. 3 Cheap analogue scales add a second error on top, because the needle is hard to read; a digital scale in 1 g steps is what a recipe assumes. 2
2. Find out what temperature your oven really runs at
Steps
- Switch the oven on before you start mixing, and wait for the thermostat to say it is there rather than guessing. 4
- Put the shelf in the middle for cakes, cookies, muffins and traybakes, where the heat is most even. 5
- Check the true temperature once with an oven thermometer standing on that shelf. This is the one purchase the issue asks of you, and it is worth it only if your bakes keep over- or under-cooking. 2
- If your oven has a fan, use the fan temperature the recipe gives; fan ovens run hotter, so recipes quote them a lower figure. 2
- Let the oven finish preheating before the tin goes in, and set a timer so it does not sit hot and empty. 4
Why it works: Recipe times assume the oven is already at temperature, and home ovens drift. When the thermostat runs hot or cold, the cooking times come out consistently short or long, which makes the recipe look wrong when the oven is. 2 Pastry, bread and any batter that has to rise need that heat from the first minute; pastry in a cold oven melts rather than browning. 4
Avoid this mistake: preheating for twenty minutes "to be safe". That burns energy and does nothing about a thermostat that reads wrongly. 4 Skipping the preheat is fine for stews, casseroles and pasta bakes, so keep the rule for the bakes that need it. 4
3. Check the raising agent before you blame the recipe
Steps
- Read whether the recipe asks for baking soda or baking powder, and use the one it names. 6
- To test baking powder, stir a quarter teaspoon into half a cup of hot tap water. To test baking soda, add a quarter teaspoon of vinegar to the water first. 7
- Fizz means it is still alive. No fizz means no lift, whatever else you do right. 7
- Keep both sealed and dry, away from the oven and the kettle's steam, and read the date on an old box. 2
- When the recipe uses baking soda, check that it also contains an acid — buttermilk, yogurt, lemon, brown sugar or cocoa all count. 6
Why it works: Both are chemical leaveners that release carbon dioxide into the batter. Spent chemicals release almost none, so the crumb sets flat and dense with no visible cause. 7 Baking powder carries its own powdered acid, so it lifts a plain batter; baking soda is pure sodium bicarbonate and needs the acid to be in the recipe already. 6
Avoid this mistake: treating the two as interchangeable. Soda is the stronger of them and needs acid to balance it, so soda with nothing acidic leaves an unpleasant metallic taste instead of a rise. 6 An out-of-date box kept "just in case" is also a way to lose a good recipe twice, so test it before a bake that matters. 2
4. Bring the butter, eggs and milk to room temperature
Steps
- Take the butter, eggs and milk out of the fridge about an hour before you start. 8
- Cut the butter into cubes so it softens evenly, then press it with a finger. It should give and hold a dent, not squelch. 9
- Short of time, stand the uncracked eggs in a bowl of warm tap water for a few minutes. 2
- If the batter curdles after the eggs go in, add flour a tablespoon at a time and stop the moment it smooths out. 8
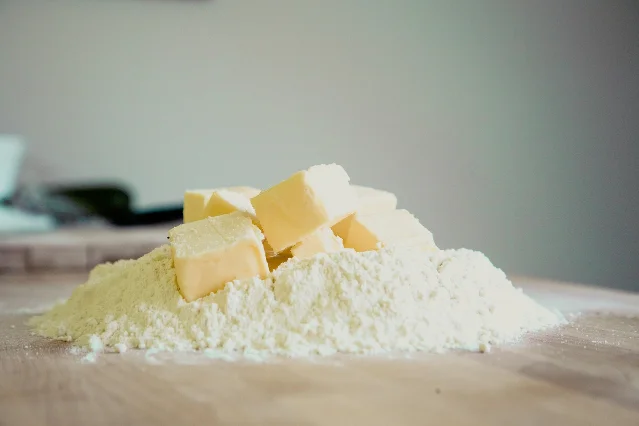
Why it works: A cake batter is an emulsion of fat and liquid. Cold eggs pull the temperature down until the fat sets into little lumps, and the same happens with cold milk. 8 Butter at around 21°C, or 70 to 72°F, is soft enough to trap the air you cream into it, while staying firm enough not to run in the oven. 9 Ingredients that are cold also give a coarse, greasy sponge with a poor rise. 2
Avoid this mistake: softening butter in the microwave until it melts. Melted butter behaves differently in a dough, changing how far a cookie spreads and how it sets. 9 Room temperature is also the wrong target for pastry, scones, biscuits and cut-out cookie doughs, where cold butter is what makes the flaky layers. 9
5. Stop mixing the moment the flour disappears
Steps
- Add the dry ingredients in the order the recipe gives, and fold with a spatula rather than a wooden spoon or an electric whisk. 2
- Fold in a slow figure of eight, scraping round the bowl, and stop as soon as no dry flour is left. 2
- For muffins, pancakes and quick breads, combine the wet and the dry until barely mixed. A slightly lumpy batter is what you want. 10
- Stop the moment it is smooth. Extra strokes add nothing and take lightness away. 10
Why it works: Mixing develops gluten, and gluten is what makes a finished bake tough and rubbery. A heavy hand also crushes the air bubbles that the creaming and the raising agent worked to create. 10 Creaming, beating and folding are three separate actions with three separate jobs, and a recipe is written around the difference. 2
Avoid this mistake: the rule turns around for bread and pizza dough, where you knead precisely to build that gluten. 2 Folding just until combined still means folding; pockets of dry flour left in the corner of the bowl are a fault, not a light touch. 10
6. Chill the dough, and give the cookies room
Steps
- When the recipe says to chill the dough, do it: wrap it up and give it at least two hours in the fridge, or overnight. 11
- Leave a good inch between cut-outs and drop cookies on the tray, because they spread as they bake. 11
- Roll and cut on a cool surface, and work quickly so the fat in the dough stays firm. 11
- Bake one sheet at a time on the middle shelf, swapping trays rather than crowding two in at once. 5
- Move the cookies to a rack to cool completely before they are decorated or stored. 11
Why it works: Chilling gives the ingredients time to absorb one another, which makes the dough roll out without cracking and hold its shape in the oven. 11 A warm dough lets the butter melt before the structure sets, so cookies run into each other and finish thin and dark at the edges. 9
Avoid this mistake: assuming cold is always better. Some chewy drop-cookie doughs are made to bake straight after mixing, and a dough that has spent hours in the fridge can want another minute or two in the oven. 9 Chilling slows the spread, so it rewards a dough that was correctly measured in the first place.
7. Match the tin to the job
Steps
- Use the tin size the recipe states. Size decides how deep the batter sits, and depth decides the time. 2
- Take the colour of the metal into account: dark tins conduct heat faster, so a cake sets at the edges sooner and rises shorter with a thicker crust. 12
- For cakes and cookies, reach for the lighter tin and expect a more even brown. 12
- Line as the recipe says: a circle of parchment on the base of a sponge, and the sides lined as well for fruit cakes, deep sponges and brownies. 2
- Grease lightly. A heavily greased tin gives the sponge a dark, crunchy edge. 2
Why it works: A tin that is too small makes a deeper cake that burns on top and stays raw in the middle, and a tin that is too big makes a thin, dry one. 2 Pan colour changes how much heat the base and edges receive, which is why one batter behaves differently in two tins. 12
Avoid this mistake: grabbing whatever tin is nearest. If the right size is missing, borrow one or scale the recipe rather than guessing at the time. 1 And prepare the tin the way the recipe asks; a cake that has to be levered out of its tin has lost the edges you spent the oven time on. 1
8. Test it for doneness properly, and get it out of the tin
Steps
- Set the timer for the low end of the recipe's range, and start checking through the oven glass. 4
- Keep the door shut for at least three-quarters of the bake. Opening early costs heat and can leave the middle permanently sunken. 2
- Test with the recipe's own cue: sides just pulling away from the tin, a springy middle, or a thin skewer that comes out clean or with a few crumbs. 13
- If you want a number, a cake reads about 99°C (210°F) in the middle. 13
- Get muffins and cupcakes out of the hot tin within a couple of minutes, or the steam softens them and peels the liners away. 1014
Why it works: Ovens and tins vary enough that a recipe's time is a guide, so the bake's own signals are the reliable test. 13 A dry, crumbly cake is a cake that stayed in the oven too long, and it can be taken out earlier next time. 13
Avoid this mistake: treating a clean skewer as the finish line for every bake. A cheesecake or a custard should still wobble in the centre and is meant to cool in its tin. 13 And resist opening the door to test again and again; each opening drops the heat and lengthens the bake. 2
Tonight the two free moves need nothing at all: read whether the recipe says soda or powder and fizz-test it, and take the butter and eggs out of the fridge. This week, weigh your flour into a cup once so you know what your scoop has been doing, and move a shelf to the middle of the oven. The order is what carries the rest: measure first, preheat next, keep the butter soft, mix last, chill when the recipe says so, and pull the bake on its own signals rather than the clock.
When a bake still fails after all eight, the fault usually sits in the recipe itself — a tin the time was never written for, an ingredient swapped, a temperature that does not suit your oven. 2 The tests here are what tell you which line of it to change.
References
- 1Baking fails: 5 reasons why your cake baking could be a disaster
goodhousekeeping.com
- 212 common cake baking mistakes and fails fixed
goodhousekeeping.com
- 3
- 47 bad habits to break with your oven
goodhousekeeping.com
- 5How to Position Oven Racks for Cookies, Cakes, Pizza, and More
goodhousekeeping.com
- 6
- 7
- 8Has Your Cake Batter Curdled? Here's How to Fix It
thekitchn.com
- 9
- 105 Mistakes to Avoid When Making Muffins
thekitchn.com
- 115 Mistakes to Avoid When Making Gingerbread Cookies
apartmenttherapy.com
- 12
- 135 Ways to Tell When Your Cake Is Done
thekitchn.com
- 145 Mistakes to Avoid When Making Cupcakes
apartmenttherapy.com
This story was produced automatically by a channel. One sentence is all it takes for Neodrop to keep producing for you.