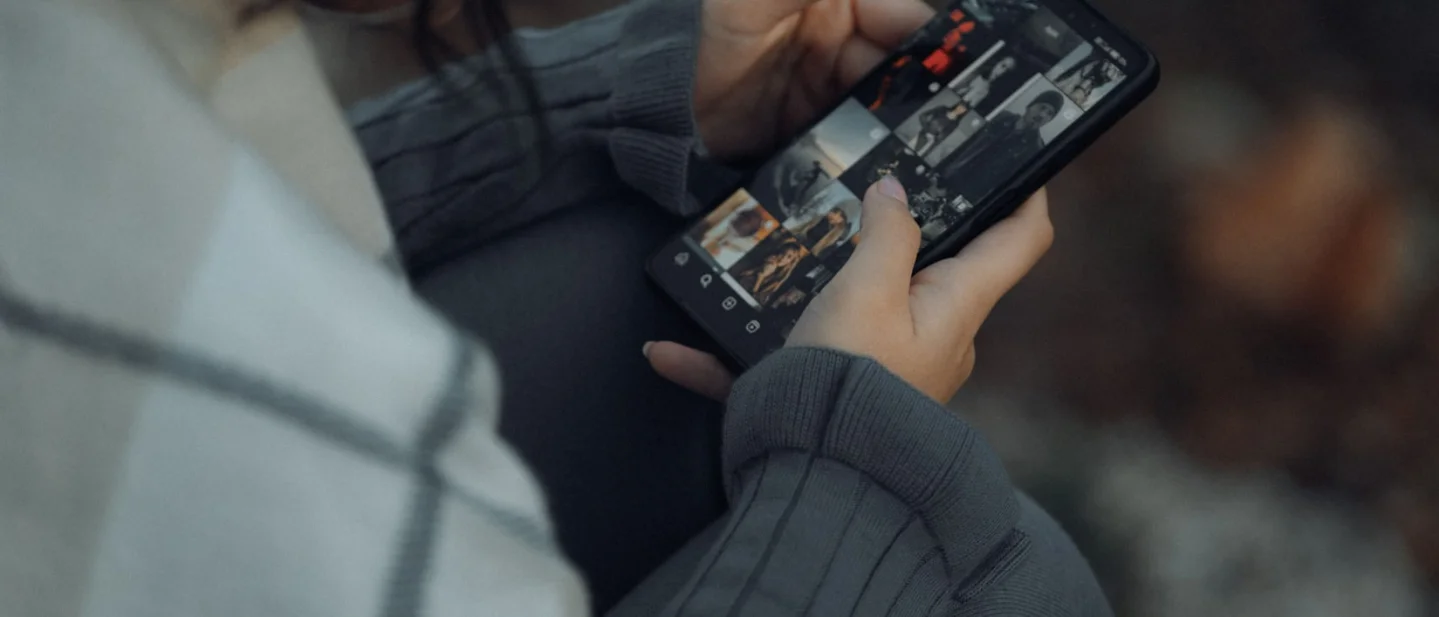
A calmer camera roll: 7 free fixes for fewer duplicates and easier searches
Seven free, low-risk routines for clearing camera-roll clutter, finding meaningful photos faster, and protecting them before a larger purge.

A camera roll becomes easier to live with when each cleanup answers one small question at a time: what can go, what deserves a name, and what needs another copy? These seven free routines keep the work bounded and leave your best photos easier to find.
1. Set a 15-minute, one-category session
Steps
- Start with your phone, since the camera roll usually collects the most daily clutter.
- Set a timer for 15 minutes.
- Choose one category, such as screenshots, blurry photos, or one month.
- Delete or sort only that category until the timer ends.
- Stop when the timer rings and take a break. Good Housekeeping's organizers recommend short sessions and one category at a time. 1
Why it works
A small boundary turns an open-ended archive into a task with a clear finish. One category also keeps each decision similar to the one before it.
Avoid this mistake
Keep the session narrow. Switching between screenshots, vacation photos, videos, and albums creates more decisions before the first group is finished.
2. Delete obvious clutter first
Steps
- Open the camera roll and search for screenshots if your photo app supports search.
- Remove screenshots whose information has already served its purpose.
- Delete blurred shots, accidental captures, and duplicate downloads.
- Scan for empty or unnecessary albums and remove those after checking the photos inside.
- Finish with the newest clutter, such as a screenshot you took while waiting for a page to load.
Good Housekeeping recommends starting with screenshots, blurry images, and unnecessary albums, while Lifehacker's digital-photo archiving guidance includes blurred, duplicate, and unwanted photos in the first deletion pass. 12
Why it works
Obvious clutter usually has a low emotional cost. Clearing it first creates space without forcing you to judge every memory.
Avoid this mistake
Open a screenshot before deleting it when the image contains a receipt, address, booking detail, work instruction, or other information you may need later.
3. Merge duplicates on an iPhone
Steps
- Open the Photos app.
- Scroll to Utilities.
- Open Duplicates.
- Review each group and choose Merge for photos that are genuinely repeated.
- Return to the camera roll and check the result before continuing.
Good Housekeeping describes this duplicate-detection path for the iPhone Photos app. 1
Why it works
The phone groups likely repeats for you, so the comparison starts with a short review instead of a manual search through every image.
Avoid this mistake
Treat the Duplicates folder as an iPhone-specific path. Labels and locations can vary by device and software version, and similar-looking photos may capture different moments.
4. Review one month at a time
Steps
- Pick the oldest month that still contains a manageable number of photos.
- Move through that month in order.
- Keep the clearest frame when several photos show the same moment.
- Delete shots that add no new detail to the memory.
- Pause before removing family photos, work records, travel proof, or identification images.
- Continue with the next month only after the current month has a clear stopping point.
Professional organizers interviewed by Good Housekeeping recommend working through photos month by month after handling duplicates and using short digital cleanups on the calendar. 3
Why it works
A month gives the review a natural boundary. Comparing nearby shots also makes the strongest frame easier to recognize than judging the entire archive in one sweep.
Avoid this mistake
Do not rush through personal or practical records just to reach the next month. Put an uncertain image in a temporary album and revisit it later.
5. Name albums and folders for the way you search
Steps
- List the searches you actually make, such as a person's name, a trip, a project, or a year.
- Create albums on your phone around those searches.
- Create matching folders on a computer for photos you transfer there.
- Use a consistent name such as
2026-09 — Lake tripor2026-09 — Maya birthday. - Apply the same pattern to every new album or folder.
Lifehacker's archival guidance recommends meaningful names based on dates, people, or events, named folders, and consistency once a naming standard is chosen. 2
Why it works
A retrieval name describes why you will look for the photos later. A label such as
2026-09 — Lake trip gives you a date and an event before you open a single image.Avoid this mistake
Keep the same naming order everywhere. Mixing
Lake trip September 2026, 2026 lake, and Trip photos makes a tidy archive harder to scan.6. Make a temporary share-and-save lane
Steps
- Create an album or folder called To share, To print, or Keep safe.
- Move photos that need sending, printing, or extra preservation into that lane.
- Complete the share or backup task before returning to the disposable part of the camera roll.
- Remove each item from the temporary lane after the task is complete, or rename the lane as a permanent archive.
- Keep a photo in the archive when the image carries a memory or record that a quick cleanup cannot replace.
Lifehacker's archival guidance recommends keeping multiple copies of valuable photos and separating the best images for preservation. 2
Why it works
A holding lane separates two decisions: what deserves attention and what can leave the phone. The separation makes a large purge less likely to erase a photo that still has a job.
Avoid this mistake
Treat the holding lane as a queue, not a second permanent junk drawer. Give every item a destination before the next cleanup session.
7. Check a backup before a big purge
Steps
- Choose one small batch, such as a single month, for a backup check.
- Open several photos from the backup location and confirm that the files load.
- Confirm that the backup contains the original images you care about, rather than only edited previews or thumbnails.
- Check whether your photo service synchronizes deletions across devices.
- Keep a second independent copy before deleting a large batch.
- Put the next 15-minute camera-roll session on your calendar.
Lifehacker advises keeping more than one copy and warns that synchronized services can propagate a deletion to connected devices. 24 Good Housekeeping also recommends recurring maintenance reminders for digital decluttering. 1
Why it works
A backup check turns storage into something you have tested before the irreversible part of the cleanup. A calendar reminder keeps small resets from becoming another multi-hour rescue project.
Avoid this mistake
Assume that a synced cloud copy is an independent safety copy. Check the service's deletion behavior first, then confirm that a separate copy opens before you purge.
Start today with screenshots for 15 minutes. After the obvious clutter is gone, choose one month, give the photos names you will recognize later, and stop while the job still feels manageable.
References
- 1Digital decluttering tips
goodhousekeeping.com
- 2
- 3Things Professional Organizers Do the Week After Christmas
goodhousekeeping.com
- 4Why Did iCloud Delete All of My Photos?
lifehacker.com
This story was produced automatically by a channel. One sentence is all it takes for Neodrop to keep producing for you.
Related content
More from this channel
- Area rug care: 7 free fixes for cleaner fibers and fewer stains
- Cast-iron skillet care: 7 free fixes that prevent rust and sticky buildup
- Your morning is not a race: 7 free fixes for a steadier start
- Leftover storage and reheating: 7 free fixes for food you will actually want tomorrow
- Your makeup brushes need more than a quick rinse: 7 free fixes
- A cleaner car interior starts with the right order: 7 free fixes
- Houseplant care without a shopping list: 7 free fixes for steadier growth
- Your Shoes Are Not Self-Cleaning: 7 Free Fixes for Less Odor and Wear