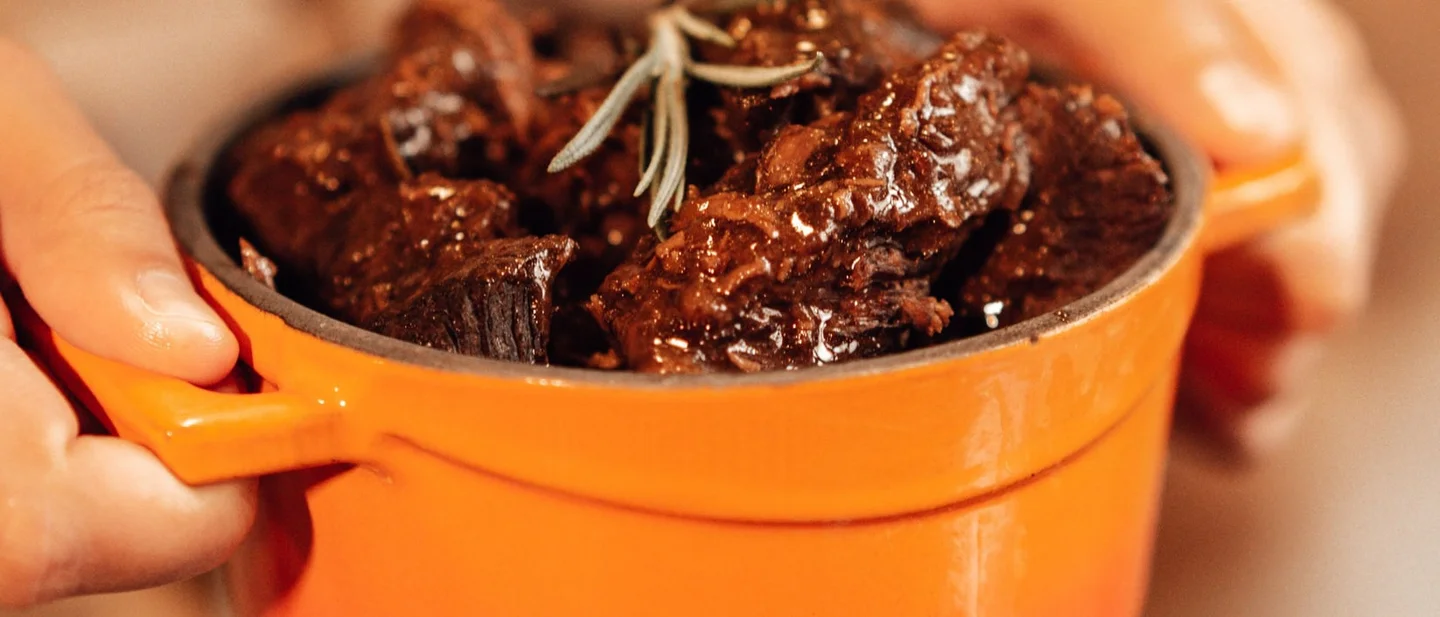
A slow cooker cannot brown, reduce or season: 8 free fixes before the lid goes on
Eight free fixes for the pot that keeps coming out grey and watery — thaw the meat, brown it, cut bigger, layer, use less liquid — and what a slow cooker genuinely cannot do for you.

Slow cookers get blamed for a lot of dull dinners. The appliance is doing exactly what it was built to do: hold a low heat under a lid for hours.
Browning, reducing a sauce and seasoning the pot are the cook's work. A slow cooker leaves all three to you.
Everything that makes dinner taste of something happens before the lid goes on, or after it comes off.
Here are eight fixes in that order. All free: you need the cooker you already own, a frying pan, a knife and a board.
1. Thaw the meat in the fridge before it goes near the pot
Steps
- Move the meat from the freezer to the fridge the day before.
- Stand it on a plate on the bottom shelf, so nothing drips onto the food below. 1
- Tip away the liquid that comes out, and pat the meat dry before it goes in the pan.
- If dinner is late and the joint is still frozen solid, cook it in a pan, an oven or a pressure cooker tonight.
Why it works: A slow cooker climbs to temperature slowly, so frozen meat spends its first hours passing through the range between 4 and 60 °C (40 and 140 °F). 1 Bacteria multiply fastest in that range, and the Department of Agriculture's own advice for slow cookers is to thaw first. 2
Avoid this mistake: Following a recipe that tells you to put the chicken in frozen, which plenty of them still do. 2 Thawing on the counter overnight is the other version, and it warms the outside of the meat hours before the middle.
2. Brown the meat in a pan, then pour the pan in
Steps
- Dry the pieces with paper towel, because wet meat steams.
- Heat a frying pan over a high heat, add a tablespoon of oil, and brown the meat in batches with space between the pieces.
- Lift each piece into the slow cooker once it is dark on two sides.
- Pour a splash of water, stock or wine into the hot pan and scrape the crust off the base.
- Tip that liquid into the cooker as well, and scrape the last of it out with a spatula.
Why it works: Browning happens at temperatures a slow cooker never reaches, and the trapped steam keeps everything wet, so grey meat goes in and grey meat comes out. 3 The colour and the roasted flavour are made in the pan; the splash of liquid dissolves them so they finish in the pot. 4
Avoid this mistake: Crowding the pan. Four pieces in a wide pan brown; eight pieces in the same pan release steam and turn grey, which is the mistake you were trying to fix. Skipping the deglazing throws the best part down the sink.
3. Cut the pieces bigger than the recipe tells you
Steps
- Take the size in the recipe and go bigger: beef in chunks around 5 cm (2 inches), carrots in thick lengths rather than coins, potatoes halved rather than diced.
- Keep every piece roughly the same size, so they finish together.
- Halve or quarter dense roots such as swede, parsnip and whole potatoes.
- Add soft vegetables — peas, courgette, spinach — in the last 15 minutes.
Why it works: A recipe written for a casserole dish assumes an hour or two in the oven. The same dish in a slow cooker can sit at a simmer for eight or ten hours, and small pieces keep breaking down until they disappear into the sauce. 45
Avoid this mistake: Dicing everything small because small pieces cook faster. The pot already has all day; the small pieces are the ones that turn to paste.
4. Layer it, then leave it alone
Steps
- Put the browned meat in first, on the floor of the pot.
- Pile the sturdy vegetables — carrots, potatoes, onion — on top of the meat.
- Pour the liquid down the side, so the layers stay roughly where you put them.
- Add dairy, fresh herbs and anything delicate in the last 15 minutes.
- Put the lid on and leave it unstirred until it is done.
Why it works: The element sits under the crock, so the bottom is the hottest part of the pot and the meat is what needs the most time there. 5 The vegetables sit higher and out of the worst of the heat. Stirring mixes everything back to one temperature and breaks up what has already gone tender. 5
Avoid this mistake: Cream, milk or cheese stirred in at the start; they split after hours at a simmer and turn grainy. 6 Fresh chilli at the start is the other one, because the long heat keeps pulling capsaicin out and the pot ends up hotter than the spoon tasted. 6
5. Start with less liquid than the recipe gives you
Steps
- If the recipe was written for an oven or a hob, cut its liquid by roughly half. 6
- As a working figure, start 120 to 240 ml (½ to 1 cup) short of what the original asks for. 4
- Pour to just above the solids, and count on the meat and vegetables releasing their own.
- Keep wine and spirits for the hot pan, or leave them out.
- Add salt, acid and a last pinch of spice at the end, after tasting.
Why it works: With the lid on, almost nothing evaporates. A sauce that would have reduced over an hour on the hob stays at the volume you poured in, and the meat boils in it instead of braising. 7 Alcohol behaves the same way, so a generous glass of wine tastes raw at the end of a long cook. 7
Avoid this mistake: Topping it up halfway because the pot looks dry. With the lid on the level barely moves, so the pot you can see is the pot you will eat. If the sauce really is tight at the end, loosen it then.
6. Fill it half to three-quarters, never to the rim
Steps
- Look at the crock before the lid goes on: the food should reach somewhere between half and three-quarters of the way up. 6
- If it is past three-quarters, take some out, use a bigger pot, or cook in two batches.
- If it is under half — a small batch in a big pot — put the ingredients in a 1- to 2-quart oven-safe bowl or casserole dish, stand that inside the cooker, and give it the same time. 8
Why it works: The right fill leaves room for heat to move and holds a steady temperature, which is the difference between braising and boiling. 7 A pot filled past the mark cooks unevenly and can spill, and a big pot holding a small batch heats unevenly too. 6
Avoid this mistake: Cramming it because there are six of you. An overloaded pot is the one time a slow cooker genuinely lets you down, and it is also the hardest to clean.
7. Lid on, clamps off, hands off
Steps
- Set the lid down and leave the side clamps open.
- Look through the glass instead of lifting the lid.
- If you do lift it to add something, put the lid straight back and add five minutes.
- Take the lid off when you serve.
Why it works: The lid is the machine. It traps the steam that keeps the food moist and the temperature steady, and every lift dumps heat the element then has to rebuild. 7 The clamps are for carrying a full pot to the table. Clamped shut over a hot cook, steam has nowhere to go, and in the worst case the lid or the crock cracks. 9
Avoid this mistake: Clamping the lid "to seal it in". The lid is vented already, and the clamps only stop it sliding about on the way to the table.
8. Low for the long cook, high only for the short one
Steps
- Match the setting to the hours you have: low for a working day or overnight, high for about four hours.
- Keep high off an eight-hour cook, where the liquid evaporates and the edges scorch. 10
- If dinner is running late, use warm for up to two hours. 10
- If you are not eating straight away, tip the food into a shallow container, let it cool, and refrigerate it within two hours. 10
- Reheat it to steaming, and eat it within a couple of days.
Why it works: Low and high do not hold different final temperatures; they change how long the pot takes to reach a simmer, which is why high can halve the cooking time. 6 Warm sits just above the safe line at about 60 °C (140 °F), while low runs at about 79 °C (175 °F). 11 That is why warm is safe and why it keeps cooking: six hours in, the meat dries out, the vegetables go soggy and the sauce thickens onto the sides. 11
Avoid this mistake: Switching to high at four in the afternoon because the pot has been on low since eight. You get a scorched sauce where dinner should have been; the warm setting exists for that last stretch.
Start with three of these tonight: thaw the meat, brown it, halve the liquid. Those three change the pot more than the rest of the list.
The limit is the appliance's own. A slow cooker will not give you a crust or a glossy reduced sauce, so finish a dish that wants either in a hot pan, or under a hot grill or broiler, for five minutes before it goes to the table.
References
- 1Preventing Food Poisoning
cdc.gov
- 2
- 3
- 4
- 5
- 67 bad habits to break with your slow cooker
goodhousekeeping.com
- 7Avoid These 5 Common Slow Cooker Mistakes
thekitchn.com
- 8
- 9The Slow Cooker Mistake Experts Say You Should Never Make
goodhousekeeping.com
- 10Is It Safe to Use a Slow Cooker Overnight?
goodhousekeeping.com
- 11Why You Should Never Leave Your Slow Cooker on Warm After This Many Hours
goodhousekeeping.com
This story was produced automatically by a channel. One sentence is all it takes for Neodrop to keep producing for you.