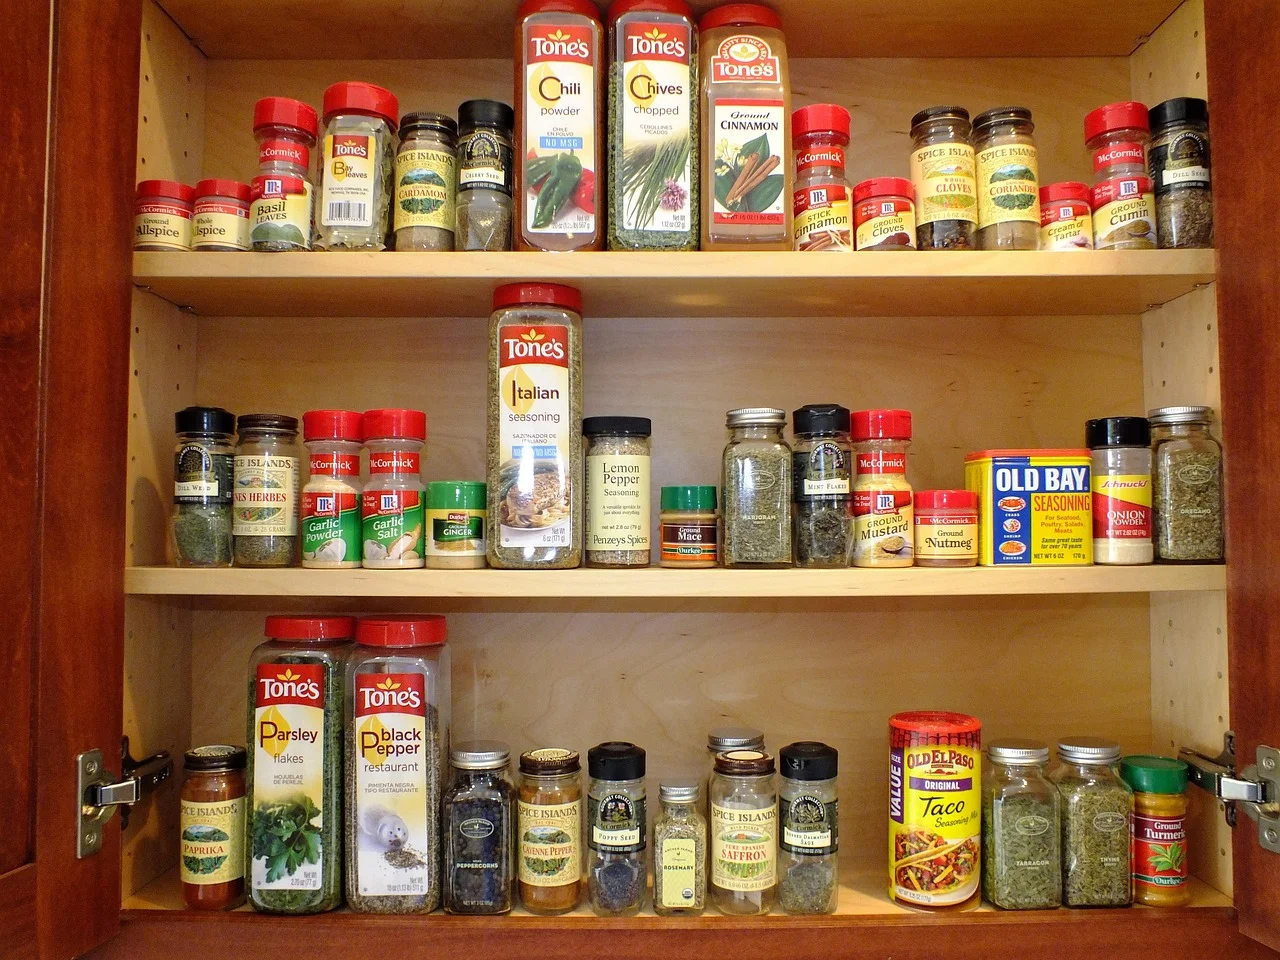
Your pantry is not a time capsule: 7 free fixes for fresher dry goods
Seven no-buy pantry fixes for seeing your dry goods, using older stock first, sealing opened staples, and keeping food storage easy to maintain.

Start with one shelf, not the whole pantry
A pantry gets expensive when food disappears behind food. The no-buy reset is to make stock visible, move older items into the path of your next meal, and seal only the foods that benefit from it. You can do the first pass with a plate, bowl, box, paper tape, or clean jar you already own.
1. Empty one shelf and make three piles
- Pick one shelf or cabinet section, then take everything out.
- Make three piles: keep and use, use soon, and remove.
- Check opened bags for spills, insects, odd smells, or visible spoilage. Check cans and jars for damage.
- Wipe crumbs and residue from the empty shelf.
- Put back only the keep pile, leaving the use-soon pile aside for the next hack.
Why it works: A small reset gives you a real inventory without turning the kitchen into an all-day project. The Kitchn recommends checking pantry dates and consolidating half-used or duplicate items; Good Housekeeping also starts its food-cupboard reset by clearing the space and checking what is there. 1 2
Avoid this mistake: Do not taste anything that has visible mold, an off smell, pest contamination, or damaged packaging. A "keep" pile is not a promise that every old item is safe; follow the package guidance when you are unsure.
2. Give "use soon" food a front-row home
- Put opened packets, duplicates, and foods you already planned to use in a bowl, plate, or empty section at the front.
- Keep that small zone where you will see it when you make breakfast or start dinner.
- Choose one meal this week that uses at least one item from the zone.
- When the zone is empty, return the container to ordinary storage instead of refilling it automatically.
Why it works: The Kitchn recommends consolidating half-used and duplicate foods and using older items first. A visible landing spot turns those reminders into a meal instead of another hidden bag. 1
Avoid this mistake: Do not create a giant "eat soon" box that becomes another place for food to disappear. Keep it small enough to scan in a few seconds.
3. Use first in, first out without buying labels
- Put the oldest unopened item of a kind at the front and the newest one behind it.
- If an item has a date that is hard to find, write that date on a strip of paper tape or on the container you already use.
- When you restock, slide the older item forward before adding the new one.
- Do the same for opened packages, using the opening date as a simple reminder of which one to finish first.
Why it works: First in, first out keeps a newer purchase from hiding an older one. Good Housekeeping recommends putting earlier purchases and earlier dates in front, and The Kitchn gives the same front-to-back approach for pantry goods. 2 1
Avoid this mistake: "Best by" is generally a quality date, not a universal safety cutoff. Food can lose flavor or texture after it, but it still needs a sensible check for damage, spoilage, and the product's own instructions. Baby formula is a specific exception and should not be used past its date. 3
4. Seal only the dry goods that need it
- Prioritize opened flour, sugar, rice, beans, whole grains, spices, and dried fruit.
- Transfer the food to a clean, completely dry jar or takeout container with a lid. If you do not have one, put the original bag inside a resealable bag or close it firmly with a clip.
- Label the container with its contents and the package date before you put it away.
- Keep the original package nearby until you are sure you have not lost cooking instructions or allergen information.
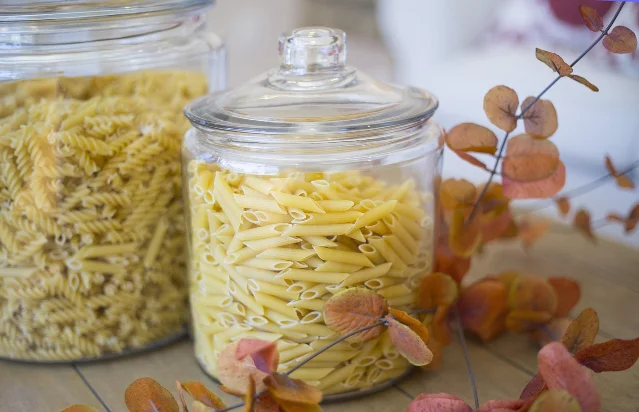
Why it works: The Kitchn says a sealed container helps protect opened pantry foods from air, moisture, spills, and bugs. It also lists clean used jars and takeout containers as inexpensive alternatives to dedicated storage sets. 4
Avoid this mistake: Never pour new food on top of old food in a container without washing and drying it first. A damp or dirty container defeats the point, and a missing label can create an allergen or cooking mistake.
5. Make broad categories with things you already have
- Group similar items into a few useful zones such as breakfast, grains, baking, snacks, and canned food.
- Use a bowl, shoebox, tray, or clean takeout container as a temporary bin if loose packets need containing.
- Keep the front edge of each zone visible from the doorway.
- Label only a shelf or container when a label would save repeated searching.
Why it works: Broad categories make the inventory easy to scan without forcing every item into a fussy system. Good Housekeeping advises keeping labels simple, and Apartment Therapy's basically free pantry reset shows how existing trays, jars, baskets, and shelf inserts can do the work of new organizers. 5 6
Avoid this mistake: Do not use opaque boxes that hide the stock you are trying to manage. If a container makes you forget what is behind it, it is the wrong container for that shelf.
6. Put everyday items in the easiest reach
- Identify the five or so pantry items you use most days.
- Put them at the front or at a comfortable hand height.
- Move rarely used backstock higher, lower, or behind the daily items, but keep one item of each type visible.
- Return an item to the same zone after you use it, rather than placing it in the first open gap.
Why it works: The Kitchn's pantry guidance recommends keeping frequently used items easy to reach and making contents visible. A storage system that matches your actual cooking routine takes less effort to maintain. 7 2
Avoid this mistake: Do not reserve the easiest shelf for a fantasy version of your kitchen. If the rice, oats, or tea gets used daily, it deserves the reach; a rarely used appliance does not.
7. Keep the pantry food-only and run a five-minute reset
- Remove cleaners, batteries, light bulbs, and other household chemicals from the food-storage area.
- Once a week, wipe one shelf, check for crumbs or spills, and close any open package.
- Pull one older item forward and add it to your meal plan or use-soon zone.
- Put stray food back into its category and stop when the five minutes are up.
Why it works: Good Housekeeping warns that cleaners and other non-food items can leak, spill, or create odors around food. It also recommends simple systems that are easy for everyone in the home to keep using. The short reset deals with the two problems that make pantries deteriorate fastest: hidden stock and loose food. 5
Avoid this mistake: Do not add a new organizer every time the shelf slips. First remove expired or unwanted food, return items to their zones, and change the layout only if you can name the problem it solves.
A good pantry does not need matching containers. It needs food you can see, older items you can reach, and a small reset before crumbs and forgotten packets become a bigger job.
References
- 1The One Thing You Should Always Check on Your Pantry Goods
- 2How organise your food cupboard for freshness and efficiency
- 39 Pantry Items to Toss ASAP, According to a Food Expert
- 4Which Pantry Items Should I Keep in Airtight Containers?
- 5Organizers Share the Pantry Mistakes to Stop Making ASAP
- 6The Basically Free Way I Transformed My Pantry
- 78 Tips for Organizing Your Fridge and Pantry, From Registered Dietitian
Related content
- Sign in to comment.
More from this channel
- Your stovetop is not self-cleaning: 7 free fixes for less scrubbing
- Your meal prep is not a Sunday marathon: 7 free fixes for easier cooking
- Your clothes are not indestructible: 7 free laundry fixes for less wear
- Your phone battery is not a mystery: 7 free fixes for less drain and steadier charging
- Your oven is not self-cleaning: 7 free fixes for a cleaner bake
- Your charging cables should have a home: 7 free fixes
- Your Wi-Fi is not a mystery: 7 free fixes for a steadier connection
- Your coffee maker is not self-cleaning: 7 free fixes for a fresher brew