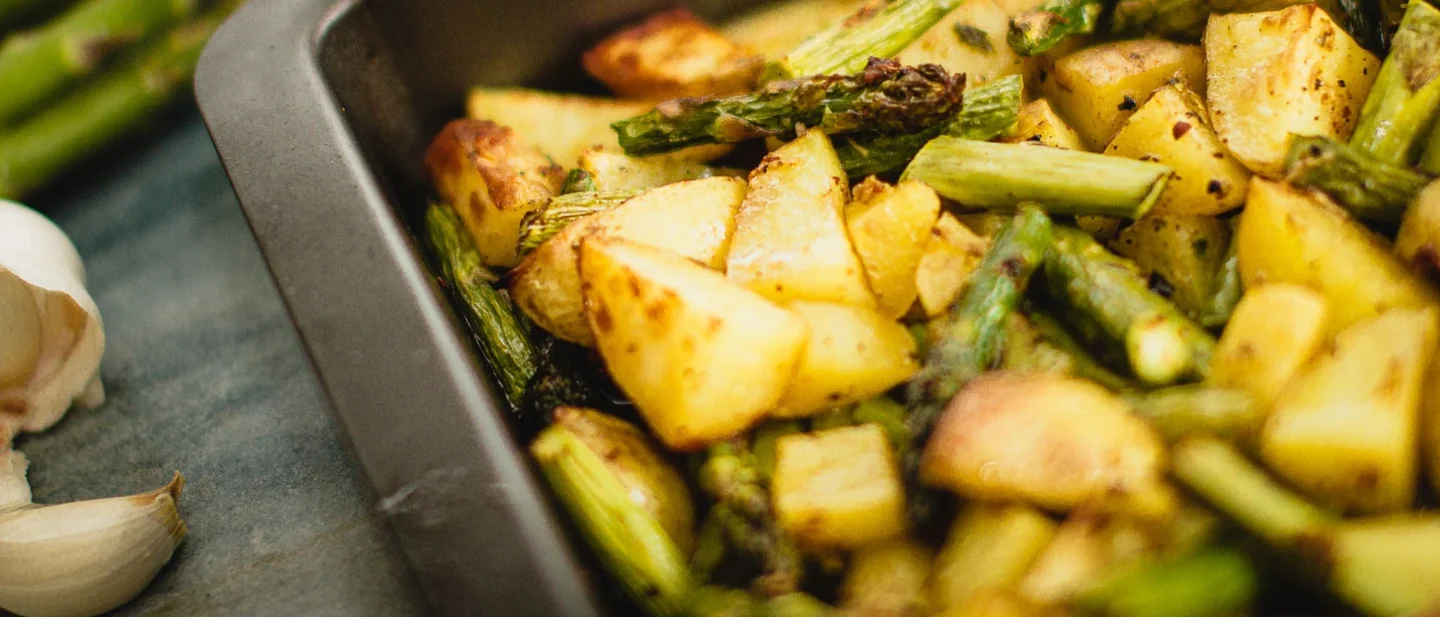
Your oven vegetables are steaming instead of roasting: 8 free fixes
Eight free moves that get a tray of vegetables to brown instead of steam: drying the pieces, cutting them even, leaving space, a hot oven with the hot pan already inside it, enough oil but not a pool, one turn at the halfway mark, bare metal, and times that differ by vegetable.

Roasting is a drying job before it is a heating job. Browning begins once the surface of a vegetable is dry and hot, and everything that keeps the surface wet — a cold tray, a crowded one, a liner under the pieces, an oven set to 180°C — buys steam instead of colour. 1 That is why the same vegetables in the same oven come out with dark, crisp edges one evening and a pale, soft pile the next.
The eight fixes below follow the tray's own order. The first three happen before the oven: drying the pieces, cutting them even and giving them room. The next two are the heat and the fat, and the last three are the halfway turn, the tray itself and the timing of a mixed load. Nothing here has to be bought; the one spend that helps is a second tray, and roasting in two batches covers for that.
1. Dry the surfaces before the oil goes on
Steps
- Rinse the vegetables, then dry them properly — a clean tea towel or a sheet of paper towel over the pieces, until the surface stops looking glossy and wet. 1
- Leave the pieces spread over the board while the oven comes up, instead of heaping them in a bowl where the bottom layer sits in its own water.
- Wipe the tray dry too. A film of water under the vegetables is heat the oven spends on steam before it can brown anything. 1
- Toss them with oil once the pieces are dry, so the fat sits on the vegetable rather than on a layer of water.
Why it works: Great roasting happens when the surface of the vegetable dries quickly and starts to brown before it has a chance to steam. 1 A wet surface softens while a dry one colours, because the oven's heat is going into evaporation first. 1 Vegetables also release moisture as they cook, which is the same water arriving a second time. 2
Avoid this mistake: Straight from the colander is how most trays get built, and the water that comes in with the vegetables is the first thing the oven has to remove. The second version is the tray that is still wet from the washing-up.
2. Cut everything to one size
Steps
- Cut the pieces to roughly the same size, starting at about 3 to 5 cm (1 to 2 inches). 2
- Keep the shapes comparable — chunks, wedges, thick batons. A tray of thin slivers beside thick chunks will not finish together.
- Expect the cut to move the time around; the oven temperature stays where it is. Thin vegetables roast quickly, and cubes of squash roast faster than large pieces. 3
- Cut the densest vegetable on the tray a little smaller than the rest, so it can keep pace with the softer ones. 3
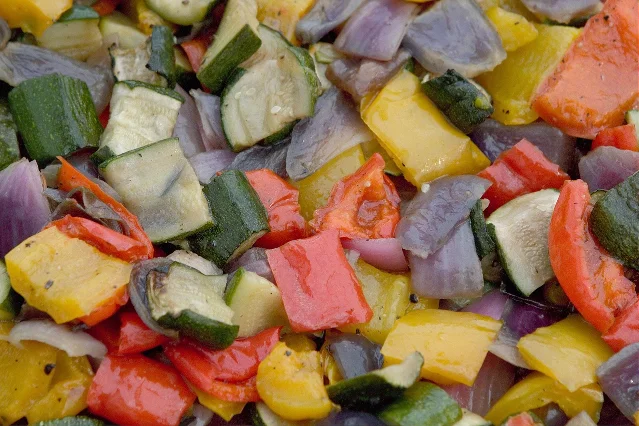
Why it works: Two pieces of different thickness need different times to cook through, and one oven cannot do both at once. The thin piece reaches done first. 2
Avoid this mistake: This is where the burnt-and-raw tray comes from: the small pieces char at the edges while the large ones are still hard in the middle. 2
3. Give them room: one layer, and the second tray close by
Steps
- Spread the pieces in a single layer, with a little space around each one. You want to see the tray between them. 4
- If the amount will not fit that way, split it between two trays. 4
- Do not stack a second layer to save yourself a tray or a wash. 2
- In a small oven, roast in two batches back to back rather than piling one tray. 4
Why it works: Crowding makes vegetables steam instead of roast. 4 Every piece gives off moisture as it heats, and pushed up against its neighbours that moisture has nowhere to go, so the pieces that touch stay pale and soft. 2
Avoid this mistake: The tray that goes in full, with pieces touching on every side, is the most reliable way to end up with a soft result. 2 Building a second layer on top of the first is the same mistake made deliberately. 2
4. Turn the oven up, and put the empty tray in with it
Steps
- Set the oven to 220°C (425°F). The working range for roasting vegetables is 200–230°C (400–450°F). 25
- Let the oven finish preheating; a half-warm oven gives the water a head start. 4
- Put the empty sheet pan in the oven while it preheats. 1
- Toss the vegetables with the oil and seasoning in the bowl, then spread them onto the hot pan in one layer. A gentle sizzle as they land is the sign the pan was hot enough. 1
- Start checking about five minutes earlier than a recipe's time, because the hot pan keeps cooking whatever touches it. 1
Why it works: Vegetables roasted at 180°C (350°F to 375°F) steam rather than caramelise. 3 Landed on a hot surface, their moisture leaves quickly and browning starts on contact; landed on a cool pan, their juices pool underneath and keep the surface damp. 1
Avoid this mistake: The cold-pan version puts the vegetables and the tray into the oven together, which is the exact opposite of this fix. 1 The other half is the oven that has been on for a minute; without a full preheat the tray never gets the contact it needs. 4
5. Coat them, don't drown them
Steps
- Work on about 1 tablespoon of oil, 1 teaspoon of kosher salt and 1/4 teaspoon of black pepper per 450 g (1 lb) of vegetables. 3
- Toss until each piece has a slick, glossy coating and no puddle is left in the bottom of the bowl. 23
- Choose the fat for the heat. Olive oil and ghee are the roasting choices above 200°C, and extra-virgin olive oil averages a smoke point around 425°F, though it varies with quality. 6
- If you are roasting with coconut oil, whose smoke point sits around 350°F, set the oven below 425°F. 6
- Keep the expensive finishing oil for the table and drizzle it on after the oven. 6
Why it works: Fat carries heat into the surface and gives the tray its crispness and colour; a dry vegetable browns poorly. 16 Too little leaves the pieces dry, and too much leaves them greasy and the tray smoking. 2
Avoid this mistake: The pool at the bottom of the bowl means the vegetables are frying unevenly in their own layer of oil. 2 Oil pushed past its smoke point turns burnt and bitter and takes the flavour of the whole tray with it. 6
6. Turn them once at the halfway point, then leave them alone
Steps
- Turn the pieces at least once, and twice if you have the time for it. 2
- Use the halfway point as the baseline: set a timer for half the total roasting time and turn them then. 1
- Turn the whole tray's worth at once and leave the oven door shut in between.
- Watch the edges instead of the clock. Dark, toasty tips are the sign the tray is nearly ready. 4
Why it works: Contact with the hot pan is what browns a face, and a piece only has a few faces. 2 Turn it once and the underside gets its turn at the heat. 2
Avoid this mistake: Leaving the tray alone gives you one side deep brown and the other with no colour at all. 2 The opposite habit, standing at the oven and turning every few minutes, resets the pieces onto fresh faces before any of them finish.
7. Bare metal, on the blackest tray you own
Steps
- Spread the vegetables straight onto the bare sheet pan. 1
- Reach for the darkest, most stained tray in the cupboard rather than the newest, shiniest one. 7
- If the cleanup matters more on a given night, know what a liner costs: foil and parchment both reduce the browning. 1
- Keep the pan working rather than restoring it — scrape off the baked-on bits, give it a quick wash, and leave the staining alone. 7
Why it works: Direct contact with metal moves heat into the vegetable, and a blackened pan roasts faster with more deeply browned edges than a clean, shiny one. 7 A liner interrupts that contact and takes the colour with it. 1
Avoid this mistake: The brand-new shiny sheet and the sheet under a layer of parchment are the two trays that brown least. 7 Scrubbing a working roasting pan back to bare silver throws away the property that made it useful. 7
8. Stay at one temperature and let the times differ
Steps
- Keep the oven at 220°C (425°F) and vary the minutes instead. 3
- Roughly: cruciferous vegetables (broccoli, cauliflower, Brussels sprouts) 15 to 25 minutes; root vegetables (beetroot, potatoes, carrots) 30 to 45; winter squash 20 minutes cubed and up to 45 halved; soft vegetables (courgette, peppers, cherry tomatoes) 15 to 25; thin vegetables (asparagus, green beans, sugarsnap peas) 10 to 20. 3
- When one tray holds vegetables with different times, put the slower one in first and add the quicker one later, or take the quicker one out early. 8
- Test for doneness with a fork and with your eyes: tender enough to pierce, with charred, toasty tips at the edges. 4
- If it is a close call, leave them five or ten minutes longer — the toasty bits are the point of roasting. 4
Why it works: The time belongs to the vegetable rather than to the oven. Dense, thick pieces need longer than soft or thin ones at the same temperature. 3
Avoid this mistake: Everything in at minute zero means the quick vegetables are collapsing by the time the roots are tender. 8 The other version is pulling the tray out while everything is merely soft; the colour arrives in the minutes after that. 4
Tonight the whole job is the first four fixes: dry, even, spaced, and an oven at 220°C with the empty tray already inside it. This week, find the blackened tray and keep a second one within reach for the nights it does not all fit. The running habit is the pair of things recipes rarely say out loud — turn once, at the halfway mark, and load the tray in order of cooking time rather than by what looks handsome together. 48
Nothing on this list has to be bought, and the one purchase that would earn its place, a second sheet pan, has a free substitute in two batches through the oven you already own. 4
References
- 1
- 25 Mistakes to Avoid When Roasting Vegetables
thekitchn.com
- 3
- 4How To Roast Any Vegetable
thekitchn.com
- 5The Very Best Temperature for Roasting Vegetables
thekitchn.com
- 6The Best Oils for Roasting
thekitchn.com
- 7
- 8
This story was produced automatically by a channel. One sentence is all it takes for Neodrop to keep producing for you.