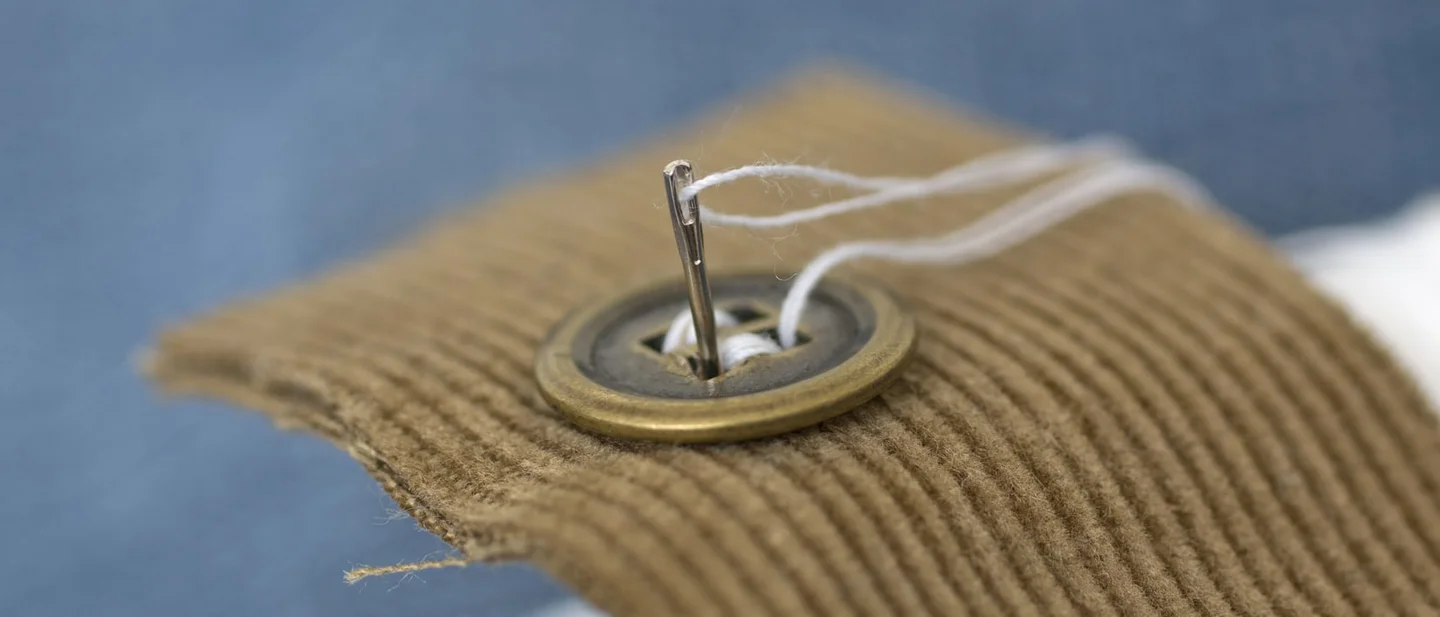
A needle, a thread and ten minutes: 7 free fixes for the clothes you stopped wearing
Seven free repairs for the small failures that take clothes out of rotation — a loose button, a pulled thread, pills, a zip that splits, a dropped hem, a small hole and a collar gone slack — each with the steps, the reason it works and the mistake to avoid.

A garment leaves the wardrobe over one local failure. A coat loses a button while the cloth around it is still sound. A jumper develops a single loop pulled out of the knit. A zip stops closing on a bag that has years left in its seams. The cloth beside each of those faults is intact, and putting it right takes minutes.
Seven failures retire most clothes, and they arrive in a rough order: the loose button and the pulled loop first, then the pills, the zip, the dropped hem, the small hole and the collar that has gone slack. The kit for all seven is already in most houses — a needle, a spool of thread, a couple of straight pins, a toothpick, a candle stub and a bar of soap, with an iron and a pair of pliers called in twice. A needle and thread is the one thing worth buying if the house has none, and iron-on hemming tape is the single small spend, with a stitched alternative given for it. Nothing here needs a sewing machine.
1. Sew the button back on with a little slack under it
Steps
- Cut a length of thread in a colour that matches the garment — a forearm's length is plenty — and pass it through the needle so it hangs doubled, with the two ends tied together. 1
- Bring the needle up from the back of the fabric through one hole of the button. 1
- On a four-hole button, work the thread in an X: down through the diagonal hole, up through the next, four times over, pulling each pass snug. On a two-hole button, go back and forth between the pair. 1
- Lay a toothpick across the middle of the button and sew the next passes over it, so each loop bridges the toothpick. 2
- Slide the toothpick out and ease the button forward, so the thread it was holding stands as a short column behind the button. 2
- Finish underneath: push the needle through the loose threads at the back, make a loop, pass the needle through the loop three times to lock it, and cut the trailing thread. 1
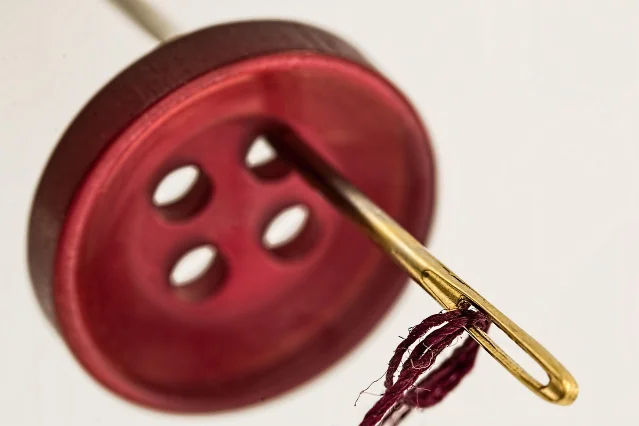
Why it works: A button is only as good as the thread standing under it. The toothpick builds a short column of thread — the shank — that lifts the button clear of the fabric, and that gap is the room the buttonhole's cloth needs to pass through. Sewn down flat and hard, a button has nothing to give, so the fabric behind it bunches and the button turns stiff to fasten. 2 Doubling the thread and passing over the same holes four times is what gives the stitches the strength to take the daily pull. 1
Avoid this mistake: Sewing the button down flat and hard is what makes it stiff to fasten and pulls the cloth underneath, and the toothpick only helps when the thread passes over it. Glue dries hard, refuses to flex with the fabric, and leaves a mark.
2. Work a pulled thread back into the knit
Steps
- Find a narrow tool: a needle, a bobby pin or a straightened paper clip. 3
- Look at the knit around the pull. The loops there have been drawn tight, so the gaps between them are smaller than in the rest of the garment. 3
- Use the tool to feed the snagged yarn back into the fabric, working along the row and up and down between rows, drawing length out of the tight patch and back where it belongs. 3
- Keep going until the loose loop has gone and the tight patch sits level with the knit around it. 3
- Short of time, at least push the loop through to the inside of the garment. 3
Why it works: A knit is one continuous yarn looped through itself, so a snag has broken nothing — the yarn has been dragged out of its neighbours, which is what puckers the fabric around it. Feeding the yarn back through the surrounding stitches spreads that length out again. Nothing is added and nothing is cut, and the knit closes over the gap on its own.
Avoid this mistake: Cutting the loop is what turns a snag into a hole, and a break in a knit runs. Left hanging on the outside, the loop catches on the next zip, seat edge or drawer handle and drags more of the row with it. 3
3. Take the pills off a jumper gently
Steps
- Lay the garment flat on a table. 4
- Sweep a fabric shaver lightly across the pilled area, letting the surface pass under it. 4
- Keep the cloth flat for a fine fibre such as cashmere and take it in light passes, with the shaver resting on the surface. 4
- With no shaver, lift the bobbles with a piece of sticky tape or a sweater comb. 5
- Wash pilling garments inside out on a delicate cycle with a reduced spin, and add fabric conditioner now and then. 5
Why it works: Pilling is loose fibre working its way to the surface wherever the garment meets the most friction — cuffs, underarms, the front of a thigh. 4 Knits pill more readily than wovens, acrylic pills most of all because its fibres are short and straight, and cashmere pills heavily without being poor quality. 4 Taking the pills off as they appear means less pilling comes back over time. 4
Avoid this mistake: Picking the pills off by hand drags more fibre to the surface and starts the next batch, and pressing a shaver into the fabric cuts the knit instead of the pills. 4 Synthetic blends pill harder than natural fibres, and their pills lift less cleanly. 4
4. Clear the zip, lubricate it with soap, and close the slider's jaws
Steps
- Turn the garment or bag inside out and run along the zip to find where it catches. 6
- Pull any fabric caught between the teeth out and away from the zip, using tweezers for a small fold. 6
- With no fabric caught, clear thread, lint and grit out of the teeth. 6
- Rub a bar of soap or a candle stub along the teeth, then ease the slider until it moves. 6 Petroleum jelly, a clear soap or a cotton bud dipped in olive oil do the same job, worked onto the teeth with the slider eased down gradually. 5
- If the zip closes and then gapes open behind the slider, the slider is the fault: squeeze each side of it a little with needle-nose pliers, check that both sides are even, and stop when it is back to roughly its original size. 6
- If the pull tab has come away, thread a key ring, a safety pin, a paper clip or a narrow ribbon through the opening in the slider. 6
- If the zip slides back down, hang a key ring or a rubber band through the tab and hook it over the trouser button before fastening, or press the silver elbow of the pull down onto the brass body with pliers and pinch the two brass arms either side of it together. 6
Why it works: Three different faults feel like one. Fabric or grit in the teeth jams the slider; a slider whose jaws have been bent open lets the teeth part behind it; and on jeans a small silver finger on the pull is meant to drop between the teeth and lock, so once it has been lifted out of place the zip runs down on its own. 6 Soap, candle wax and graphite leave a dry film that lets the teeth pass; the greasier options do the same job and are the ones that mark cloth, so they go on the teeth with a cotton bud and nowhere else. 56
Avoid this mistake: A slider forced through caught fabric tears the teeth, so the fabric comes out first. Crimp the slider in small passes with a test between each one, because one hard squeeze jams or breaks it. 6 Keep any lubricant on the teeth, since petroleum jelly, oil and soap all stain fabric on contact. 6
5. Fix the dropped hem or the opened seam
Steps
- For a hem whose fold has simply come down, press a strip of iron-on hemming tape between the two layers, or run a thin line of fabric glue along the fold. 5
- Where the seam itself has separated, or the fabric is unravelling, stitch it: the whip stitch is the one for a busted seam, a pocket that has split open and a hem that has come apart at the edge. 7
- For a small break you want to disappear, use the slip stitch: catch a few threads on one side of the gap, then a few on the other, and draw it up so the stitching sits inside the fold. 7
- Match the thread to the fabric, because a whip stitch shows on the outside. 7
Why it works: Iron-on tape is a heat-activated adhesive that fuses the fold, and glue does the same job cold. 5 The stitched route holds the fold with thread instead, which is the version that survives a seam taking the pull of a pocket or a trouser leg. 7 The slip stitch works because the visible part of each pass hides inside the fold, which is also why it is the weaker of the two. 7
Avoid this mistake: The slip stitch is the weaker stitch and suits a small break that must disappear; a seam that has come apart, or fabric that is unravelling, wants the whip stitch, which holds under load. 7
6. Stop a small hole from growing
Steps
- For a small hole in a garment you want to look untouched, close it with a slip stitch, working in thread matched to the fabric. 7
- For a tear, or a place where the fabric is starting to unravel, use the back stitch, which takes one step back for every two forward and is the strong, flexible stitch for high-wear areas. 7
- For a worn or ripped patch of cloth, cut a piece of fabric to cover it, matching the garment's weight and fibre, pin it in place, and stitch it down. 8
- For a hole in a knit, darn it: reweave the gap with yarn or embroidery floss on a blunt tapestry needle, matching the yarn to the garment's thickness. 8
- Choose the thread with the result in mind — a close colour to hide the mend, a contrasting one when the repair can show. 8
Why it works: A patch adds a fresh layer where the cloth has gone thin, and darning replaces the missing loops with new yarn woven through the ones that survive. 8 The part that surprises people is how low the bar is. Visible mending sets out to make the repair plain, so a tidy result is the aim, and stitches that displease you can be taken out and run again. 8
Avoid this mistake: A patch cut from heavier cloth drags a light garment out of shape, so match it to the weight and fibre of what you are mending. 8 For darning, a blunt tapestry needle passes between the yarn instead of splitting it. 8 And a slip stitch has a limit: it closes a small hole, while a large one needs the back stitch or a patch. 7
7. Take the slack out of a stretched collar
Steps
- Run a garment steamer, or the steam setting of an iron, over the collar: 10 to 20 passes on the inside and the outside until it is thoroughly damp and hot. 9
- Take the garment off the hanger and mould the collar into a tighter, rounder shape with your hands. 9
- Lay it flat to dry in that shape, because the shaping before it dries is what holds. 9
- With no steamer, fold the collar into an accordion wave and soak it in iced water for a few minutes until saturated, wring it out, press it flat, and dry it flat. 9
- Boiling water is the third route: dip the collar alone into boiling water for one to two minutes, then dry it flat in a shaped position. 9
Why it works: Heat and water make the fibres in a mostly cotton knit relax, and cloth dries into the shape it is held in. 9 Left to roll around loose in a tumble dryer the collar sets loose; moulded by hand and dried flat, it takes the tighter curve. 9
Avoid this mistake: Expect a collar that has tightened a little. The test ran on three old, mostly cotton sweatshirts and the change moved with the fibre mix, and the loosest collar of the set barely moved. 9 The boiling-water route asks the most of the garment — in the test the water came away bright with dye — so it wants a collar that can be dipped without the body soaking. 9
Tonight, the whole job is the button and the pulled loop: a needle, a length of thread and ten minutes. This week, clear and crimp the zip, tape or stitch the hem, and close the small hole before it runs. The running habit is the one that keeps clothes out of the bin — take the pills off when they appear, which is what stops them coming back, and look the garment over as you take it off, so a snag is fed back into the knit before it catches on something else. Every fix here runs on a needle and thread or on something already in the house. A garment that is past all seven belongs with a tailor.
References
- 1How to Sew a Button for Beginners
goodhousekeeping.com
- 2Use a Toothpick to Sew Buttons to Sit Properly
lifehacker.com
- 3Fix a Snagged Sweater by Pulling the Yarn Back In
lifehacker.com
- 4
- 59 ways to keep your clothes looking fabulous for longer!
goodhousekeeping.com
- 6How to Fix Every Broken, Stuck, and Stubborn Zipper Ever
apartmenttherapy.com
- 7
- 8
- 9
This story was produced automatically by a channel. One sentence is all it takes for Neodrop to keep producing for you.