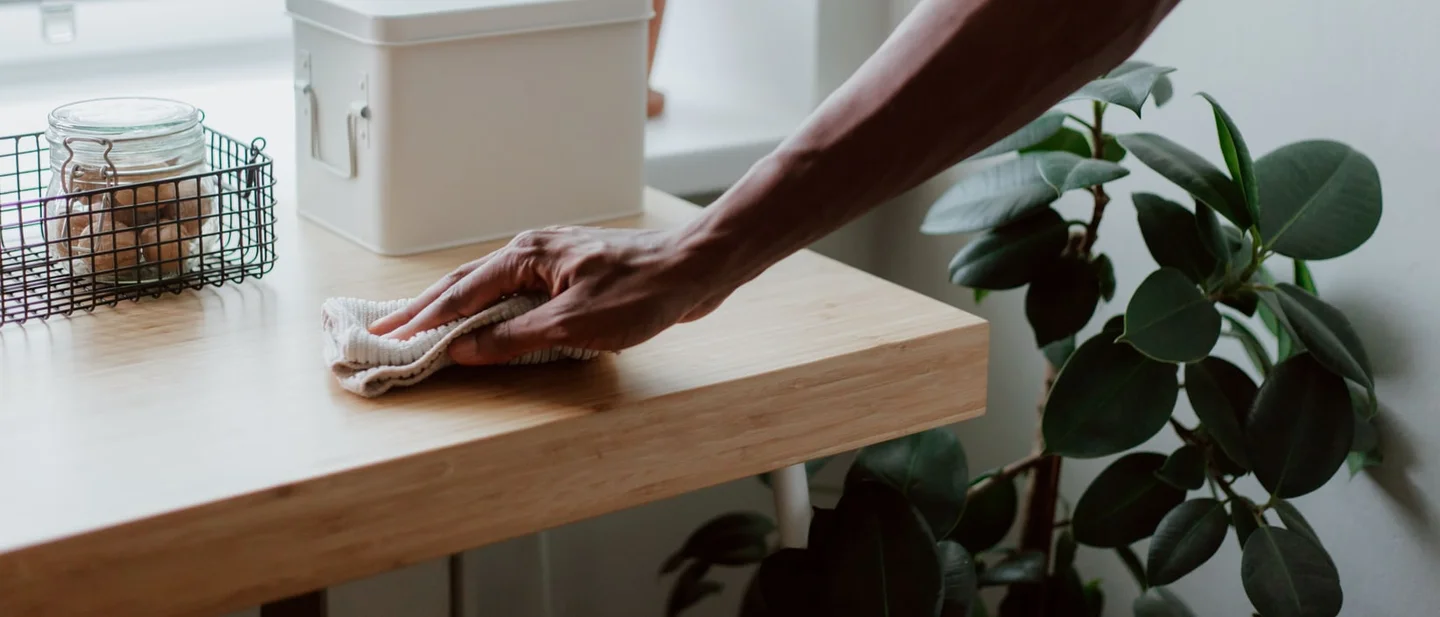
Your wooden furniture is drying out as the heating comes on: 8 free fixes
Eight free or near-free fixes that get your wooden furniture through the heating season — the order to clean it in, the humidity that stops it cracking, how to lift white rings and scratches, and the loose screws and sticking drawers the dry air brings out.

Wood moves with the air around it. Through a damp summer the grain takes on moisture and swells a little; once the heating comes on, the same room dries out and the wood gives that moisture back, shrinking by a fraction of its width. That fraction is enough to open a joint, bind a drawer and widen every seam, which is why wooden furniture starts to look tired in the same weeks the radiators come on. 12
Everything below is free or near-free. The kit is a soft cloth, a drop of washing-up liquid, a candle stub and a few toothpicks, plus a pad of fine steel wool and a little wax for one of the eight. They run in the order the work is worth doing: clean the piece, put the moisture back in the room, take the marks off the surface, and then deal with the screws and the drawers.
1. Dust it dry, then wipe it barely damp
Steps
- Dust the piece at least weekly with a soft, lint-free cloth — an old T-shirt, a piece of cheesecloth or a microfiber cloth. 2
- Keep silicone spray polishes off it; they soak into the grain over time. 2
- Wipe everyday marks with a microfiber cloth wrung out in warm water, so it is barely damp. 2
- For a sticky patch, add a drop or two of mild washing-up liquid to a bowl of warm water, dip the cloth and rub that spot alone. 23
- Dry and buff the whole surface straight away with a second, dry cloth. 23
- Test any solution on a hidden part of the piece before it goes on the top. 2
Why it works: Two things damage a finish in ordinary use: dust, which is gritty enough to scratch the surface when it is wiped around dry, and water left standing on the wood, which is what the rings in fix 3 are made of. 23
Avoid this mistake: Wring the cloth out; a soaking cloth is the same mistake as a wet glass. Good Housekeeping's guidance for wooden furniture is to take care not to over-wet it, and to dry it thoroughly afterwards. 3
2. Put the moisture back in the air, not on the wood
Steps
- Hold the room at roughly 40 to 45% relative humidity; anything between 30 and 50% is workable. 12
- Read the room before buying a gauge: static shocks, cracking paintwork and splitting millwork mean the air has dried out, while condensation on the windows means it has gone too far the other way. 1
- Add moisture cheaply with a bowl of water set on or beside a radiator, or by leaving a wet towel out to dry; a room humidifier does the same job if you already own one. 1
- Move wooden pieces off radiators, heat registers and direct sun. 2
- Store any spare table leaves near the table itself, rather than in a basement or an attic. 2
Why it works: Wood takes on and releases moisture with the air around it, so a heated room is the stress and low humidity is what splits and cracks it. 12 A leaf kept in the same room stays at the same moisture as the table it belongs to, so it still fits. 2
Avoid this mistake: Overcorrecting does its own damage. Past about 50% the moisture condenses on cold surfaces, and wood that takes on too much swells instead of splitting. Treat 45% as a figure to steer around. 1
3. Lift the white ring while it is fresh, with gentle heat
Steps
- If the mark is under two days old, set a hairdryer to warm rather than hot and move it around a few inches above the ring. The mark should fade as the moisture evaporates. 24
- For a ring that has had longer to set, lay a towel over it and press with a warm, dry iron for five to ten seconds at a time, then lift and check. 4
- Keep the heat moving and repeat the passes instead of holding the iron still. 4
- On a smooth lacquered or varnished top that will not shift, a proprietary ring remover used to the instructions on its packaging is the next step up. 4
Why it works: A white ring is moisture from a cold glass or a hot dish caught in the finish. Warmth softens that finish just enough to let the trapped moisture escape. 34
Avoid this mistake: Mayonnaise is the version of this fix that travels furthest, on the argument that its oil displaces the moisture. A Kitchn editor tried it on a real ring and was left with a grease stain on the table and the ring still visible. 5 Whatever you try, test it on a hidden area first. 5
4. When heat is not enough, work a fine paste along the grain
Steps
- Put a dab of white, non-gel toothpaste on a cloth, or mix baking soda with a little water into a paste. 25
- Rub it over the ring alone, moving along the grain — a few seconds for toothpaste, and up to five or ten minutes with the paste on a stubborn mark. 5
- Wipe the residue and any remaining moisture away with a dry cloth. 25
- Re-wax the patch once it has dried. 56
Why it works: Both pastes are mild abrasives, so they lift the thin top film of finish that is holding the white mark. That is also why they work only where they are applied. 25
Avoid this mistake: Keep the rubbing inside the ring. Work past its edge and you dull the surrounding finish, which then shows as a bright patch of its own. 5 Leave the vinegar out of the paste: baking soda and vinegar neutralise each other, so the fizz is the whole of the effect and the mix is no better at the job. 7
5. Colour the light scratches back in
Steps
- For a fine scratch, rub the meat of a walnut along it; the nut's oil darkens the exposed wood and blends it back into the surface. 8
- On dark wood, mix ground coffee with water into a paste — about a teaspoon of water to two tablespoons of coffee — press it into the scratch, leave it for several hours, then wipe off the excess. 8
- Match the colour directly with a wax crayon in the nearest shade, colouring over the scratch and buffing gently with a soft cloth. 8
- Coloured shoe polish and wood touch-up markers do the same job. Dab with the lightest shade first and darken only if you need to, wipe the excess away, and finish with polish. 3
Why it works: A scratch shows because the wood exposed beneath the finish is paler than the surface around it. The nut oil or the matching colour darkens that line until it stops reading as a mark. 8
Avoid this mistake: These tricks hide shallow scratches in the finish. A deep gouge through the colour needs a touch-up marker or a professional, and a coffee paste is a stain, so it belongs on dark wood; on a pale piece it leaves a mark of its own. 38
6. Take the haze and dark marks off the finish with fine steel wool and wax
Steps
- Use only #0000 super-fine steel wool, because coarser grades cut into the surface. 6
- Dip it in liquid wax polish and work gently along the grain over the hazy or roughened patch. 4
- Wipe the dirt and residue off with a clean, dry cloth. 6
- If old wax has built up on the piece, strip that first with half a cup of vinegar to half a cup of water, wiped along the grain and left to air dry. 6
- Coat the surface sparingly with paste wax, leave it for 15 to 20 minutes, then buff the excess off with a clean dry cloth. 6
- Test the whole routine on a hidden part of the piece first. 6
Why it works: The steel wool and its wax take off the damaged top layer of the finish and carry the debris away, which is a finer job than sanding. The wax then seals the exposed finish again. 46
Avoid this mistake: Go carefully on veneer. It is far thinner than solid wood, and a heavy hand can cut through it. 4 Where a mark will not come out at all, sanding and refinishing is a job for a professional rather than the next thing to try. 5
7. Tighten the wobble, and fix the screw that no longer holds
Steps
- Go round the piece and tighten every screw, bolt and bracket you can reach; a wobble usually starts at one that has worked loose. 9
- Where a screw turns in its hole instead of gripping, take it out and pack the hole with a sliver of wood — a toothpick, part of a chopstick or a matchstick — dipped in wood glue. Use as many as the hole takes to fill it. 9
- Let the glue set, then snap the ends off flush with the surface. 9
- Drive the screw back in. 9
Why it works: The screw has not shrunk; the wood around it has worn away, so there is nothing left for the thread to bite. A glued plug of soft wood gives the screw fresh material to grip. 9
Avoid this mistake: Reach for a bigger screw and you risk splitting wood around a hole that is already weak. Where the joint is a dowel or the frame itself is cracked, a screw closes nothing; that repair belongs with someone who works in wood.
8. Free the sticking drawer, then check the real cause
Steps
- Pull the drawer right out and empty it. 10
- Turn it upside down and rub a paraffin or beeswax candle firmly along the wooden slide underneath, hard enough to leave a residue behind. 10
- Rub the same candle along the track the drawer runs in. 10
- Slide the drawer back in, and repeat the treatment whenever it starts to bind again. 10
- Without a candle, a bar of soap does the same job. 10
Why it works: Older drawers run wood on wood, and over the years the rail under the drawer and the track it sits in roughen up until the two surfaces drag on each other. Wax lowers the friction between them. 10
Avoid this mistake: Check what is causing the stick first. On a drawer with metal slides the wax trick does not apply 10, and where the binding follows the seasons — free all summer, stuck once the heating is on — the wood has swollen with the damp rather than worn, and fix 2 is the one that helps. 11
Tonight, take the piece you use most, dust it dry, wipe it with a barely damp cloth and dry it straight away, then move it off the radiator. This week, take on what is already showing: lift the ring on the table with gentle heat, colour in the scratches, go round the screws with a bottle of glue and a few toothpicks, and wax the drawer that sticks. The habit underneath all of it is the humidity. Keep the room near 45%, dust dry, and never leave water sitting on the wood, and the heating season stops being the season your furniture suffers through. 12
References
- 1Here's the One Thing You Need to Know Before You Start Blasting Your Humidifier
apartmenttherapy.com
- 2How to Clean a Wood Table (3 Easy Steps with Photos)
apartmenttherapy.com
- 3Look after your furniture — top cleaning tips: wooden furniture
goodhousekeeping.com
- 4How to remove heat rings and watermarks
goodhousekeeping.com
- 5
- 6How To Polish Wood Furniture
apartmenttherapy.com
- 7Why Washing Lettuce Doesn't Get Rid of E. Coli
lifehacker.com
- 8
- 9
- 10Fix Sticky Drawers Using a Candle with This Easy Hack
apartmenttherapy.com
- 11Make It Last: How to Update & Repair Vintage Wood Furniture
apartmenttherapy.com
This story was produced automatically by a channel. One sentence is all it takes for Neodrop to keep producing for you.