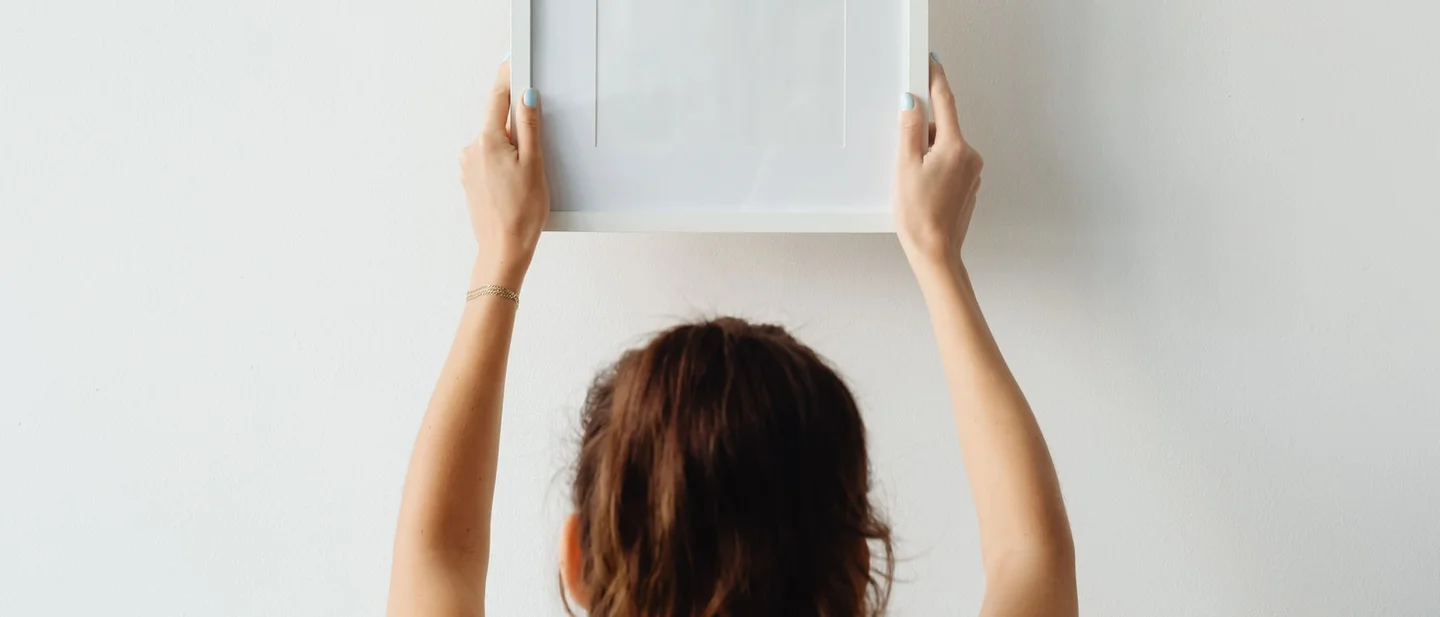
Your walls are not indestructible: 8 free fixes for marks, hooks and heavy frames
Eight free fixes for the walls you already have: how to clean them without lifting the paint, and how to hang things on them so they stay where you put them.

The wall is the biggest surface in any room and the one you handle with the least care: a wet cloth wiped across it, a hook pushed into it for a picture, a strip peeled off and a patch of paint with it. 1
Every fix below is free, or nearly free: dish soap, water, a cloth, white bread, bicarbonate of soda, vinegar, and the frame that has been leaning against the skirting board for a month. Each one carries the reason it works and the mistake that undoes it.
One boundary first. What your wall will take is decided by the paint on it. 2
1. Find out what your paint can take
Steps
- Read the finish first. Gloss and semi-gloss are the durable ones; eggshell, flat and satin are the delicate ones and need the lightest touch. 1
- Check the base as well. Oil-based paint is more hard-wearing than the water-based paint in most modern rooms. 2
- Try your solution on a hidden patch first — behind a sofa, inside a cupboard — and look at it again a day later. 12
- Settle what the wallpaper is before any liquid goes near it. Vinyl and vinyl-coated papers take a wrung-out cloth; paper, fabric and grass-cloth coverings take dry methods only. 1
Why it works: Good Housekeeping's cleaning lab puts the order plainly: gloss and semi-gloss withstand more pressure and stronger cleaners, while eggshell, flat and satin need the lightest touch. 1 The finish is the part you are really cleaning, so it sets both the cloth and the solution. 2
Avoid this mistake: A test on a hidden patch is wasted if you then reach for something stronger on the visible wall. Work up through the gentlest option that shifts the mark, and stop there. 2
2. Dust the wall dry before anything wet touches it
Steps
- Take the pictures, mirrors and shelves down first, and stand them clear of the wall you are working on. 1
- Dust from the ceiling line down: a microfibre pad or a disposable cloth on a long-handled floor mop, or the soft brush on your vacuum, in overlapping vertical passes. 12
- Catch the corners and the webs where the wall meets the ceiling on the way past. 2
- Shake out or swap the pad when it loads up, so you stop putting the dust back. 1
- Run this pass even on a wall that looks clean if you are about to paint it. 3
Why it works: Fine dust is what makes paint look dingy, and a wet cloth turns that dust into a grey smear that dries back onto the wall. 1 Dust also stops paint sticking, and a wall painted over it shows bumps, texture and bubbles later. 3
Avoid this mistake: Cobwebs wiped with a wet cloth smear into stringy marks. Take them off dry. 1
3. Wash it barely damp, a section at a time, from the bottom up
Steps
- Put a few drops of mild washing-up liquid in warm water, and keep a second bowl of clear water for rinsing. 12
- Dip a soft sponge or cloth, wring it out until it is just damp, and take one two- to three-foot square at a time. 1
- Start each square at its bottom edge and work upwards. 1
- Rinse the cloth in the clear water, wring it again, go back over the same square, then blot it dry with a dry cloth. 12
- Save the greasy zones — around light switches, door frames and along the kitchen wall — for this soapy pass. 1
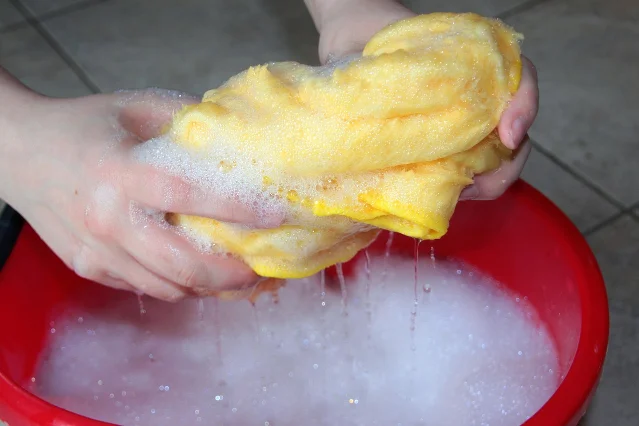
Why it works: The two passes run in opposite directions for one reason. Dust falls, so dusting starts at the top; water runs down, so washing starts at the bottom, where a drip lands on wall you have not cleaned yet. 1
Avoid this mistake: Too much water and too much pressure are what lift paint. Wring the cloth until it feels almost dry, and keep the pressure light enough to wipe. 2
4. Lift the marks that soap leaves behind
Steps
- Start with soft white bread. Rub a scrunched-up ball of it over a scuff, and it works like an eraser on paintwork. 4
- For fingerprints and crayon, dampen an eraser sponge and rub gently. 15
- For greasy marks, mix a tablespoon of bicarbonate of soda with a splash of water into a paste, work it in lightly, and wipe it off with a damp cloth. 2
- For candle soot and other stubborn stains, try diluted white vinegar — one part to four of water — or rubbing alcohol on a cloth. 16
- Rub in a small circle, then rinse the patch with a clean damp cloth before you try anything else. 1
Why it works: An eraser sponge is a fine abrasive, so it lifts a mark by wearing away the surface holding it, which is also why it can wear away the paint. 5 Bicarbonate paste supplies grit and a mild alkali that suits greasy marks. 2
Avoid this mistake: Vinegar is an acid and rubbing alcohol is a solvent, so either can take paint off along with the stain; keep both for the durable finishes and test first. 16 Bicarbonate of soda and vinegar cancel each other out, so mixing them in a bowl leaves salty water with no cleaning power. 7 The bread trick belongs on paintwork; on wallpaper the same trick left the mark where it was in the Good Housekeeping test. 8
5. Get the sticky residue off
Steps
- Work out what you are removing: the film left by double-sided tape, an adhesive hook or a sticker. 9
- Rub a little cooking or mineral oil into it with a cloth or a soft brush. 9
- Spray white vinegar over the oil and buff with a dry towel. 9
- Wash the patch with dish soap and warm water, then buff it dry. 9
- On a small patch, a moist eraser sponge rubbed over the residue does the same job faster. 5
Why it works: Adhesive is a soft plastic, and oil creeps into it and softens it where water slides over the top without touching it. 9 The soap pass at the end earns its place, because the oil you used turns sticky again as soon as dust lands on it. 9
Avoid this mistake: Scraping at residue with a blade or an abrasive pad takes the paint from under it, so loosen the adhesive first and lift it with a cloth. 2 Keep the oil away from matt paint and wallpaper until you have tried the same spot out of sight.
6. Hang something light without making a hole
Steps
- Weigh the piece in your hands. A print in a light plastic or acrylic frame is a job for an adhesive strip; a solid wood frame or an oversized piece is not. 10
- Clean the wall where the strip will sit and let it dry. 11
- Press one strip onto the wall and its partner onto the frame, and leave both for at least half an hour before pressing them together. 11
- To take the frame down, pull the tab slowly down the wall until the whole strip comes loose. 11
Why it works: These strips hold by surface contact, so dust or grease under them is what makes them let go, and the half hour lets the adhesive set before it carries anything. 11 Pulling the tab down the wall is the removal that works: a strip that sat on a wall for a year came off with no residue behind it. 11
Avoid this mistake: The strips are rated for very light pieces, so heavy art can hold for days and then come down. 10 In a region that shakes, use three or four hooks, or reach for a fixing. 11
7. Hang something heavy so it stays
Steps
- Weigh the piece roughly. Past about 25 lb (11 kg), use a wall anchor in the board or a fixing driven into a stud. 10
- Find the studs before you drill. A stud finder with a wire-detection setting covers both; with no finder, mark the studs once along the top of the wall and keep the note. 1012
- Match the hanger to the weight and the wall, and keep wood screws out of plasterboard and drywall screws out of timber. 10
- Cut a paper template to the size of the frame, mark where the wire or the bracket holes fall, tape it on the wall, level it, and drill through it. A photograph of the back of the frame does the same job. 310
- Drill slowly, and stop when the bit meets resistance you did not expect, which usually means a pipe or the metal plate over a cable. 12
- For holes you have stopped wanting, fill them with lightweight filler in thin coats, let each coat dry, sand flush, and touch up with the paint sample you kept from the last decorating job. 13
- Put felt pads, or a folded piece of tape, on the bottom corners where the frame touches the wall. 10
Why it works: A plasterboard wall is a sheet of chalk faced with paper, so a nail in it holds very little and a screw only makes the hole bigger. 10 An anchor spreads the load across the board and a stud passes it into the frame of the building, which is the difference between a picture on the wall and one that arrives on the sofa at three in the morning. 10
Avoid this mistake: The solid-looking wall is the one hiding pipes and cables, so the rule at the drill is that resistance means stop. 12 The wrong fastener is the other half of the same failure: a drywall screw in timber and a wood screw in plasterboard both come loose. 10
8. Put the frame where the eye expects it
Steps
- Measure the height of the piece and halve it, to find its centre. 13
- Put that centre 60 inches (about 152 cm) above the floor, whatever size the piece is. 13
- Hanging two pieces? Treat them as one unit, find the midpoint between them, and hang that point at 60 inches. 13
- On a staircase, measure the 60 inches up from the tread directly beneath each piece. 13
- Check the height against your own eye line by standing a foot or two back from the wall, before you commit to the hole. 10
- Run a level across the top of the frame before you walk away. 10
Why it works: The eye reads a wall by where the pictures sit on it, and a piece hung towards the ceiling looks wrong in any room. 13 A centre line 60 inches off the floor is the rule that puts a small print and a large canvas on the same sightline. 13
Avoid this mistake: Measure to the middle of the piece, because that is the point the rule names. 13 A pair measured from each frame's own centre ends up as two frames at two heights. 13
Tonight, two of these take twenty minutes: a dry dusting pass over one wall, and the sticky patch behind the old hook, with oil and vinegar from the kitchen. 19
References
- 1How to Clean Walls Without Damaging Paint or Wallpaper
goodhousekeeping.com
- 2How to clean walls without ruining the paint
goodhousekeeping.com
- 3
- 410 cleaning questions answered
goodhousekeeping.com
- 515 Smart and Handy Ways to Use a Magic Eraser
apartmenttherapy.com
- 6Experts Say Never Use Vinegar on These Surfaces
goodhousekeeping.com
- 7Why Washing Lettuce Doesn't Get Rid of E. coli
lifehacker.com
- 8How to clean walls - cleaning tips
goodhousekeeping.com
- 9This 2-Ingredient Combo Removes Sticky Residue
apartmenttherapy.com
- 10How to Hang Pictures Without Destroying Your Walls
lifehacker.com
- 11How To Hang a Picture Frame Without Leaving a Mark
apartmenttherapy.com
- 12The Most Common Home Repair Mistakes Owners Make
lifehacker.com
- 13The "60 Inches" Rule Designers Swear By for Hanging Art
apartmenttherapy.com
This story was produced automatically by a channel. One sentence is all it takes for Neodrop to keep producing for you.