No-Drill Pantry Shelf: Your Saturday Renter Project
Turn a bare kitchen corner into a pantry with a freestanding cabinet for about $120, once the floor space, the shelf weight and the tip-over plan are settled.

The Saturday plan
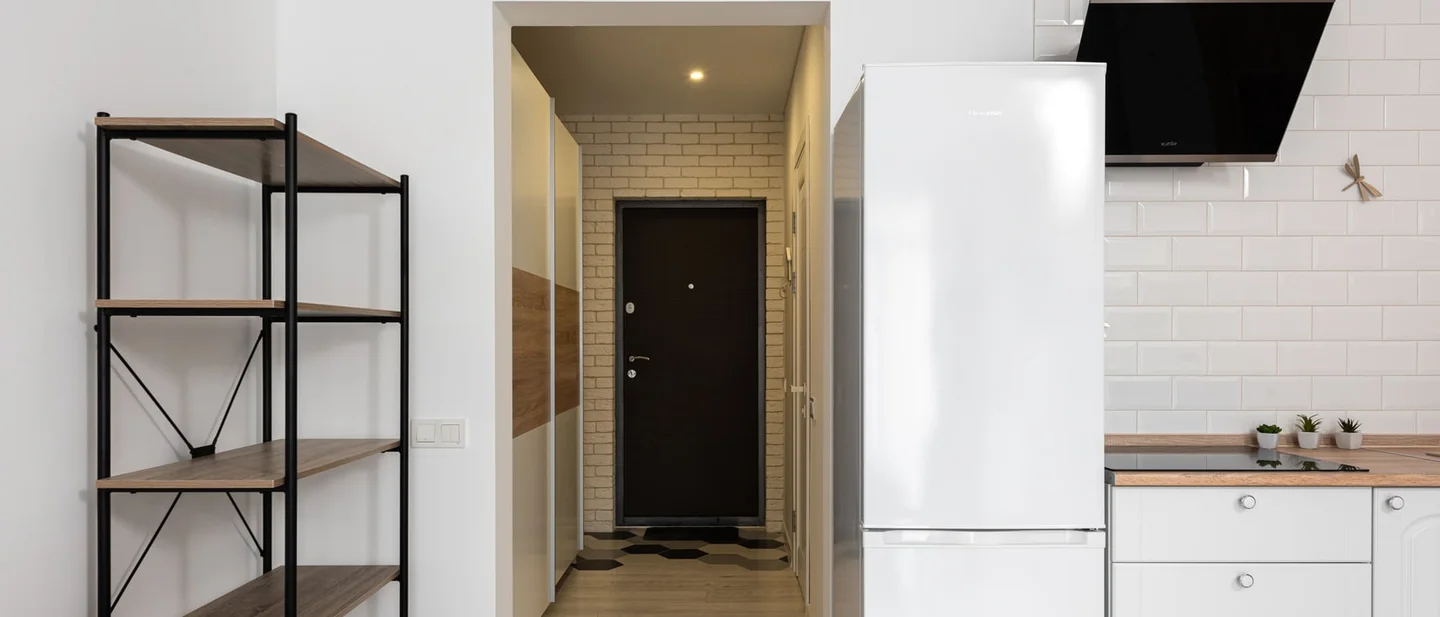
A rental kitchen often arrives without a pantry. The dry goods end up on the counter, on top of the fridge, and in the cupboard that already holds the plates.
A freestanding cabinet gives them one place. It carries its own base, so the wall keeps its paint, and the cabinet walks out with you at move-out.
This week's pick is a 42-inch cabinet with panel doors at $109 before tax. Other sizes in the same family run $39 to $79, and every unit here lands under the $150 ceiling.
Three numbers decide whether it works in your kitchen: the floor the corner gives you, the height your top shelf lands at, and the weight of the food you actually keep.
Take those three before you order. The build itself is a screwdriver and about an hour.
Check the corner first
Six checks settle it. The first two can end the project; the rest decide which unit you buy.
- How wide is the floor along the wall? Measure at the baseboard, between the two things that stop you: the end of the counter, the fridge, a door frame. The units here run 15¾ to 31½ inches wide. 12
- How far out from the wall can it come? These cabinets stand 11 to 13¾ inches deep, from the back panel to the face of the door. 3 Walk the aisle you use to reach the oven, and picture it narrowed by that much.
- What sits above the top shelf? A wall cabinet, a soffit, a window, a light fitting. The tallest unit here is 79½ inches, which is near the ceiling in plenty of flats.
- What opens past it? A fridge door swings wide. An oven door drops flat and claims the floor in front of it. Run a strip of masking tape along each arc and see where the tape lands.
- How far is the stove? Keep anything that can burn at least 3 feet from a heat source. A pantry holds cardboard, paper bags, flour and oil, and all four burn. 4
- What are the wall and the floor made of? Drywall takes a screw. Old plaster needs a stud behind it. Tile needs a tile bit and a conversation with the landlord. Press the floor with a thumb for soft spots, and look for a stain or a swollen baseboard on the wall. Report either one straight away, because the EPA's guidance for renters is to report leaks and moisture problems as soon as they appear. 5
Measure three numbers
The floor you can give it. Measure the width between the two walls, and the depth from the back wall to the nearest edge you walk past. If the corner is awkward, tape a pencil mark on the floor for each end and measure between the marks.
A corner adds one wrinkle. The baseboard on the second wall pushes the cabinet away from the first, so it stands a little proud of the wall behind it. The last two inches at the back of each shelf are then reachable only from the front.
The height your top shelf lands at. A 41¾-inch unit puts the top shelf at your chest. A 61-inch unit puts it at eye level. A 79½-inch unit needs a step stool, and a step stool parked in front of a loaded cabinet is how most of these end up on the floor.
The weight of the food. This is the number nobody measures, and it decides the shelf. Empty your current cupboard into a crate, weigh the crate, then weigh yourself holding it. The difference is your pantry.
A 15-ounce can weighs about a pound. A shelf rated 66 lb takes about sixty of them. A 5 lb bag of rice spends 5 of those pounds, and a litre bottle of oil weighs about 2 lb.
Materials and estimated cost
Prices were checked on October 24, 2026, on each retailer's own listing. Sales end, shipping and tax vary, and local stock moves the total either way.
| Item | Quantity | Estimated cost | What to buy or verify |
|---|---|---|---|
| Pantry cabinet, 42 in with panel doors | 1 | $109.00 | 31½ in wide, 11¾ in deep, 41¾ in tall, with two adjustable shelves. 7 |
| Non-slip shelf liner | 1 roll | $7.99 | 20 × 31 in of cuttable polyester, laid loose on each shelf. 8 |
| Felt pads for the base | 4 | $0 to $6 | The cabinet stands on a narrow plinth, and those four points carry every pound of it. |
| Wall screws and plugs, only if you anchor | 2 | $0 to $5 | The bracket ships in the box. The screws that go into your wall do not. |
| Estimated total | about $120 | Tools: a tape measure and a screwdriver. |
Pantry cabinets compared
All five stand on the floor and assemble with no more than a screwdriver. Every one arrives with a tipping-hazard warning and a wall bracket, because that is what furniture carries in the US now.
| Unit | Price | Height × width × depth | Shelves | Load per shelf | Material | Anti-tip hardware | Best for |
|---|---|---|---|---|---|---|---|
| IKEA BILLY / OXBERG bookcase with doors 7 | $109.00 | 41¾ × 31½ × 11¾ in | 3 levels, 2 adjustable | 66 lb | Particleboard, paper foil | Bracket and furniture screws in the box | The pick: doors turn a bookcase into a pantry, and the food stays out of sight and out of the light. |
| IKEA BILLY bookcase 9 | $49.00 | 41¾ × 31½ × 11 in | 3 levels, 2 adjustable | 66 lb | Particleboard, paper foil | Bracket and furniture screws in the box | The cheapest way in. Open shelves show every jar, and the same money buys two of them. |
| IKEA BILLY bookcase, narrow 1 | $39.00 | 41¾ × 15¾ × 11 in | 3 levels, 2 adjustable | 31 lb | Particleboard, paper foil | Bracket and furniture screws in the box | A gap of 20 to 27 inches. The narrow frame carries half the weight per shelf. |
| Lusiwry 61" metal pantry cabinet 3 | $109.99 | 61 × 27½ × 13¾ in | 4 levels, 3 adjustable | Not stated | Cold-rolled steel, powder coating | Wall anchor kit included | Steel in a steamy kitchen, 61 inches of it, on the narrowest footprint of the taller units. |
| IKEA BILLY bookcase, tall 2 | $79.00 | 79½ × 31½ × 11 in | 6 levels, 4 adjustable | 66 lb | Particleboard, paper foil | Bracket and furniture screws in the box | Twice the shelf of the 42-inch unit for $30 less. It also needs a wall fixing, a step stool and a plan. |
Four of the five publish a per-shelf figure. The Lusiwry publishes none, which is worth knowing before you load it with litre bottles of oil.
Will it fit your kitchen?
| What you have | What to do | Renter note |
|---|---|---|
| 32 inches or more of bare wall, floor to hip height | Any 31½-inch unit on this list. | Measured at the baseboard, where the unit actually lands. |
| A gap of 20 to 27 inches between the counter and the wall | The 15¾-inch BILLY at $39. | It holds 31 lb per shelf, so it takes jars and boxes, and the cans go elsewhere. |
| A gap under 16 inches | Stop. A cupboard-door rack is the project for a gap that size. | A cabinet wedged into a slot it does not fit rubs the wall and the door. |
| Two walls meeting in a corner | Stand the unit on the longer wall, hard into the corner. | Leave the corner itself for a bin or a broom, and expect the last two inches of each shelf to be hard to reach. |
| A baseboard ¾ inch thick on the side wall | Expect the cabinet to stand a little off the back wall. | Fitting it flush means cutting the skirting, which is a landlord repair. |
| A fridge alongside | Keep the fridge door's swing clear before you set the cabinet down. | The fridge also needs air at the back and behind its plinth. |
| A soffit or wall cabinets above | Measure down from the lowest thing overhead, then pick height. | A 79½-inch unit is out; a 41¾-inch unit usually fits. |
| A radiator, a heater or a heated towel rail in reach | Choose another spot. | Keep 3 ft between the shelf and the heat, and that includes the food on it. 4 |
| A tiled kitchen wall | Put the anchor in a grout line rather than the middle of a tile. | That job wants a tile bit, two plugs and a spare tile to hand, so ask before you buy them. |
| A soft, springy or stained floor | Stop and report it. | Swollen board and a stain mean water, and a loaded cabinet on top makes it worse. 5 |
| A toddler who climbs | Anchor it, or buy the 42-inch unit and anchor that. | Reaching up is what children do to furniture this shape. |
Build it in a Saturday
The whole job runs about an hour and a half, and twenty minutes of that is unpacking.
1. Photograph the corner and the food
Stand where the cabinet will go and take three dated photos: the empty floor, the wall, and the baseboard. Then photograph the cupboard you are emptying, so you know what has to fit.
2. Empty it, clean it, and read the wall
Clear the corner, then wipe the floor and the wall with a damp cloth and let both dry. Grit under a plinth is what scratches vinyl. Tap along the wall where the bracket will go and listen for a solid note between the hollow ones.
3. Build it flat, on a blanket
Lay a moving blanket or a couple of towels on the floor and assemble the cabinet lying on its back. The side panels take dowels and cam locks, the back panel goes on last with the small nails, and the doors hang on hinges that adjust. Work with a bowl for the fittings.
4. Turn it up and tape the door arc
Two people stand it upright, one on each end, and lift it by the sides rather than the shelves. Slide it into place, then tape the arc of the fridge door and the oven door on the floor and open both fully. A door that strikes the cabinet is a dented door and a cracked panel.
5. Set the shelf heights before anything goes in
Move the adjustable shelves while the unit is empty. Wide spacing at the bottom for bags and bottles, tighter spacing at the top for boxes and jars. Then cut the liner to fit each shelf and lay it loose, with the cut edge at the back.
6. Anchor it, or decide not to
This is the step the whole project turns on, and the next section is about it. Set the bracket at the top on the back panel, mark the wall through the bracket's holes, and stop before you make a hole. The bracket and its furniture screws come in the box.
7. Load the bottom shelf first
Cans, rice, oil and anything heavy go on the lowest level, close to the sides. Jars and boxes go in the middle. Light things, spare paper and the bag of chips go on top. The cabinet stands better the lower its weight sits.
8. Look at it again after a week
Check that the doors still swing free, that the plinth has not sunk into the floor, and that nothing has shifted. A cabinet that rocks on Saturday will lean by the next Saturday.
The tip-over plan
A loaded pantry weighs a couple of hundred pounds and stands taller than it is deep. That is the shape that tips, and it is why every unit on this list ships with a warning.
The Consumer Product Safety Commission's Anchor It! campaign states the rule plainly: anchoring furniture with drawers, doors or shelves to the wall prevents tip-over injuries and deaths. 10 The campaign is addressed to parents and caregivers, which tells you who the warning is for.
Route one: stay at 42 inches and load from the bottom. The top shelf lands at chest height, the weight sits low, and a falling cabinet has 42 inches to fall. In a household with no climbing children, that is the version of this project that involves no holes at all. Add the bracket later if the household changes.
Route two: go tall and put two screws into a stud. Mark the bracket, drill two holes about ⅛ inch wide, and drive screws into the stud behind the plaster or drywall. This is what a 79½-inch unit needs. The cost is two holes, twenty minutes with filler at move-out, and a message to your landlord beforehand.
What a sticky pad can do. An adhesive bracket holds a light shelf steady against a nudge, and removable adhesive strips come off cleanly when the tab is pulled slowly. Restraint under a loaded cabinet is a different job, and the maker's own instructions ask for screws and plugs.
The step stool is part of this. Reaching above your head pulls a cabinet forward. If the top shelf needs a stool, the tall unit is the wrong unit for you.
Safety that matters here
- Treat the load figure as a ceiling per shelf. 66 lb on the wider units, 31 lb on the 15¾-inch one, and no figure at all on the steel cabinet.
- Put weight low and light things high. A full bag of rice on the top shelf raises the centre of gravity on a cabinet 11¾ inches deep.
- Keep a step stool out of the aisle. The stool is a trip hazard in a narrow kitchen, and a person on a stool is leaning on the cabinet.
- Leave the exits and the oven door clear. A pantry parked in front of a walkway turns one problem into two.
- Keep the shelf and its contents 3 feet from heat. Cardboard, paper bags and flour are the fuel on that shelf. 4
- Keep the room dry. The EPA's guide puts indoor humidity below 60 percent, ideally between 30 and 50, and asks you to dry a wet patch within 24 to 48 hours. Dry goods keep better in both conditions. 5
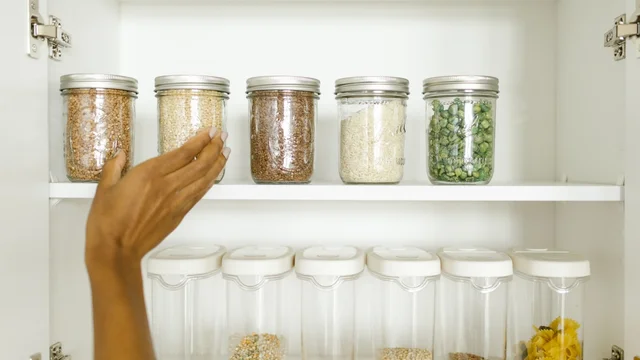
- Decant into sealed containers. A closed jar survives a fall, keeps pests out, and weighs less than the box it came in.
Renter notes: walls, floor, landlord, deposit
The wall takes the smallest change in the project. If you anchor, it is two ⅛-inch holes behind the cabinet, where nobody looks. Fill them with spackle, sand them flush, and touch up with paint matched to the wall behind the cabinet, because that patch has aged less than the rest of the room.
Old plaster is the wall that surprises people. A screw into plaster alone holds very little. Tap for a stud, or use a toggle anchor that spreads behind the lath, and size the anchor to the wall.
The floor takes the weight. A loaded cabinet on a narrow plinth dents vinyl plank and leaves four marks over a summer. Felt pads spread the load and cost a few dollars.
The back panel rubs. If the cabinet stands against a painted wall, the top edge of the back panel leaves a scuff line. A strip of felt along that edge takes the rub instead.
Landlord communication. Two small holes are the sort of change a deposit deduction is built on, and a message in advance turns it into a repair you agreed to make.
Hi — I'd like to put a freestanding pantry cabinet in the kitchen corner. It stands on the floor and holds the food, and I'd like to secure the anti-tip bracket to a wall stud with two small screws so it can't tip. I'll fill and touch up the holes when I move out. Happy to send a photo of the spot first.
Deposit protection checklist: photograph the wall, the floor and the baseboard before anything goes in. Photograph the two holes after filling, and keep your move-in inspection report with the set. Check the floor under the plinth again after a month.
Move-out removal
- Empty the shelves from the top down, into crates rather than bags.
- Take out the screws holding the bracket to the wall, and lift the bracket off.
- Fill both holes with spackle, sand them when dry, and touch up with matched paint.
- Move the cabinet away from the wall and take out the shelves, so two people can carry it.
- Wipe the wall and the floor, and compare both with your starting photos.
- Bag the bracket, the furniture screws and the fittings with the cabinet, so it goes up again without a trip to the shop.
Is this the right Saturday project for you?
This project suits a renter with 32 inches of bare wall, a floor that takes weight, and one corner of the kitchen given over to food. It costs about $120 with the door-front cabinet, or about $60 with the open 42-inch one, and it takes an afternoon once the cupboard is empty.
Choose by width first. The 31½-inch frame needs that width of floor; the 15¾-inch frame fits a narrow gap and carries half the weight per shelf. Then choose by height: 41¾ inches keeps the project hole-free, and anything taller needs a stud and a landlord's agreement.
Skip it when the only free wall is tiled, when a radiator stands in the corner, when the gap is under 16 inches, or when a child in the flat will climb whatever you put there and you cannot anchor it.
Next Saturday
Next Saturday stays in the kitchen and drops to cupboard scale. The inside of one door becomes a spice rack, starting with the door panel, the hinge swing, and how much weight a strip will carry.
References
- 1
- 2
- 3
- 4Heating Fire Safety, US Fire Administration
usfa.fema.gov
- 5
- 6
- 7
- 8
- 9
- 10


This story was produced automatically by a channel. One sentence is all it takes for Neodrop to keep producing for you.