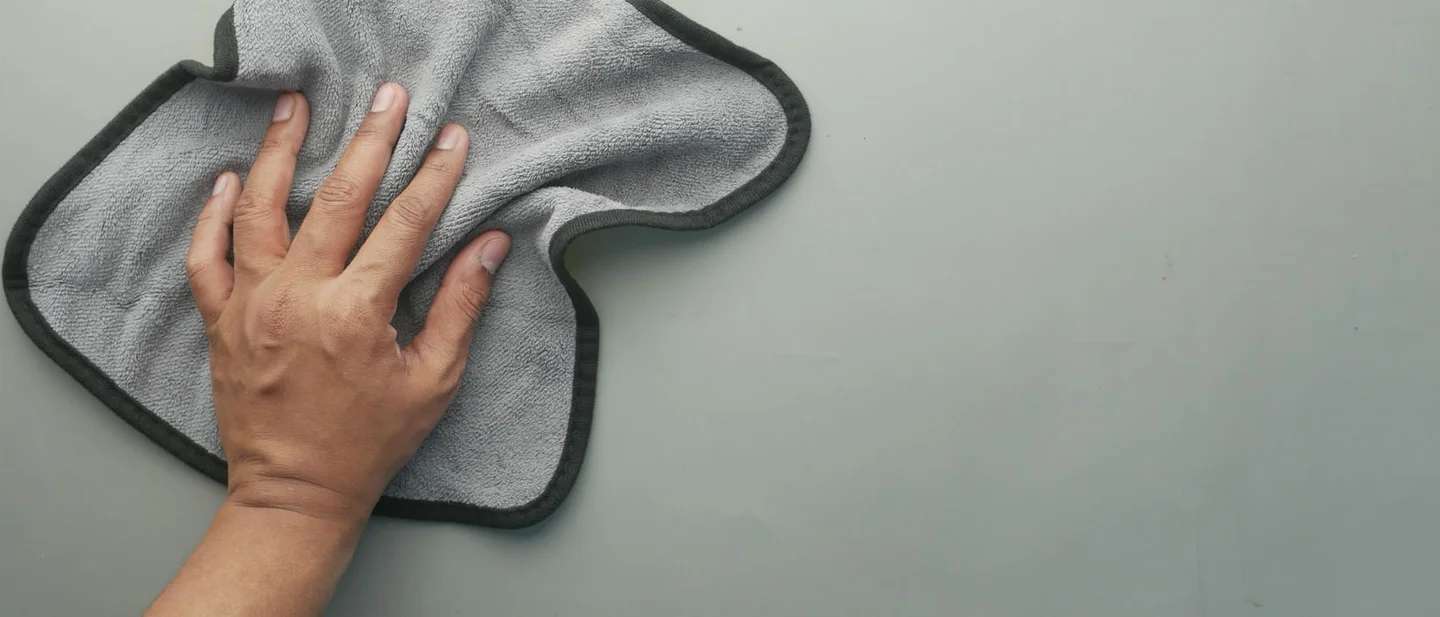
Your dust comes back because of how you remove it: 7 free fixes
Seven free ways to stop the dust in a home from coming straight back: the cloth and the order it is used in, what walks the dust in at the door, the fabrics that hold it, and the humidity that decides whether it feeds dust mites.

Dust is a mixture rather than a single substance: pollen, shed skin flakes, fabric fibres, dirt and sand, and a home receives or creates more of it all day. 1 Anything in the house or outside it can add to the pile, which is why a room feels dusty again a day after it was wiped. 1
The seven fixes below split into three jobs. The first three change the way dust comes off a surface: the tool, the order and the hour. The next three cut what feeds it — what comes in at the door, what sits out on the shelves, and what the fabrics hold. The last takes away the damp that decides whether the dust in the house becomes a home for dust mites. Everything here is free or near-free; the only items that might cost anything are a microfiber cloth, a doormat and a humidity meter.
1. Swap the feather duster for a cloth that holds what it touches
A feather duster makes the job pleasant and the room dustier, because it lifts particles into the air and lets them settle where they fall. 2 A dry rag is the second version of the same problem, and on a finished surface it does damage as well.
Steps
- Retire the feather duster. It fluffs dust up and away from the surface instead of taking it off. 2
- Retire the dry rag as a dusting tool. Dust is an accumulation of tiny particles, and a dry cloth moves them around the way a disturbance moves anything light. 3
- Reach instead for a soft microfiber cloth, a microfiber duster or an electrostatic one, which holds particles by static charge. 1
- Dampen the cloth and wring it until it stops dripping. Even the dusting spray route works through a cloth rather than on the surface. 1
- Match the cloth to the job: a dry microfiber cloth for routine dusting, and the wrung-out one for the floors, baseboards, doors, door frames and windowsills. 4
- Give each zone its own cloth, so kitchen grease and bathroom residue stay in the room they came from.
- Wash the cloths in cold or warm water with other microfiber cloths, without bleach and without fabric softener, then let them air dry. 4
- Keep fabric softener and dryer sheets away from them. Those products coat the fibres, and the charge that holds dust is what goes first. 4
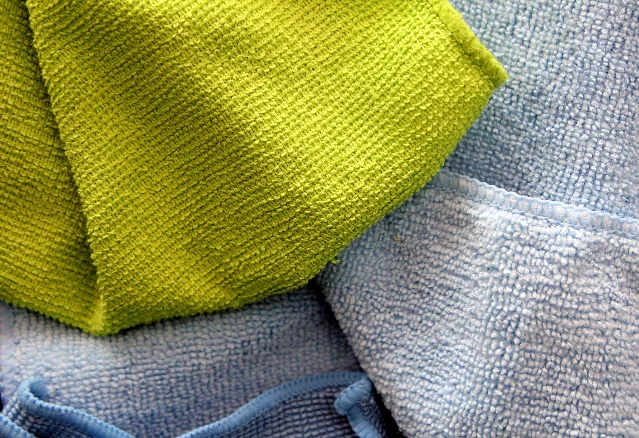
Why it works: A damp cloth and a static one trap particles on their surface, so the dust leaves the room instead of returning to the shelf after you. 12 A dry tool has neither quality: it disturbs the pile, and the pile comes down wherever the air leaves it. 3
Avoid this mistake: A soaked cloth is the correction in the wrong direction. Furniture polish belongs on the cloth rather than poured over the wood, and wood, veneer and electronics all take water badly. 3 The other version is the cloth that went through the wash with the softener, which looks clean and has stopped holding anything. 4
2. Work in one direction: top down, a level at a time, vacuum last
Dusting has an order, and the order decides how much of the work has to be done twice. The rules are simple to say and easy to break: start at the top, keep to one level at a time, and let the vacuum have the last word.
Steps
- Start at the height of the room: ceiling fans and overhead light fittings in every room, before anything below them. 2
- Drop a level and finish that level everywhere before dropping lower: shelf tops and picture frames first, then table lamps, side tables and the objects on them. 2
- Work across the house on each level rather than finishing one room. That route gives the dust you have just stirred time to settle onto the level below, where the next pass collects it. 2
- Take the dry dust off a floor before any wet mop goes down. Grit left under a mop is pressed into wood and laminate, and the finish dulls over time. 5
- Dust light fittings before you take a damp cloth to them, or wet clumps of dust drop onto whatever sits underneath. 5
- Vacuum at the end of the pass, and take the machine over upholstery and curtains while it is out. 6
- In a busy home, run the vacuum over the floors every few days rather than saving all of it for one weekly session. 6
Why it works: Every wipe throws part of the dust into the air, and gravity brings it down onto the nearest surface below. 2 A route that moves down one level at a time leaves the finished surfaces above the dust cloud rather than underneath it.
Avoid this mistake: Finishing one room at a time feels tidier and costs more: the dust you stirred in the bedroom settles onto the bedroom you have just wiped. The other shortcut is the wet mop taken straight to a gritty floor, which turns the grit into a paste that grinds at the finish. 5
3. Make the dusting the first job of the day, not the last
The smallest particles behave differently from the visible ones: they stay in the air long after the surface looks finished, and the bedroom is where most people spend the next eight hours breathing. 7
Steps
- Dust and vacuum in the morning or early afternoon, and finish a couple of hours before anybody goes to bed. 7
- Switch the heating or cooling system to fan only while you work. The fan pulls air through the filter and takes some of what you have just released with it. 7
- Open a window once the cloth and the vacuum are away, so the room turns over. Houses with poor air circulation build dust faster than well-aired ones. 8
- Keep anyone with a dust allergy out of the room while it is cleaned and for about two hours afterwards, because the work puts the allergen back into the air. 9
- Hand the vacuum to somebody without the allergy where the household has that option. It is the worst of the jobs for a sufferer. 10
- Put the filter in the heating and cooling system on a schedule: replace it when it is dirty or clogged, and about every three months as a working benchmark, or every one or two months in a home with pets. 8
Why it works: Stirred-up dust needs time to settle, and a clean done at bedtime delivers the released particles straight to the pillows. 7 Running the system's fan during the work moves part of the airborne load into the filter rather than back onto the furniture. 7
Avoid this mistake: The last-minute tidy before guests or before sleep leaves the room looking finished with the air still full. 7 The second version opens the windows wide on a day when the air outside is heavy with pollen, which is one of the routes dust takes indoors in the first place. 6
4. Leave the dust at the door
Some of the dust in a house is generated inside it, and a large part of the grit on the floor is walked in from outside. That part is the easier half to cut, because it happens at one threshold. 6
Steps
- Put a mat outside the door and a second one inside it. 1
- Give the shoes somewhere to stop: a rack, shelf or bin at the entrance, and a household rule that they come off there. 6
- Vacuum or shake out both mats regularly and run a stick vacuum over the entry floor, so the grit that the mats caught leaves the house instead of migrating down the hall. 1
- Check the frames for gaps. At night, shine a torch at a door or window from inside and have somebody outside watch for the light; if the light gets through, so does fine dust. 8
- Treat the small gaps: cracks under about 6 mm take a bead of sealant, and larger ones need draught-proofing strip, expanding foam or somebody who knows what they are doing. 8
- Keep the windows shut when the outdoor air is poor — pollen season, smoke, a dusty street — and let the system filter do the ventilation instead. 6
- Groom and wash the pets outdoors or at the door, and vacuum their beds. Hair and dander are part of the same mixture. 8
Why it works: Shoes move mud, dirt and dust through a house even when the soles look clean, and a mat outside plus a mat inside takes the two passes. 16 A frame gap too narrow to notice as a draught still passes fine particles, and drafty doors and windows let outdoor dirt in all day. 8
Avoid this mistake: Testing for a draught by hand in a warm room finds nothing, because the test that works is light in a dark room. 8 The other half-mistake is sealing the door and leaving the mats unshaken, which keeps the pile at the threshold and adds it to the hall.
5. Take away the surfaces the dust lands on
Dust needs somewhere to land, and the objects in a room supply more landing area than the furniture underneath them. This is the one fix on the list that reduces the work permanently. 8
Steps
- Clear one surface at a time, and put back only what genuinely belongs there. 8
- Move the small display objects — ornaments, candles, figurines — behind glass or into closed storage, and keep a few out at a time in rotation. Clutter creates surfaces at every height, including the awkward ones. 8
- Keep the high flat surfaces clear: shelf tops, wardrobe tops and windowsills. An empty surface takes seconds to wipe, and the objects that used to sit on it were the reason the same wipe took minutes.
- Keep the air moving in the room. A ceiling fan on a low setting stirs settled particles towards the filter, and its blades need the first wipe of the whole job. 8
- Reach into the tight places with a clean natural-bristle brush, a soft paint brush or a makeup brush, then finish the surface with the cloth. 1
- Close the loop on the front end: every new shelf, basket or open tray of small objects is another place for dust to settle, and it arrives faster than the cleaning does.
Why it works: Clutter multiplies the surface area dust can settle on and breaks up the air circulation that would otherwise carry particles away, which is why a cluttered room is dustier than an empty one kept the same way. 8 The same room with fewer objects is also faster to clean, which is the part that decides whether the job gets done at all.
Avoid this mistake: Buying storage fixes the look and leaves the dust. The same small objects inside a lidded box are still in the room, and the open trays and baskets catch dust on their rims and in their corners. The other mistake is dusting around the objects and pushing dust into their crevices, which takes the cloth past the dust rather than over it. 1
6. Wash what the dust clings to
A cloth can only reach the surfaces in a room, and fabric is not a surface in that sense: particles sink into the weave, and the fabric keeps letting them back into the air. 1
Steps
- Vacuum the sofa, the cushions, the upholstered chairs and the curtains weekly with the upholstery attachment. 10
- Wash the covers, throws and lightweight curtains on the cycle their care label allows, and dry them thoroughly. 10
- Treat heavy curtains as a decision to revisit: they are hard to wash and hold what they catch. Lightweight washable curtains or a blind are the manageable version. 10
- For plush toys that cannot be washed, use the freezer: at least 12 hours kills the mite, and the wash is what removes what it left behind. 910
- Steam the fabric furniture that cannot go into a machine, then vacuum it; the steam reaches the mites near the surface and the vacuum lifts what is left. 1
- Put nothing back damp. A damp cushion or curtain is a better home for mites than a dusty one.
Why it works: Fabric traps the fine particles that flat surfaces keep releasing, and it is also where dust mites live — in mattresses and bedding, and in carpets, upholstery, chairs, curtains and clothing. 10 Dusting those surfaces reaches only their surface, so the reservoir keeps topping up the room.
Avoid this mistake: A steamer is not a wash and neither is a vacuum. Heat kills the mite and the wash carries the allergen away, so the two jobs stay separate. 9 Freezing is a partial measure for the same reason: it kills the mite and leaves what is inside the fabric, so anything washable still needs its wash. 9
7. Keep the humidity under 50%
This is the fix that decides whether the dust in the house is a nuisance or a medical problem. Dust mites live in the mixture of shed skin and fabric and take their water from the air, so the humidity reading is the lever that sets their numbers. 10
Steps
- Measure the humidity instead of guessing at it. A small meter gives the number the rest of this fix works from. 9
- Aim for somewhere between about 30% and 50% relative humidity indoors. 10
- Ventilate the wet rooms first: open a window and run the extractor fan in the kitchen and the bathroom. 10
- Dry the washing outdoors or in a vented dryer where that is possible. A load drying on a radiator puts its water into the air of the room it stands in.
- Where the rooms still read above 50% after ventilating, a dehumidifier is the tool for the job, and the 30% floor still applies. 10
- Keep the two figures in mind rather than one: below about 50% is where the mites stop thriving, and 30% is where dry air starts causing its own trouble. 10
Why it works: Mites prefer warm, humid conditions and absorb their water from the air around them, so bringing the indoor humidity down reduces their numbers without any product or effort beyond ventilation. 10 Their droppings are the part that causes the trouble — they set off rhinitis, asthma and eczema, and they persist after the mites themselves are gone. 10
Avoid this mistake: Drying the house out past about 30% is the overcorrection: air that dry irritates airways and cracks woodwork. 10 The other mistake is settling the question by feel; a meter answers in a second what nobody in the house can agree on.
Dust keeps arriving, so the aim is fewer cleaning sessions that hold for longer rather than a house without dust. The cloth and the order are today's jobs, and they change the next session rather than the next month. The door, one cluttered surface and one fabric are this week's. The humidity reading and the filter are the running ones, and the filter is the single item on the list that usually has to be bought. 8
If the congestion is constant, worse at night and worst in the bedroom, that belongs with a doctor. The measures here are the household half of the answer, and for a diagnosed allergy they work alongside whatever the clinic advises rather than replacing it. 10
References
- 1How to Get Rid of Dust, According to Cleaning Pros
goodhousekeeping.com
- 2The Best Way to Dust Your Home
apartmenttherapy.com
- 3This Common Dusting Mistake Could be Ruining Your Furniture
apartmenttherapy.com
- 4How to Use a Microfiber Cloth Correctly
apartmenttherapy.com
- 5Use the Dry and Damp Cleaning Rule to Save Time and Effort
apartmenttherapy.com
- 6
- 7
- 8Experts Explain Why Your House Always Feels Dusty
goodhousekeeping.com
- 9Home Remedies: Dealing with dust mite allergies
newsnetwork.mayoclinic.org
- 10
This story was produced automatically by a channel. One sentence is all it takes for Neodrop to keep producing for you.