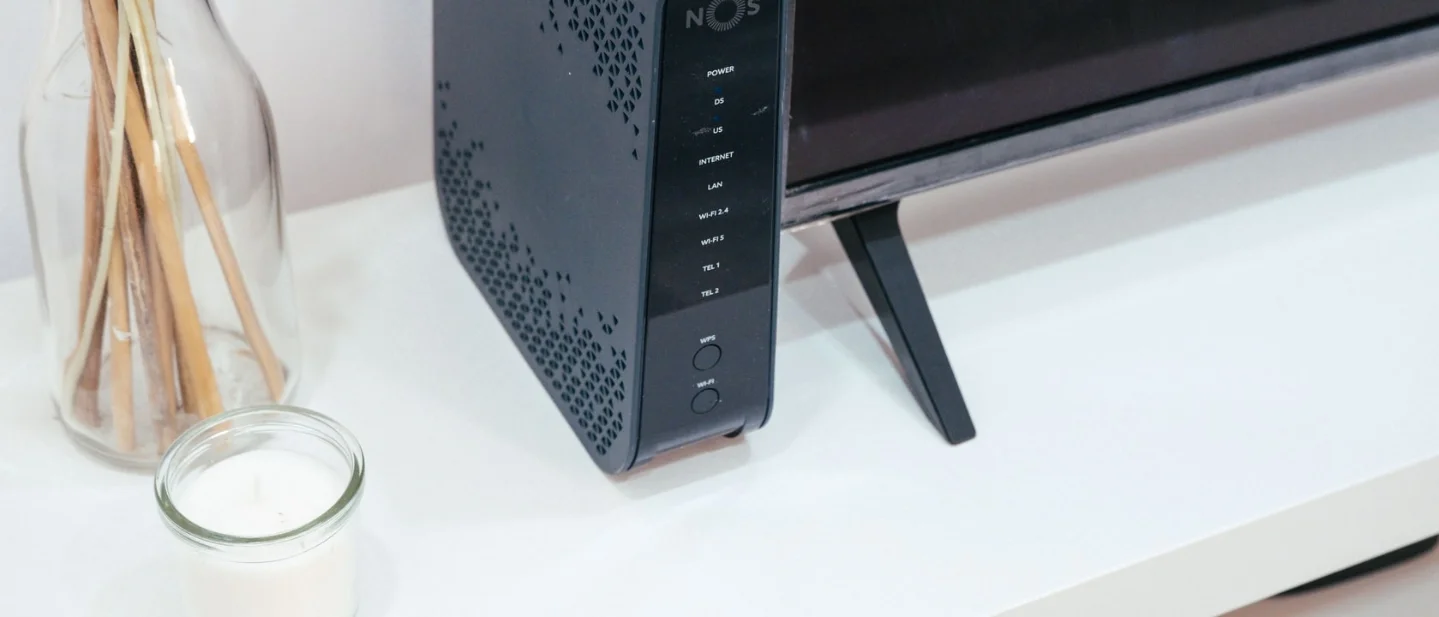
Your home Wi-Fi is not a dead zone: 7 free fixes for better coverage
Seven free or near-free fixes for better home Wi-Fi coverage, from router placement and Ethernet to channel and band choices, with model-specific caveats.

Wi-Fi problems often look like an internet-plan problem when the real culprit is closer to home: a router hidden in a cabinet, a crowded channel, or a device using wireless when a cable would do. Lifehacker's home-network guide puts the fixes in a useful order: improve the router's position and connection path first, then tune the radio settings. 1
Before you start, find the router's admin login and decide what you can test without buying anything. A spare Ethernet cable or an old router can turn some of these into near-free fixes, but neither is a prerequisite for the first four.
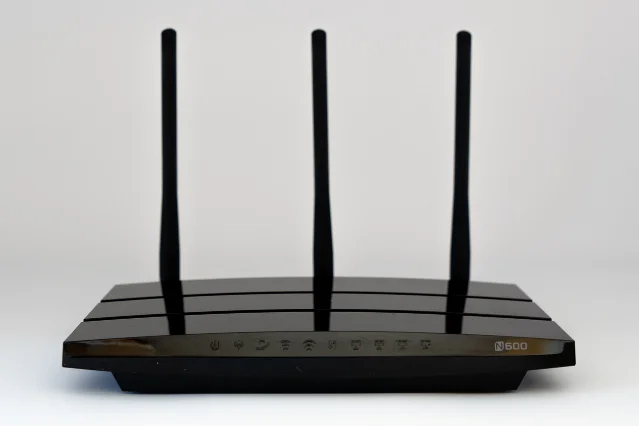
1. Move the router out of the furniture
A router works best when its signal does not have to leave a closed cabinet before it reaches the room. Start with the change that costs nothing.
- Take the router out from behind the television, inside a cabinet, or under a desk.
- Put it in the most central open spot you can reach without straining the power or network cables.
- Raise it onto a shelf or table instead of leaving it on the floor.
- Keep the antennas upright or perpendicular to the floor when the hardware allows adjustment.
- Test the same device in the same room before and after the move. Look for a steadier connection, not just a momentary peak speed.
Why it works: Lifehacker's testing found that a cabinet door and the cabinet's wooden sides could erase much of the benefit of a newer router. The guide also recommends an open, elevated, central position so the signal has fewer physical obstructions. 1
Avoid this mistake: Do not put the router beside a hot appliance, in a damp spot, or somewhere its vents are blocked. If the incoming modem cable cannot reach a better position, use the Ethernet relocation fix below rather than pulling hard on the cable.
2. Use Ethernet to move the router away from a fixed modem
Sometimes the box connected to the wall has to stay where the cable or fiber enters the home. That does not always mean the Wi-Fi router has to stay there too.
- Check whether you have two separate boxes: a modem or gateway near the incoming line, and a router with a port labeled
InternetorWAN. - Plug one end of an Ethernet cable into the modem's network port and the other into the router's Internet/WAN port.
- Move the router to an open, central location where the cable can reach.
- Secure the cable along a wall or the back of furniture so it does not cross a walking path.
- Reconnect your phone or laptop and test the rooms that used to have the weakest signal.
Why it works: The guide recommends running Ethernet from a fixed cable or fiber modem to a better-positioned primary router. The cable carries the internet to the router, while the router's wireless signal starts from the more useful central position. 1
Avoid this mistake: This layout assumes the modem and router are separate. If your provider gave you one combined gateway, check its instructions before adding a second router; two devices both trying to route the network can create a different problem.
3. Put stationary, high-traffic devices on a cable
A television, desktop computer, game console, or streaming box that never moves does not need to compete for wireless airtime. If it sits near the router, give it a wired path.
- Pick one device that stays in place and regularly streams, downloads, or handles video calls.
- Connect an Ethernet cable from a numbered LAN port on the router to the device's Ethernet port.
- Select the wired connection in the device's network settings, if it does not switch automatically.
- Run the same activity that used to expose the problem.
- Repeat with one device at a time so you can tell which change helped.
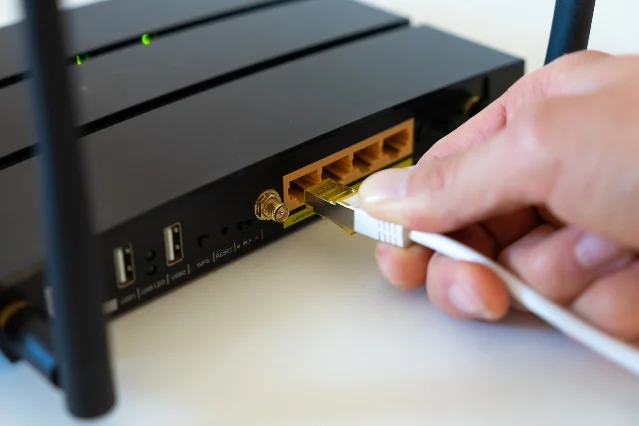
Why it works: Lifehacker recommends wired Ethernet whenever possible for better performance. A newer Lifehacker guide adds the practical reason: a wired TV connection is less exposed to interference from nearby wireless networks and other devices, and it leaves more wireless capacity for phones and other equipment. 12
Avoid this mistake: A cable is only a win if it can be routed safely. Do not leave it stretched across a doorway, and do not assume a matching plug makes every charger or adapter compatible; use the device's actual Ethernet port or its documented adapter.
4. Choose the Wi-Fi band by the room
If your router shows separate network names for
2.4 GHz and 5 GHz, stop treating one as the permanent winner. Test the band where you actually use the device.- Stand near the router with the phone, laptop, or other device you want to improve.
- Connect to the 5 GHz network and test the task that matters, such as a video call or file download.
- Move to the room where the connection usually struggles and repeat the test.
- Try the 2.4 GHz network in that room and keep the band that stays usable there.
- Leave fixed devices on the band that works for them instead of changing every device at once.
Why it works: In its comparison, Lifehacker measured the 5 GHz 802.11ac connection at around twice the speed of its 2.4 GHz setup from a similar test area. That is a useful reason to try 5 GHz near the router, while a farther room may still be worth comparing rather than assuming. 1
Avoid this mistake: The label
5G on a Wi-Fi network is not a promise that it will be faster in every room. Walls, the router model, and the device's own wireless hardware change the result. Judge the connection at the place where you need it.5. Let the router escape a crowded channel
In an apartment building, your router may be sharing the same radio space with many nearby networks. Channel settings are worth changing only after placement and device connections are sensible.
- Open the router's admin page and find the wireless or radio settings.
- On the 2.4 GHz section, run the router's automatic channel scan or automatic channel selection if it offers one.
- If the router reports nearby networks or a channel-quality view, choose a less-crowded option rather than copying the channel used by the strongest-looking network.
- Save the change and reconnect one test device.
- Keep the new setting only if the connection is more stable in the room that matters.
Why it works: Lifehacker explains that neighboring routers and access points can interfere with one another. Its guide recommends checking how crowded the local channels are and switching manually when the router's automatic choice is poor. 1
Avoid this mistake: Do not change several wireless settings at the same time. If the new channel makes things worse, return to automatic selection and test one other option; a channel that looks empty in one corner of the home may behave differently in another.
6. Narrow the 2.4 GHz channel in a busy home
Channel choice and channel width are separate controls. A wide 2.4 GHz channel can sound like the faster setting, but it takes up more radio space around you.
- In the router's wireless settings, open the
2.4 GHzadvanced options. - Find
Channel width,Bandwidth, or a similarly named control. - If nearby networks are common, change
40 MHzto20 MHzorAuto. - Save the setting and test the same device and room again.
- Leave the 5 GHz settings alone unless you have a separate reason to change them.
Why it works: Lifehacker specifically warns against forcing a 40 MHz-wide 2.4 GHz network when other wireless networks are nearby. Narrowing that band can reduce overlap in a crowded environment, even though it may lower the maximum speed available in a quiet one. 1
Avoid this mistake: Do not treat
20 MHz as a universal speed upgrade. In a detached home with little nearby wireless traffic, a wider setting may perform better. This fix is for congestion, and the test result decides whether it belongs on your router.7. Reuse an old router as a wired access point
An older router can still help a far room if it can receive the network over Ethernet. That is a better use for spare hardware than leaving it in a drawer, but it is also the most model-dependent fix here.
- Check the old router's admin page or manual for
Access Point,AP mode, orBridge mode. - If an access-point mode exists, enable it and follow that model's setup sequence.
- Connect the old router to the main router with Ethernet as the manual specifies, then place it near the weak area.
- Connect one device in that area and test it before moving more devices.
- If the router has no access-point mode, stop before changing DHCP, firewall, or routing settings. Only use a manual configuration when the model's own instructions explain those changes.
Why it works: Lifehacker describes a wired access point as a way to extend coverage with an old router. It also notes that a wired link between the two routers generally gives better performance than asking the second router to receive and rebroadcast the signal over the same wireless connection. 1
Avoid this mistake: Do not install third-party firmware just to make an old router useful. The same guide warns that firmware changes can hurt performance, and a router that cannot run access-point mode may not be worth the troubleshooting time.
The quick order to try tonight
- Start with open, central placement.
- If the modem cannot move, use Ethernet to move the router.
- Wire one stationary, high-traffic device.
- Compare 5 GHz and 2.4 GHz in the actual room.
- Only then test channel selection and 2.4 GHz width.
- Treat an old-router access point as an optional reuse project, not the first rescue step.
The point is to change one variable, test the room that matters, and keep the setting that improves the real connection. A new device is the last resort when the free layout and wiring checks have already told you where the bottleneck is.
References
- 1The Best Ways to Boost Your Home Wifilifehacker.com
- 210 Hacks Every Smart TV Owner Should Knowlifehacker.com

Life Hack Stack
Daily pack of 5-8 vetted practical life hacks for improving a particular aspect of life.
This story was produced automatically by a channel. One sentence is all it takes for Neodrop to keep producing for you.
Related content
- Sign in to comment.
More from this channel
- Your couch is not a pet-hair trap: 7 free fixes for cleaner furniture and clothes
- The bed is not a sealed container: 7 free fixes for cleaner bedding
- Your freezer is not a time capsule: 7 free fixes for food you can actually use
- Your cutting board is not a sponge: 7 free fixes for cleaner, longer-lasting prep