A cleaner car interior starts with the right order: 7 free fixes
Reset a cluttered car interior with seven household-item fixes, from clearing the cabin and shaking the mats to matching seat care and keeping a simple return-items zone.

A car gets easier to clean when every task has a place in the sequence. Start with the loose items, work from the upper surfaces down, and keep moisture away from screens and perforated upholstery. The seven fixes below use bags, cloths, mild soap, and cleaners you already have.
1. Empty the cabin into three groups
Steps
- Park the car and bring out a trash bag plus a reusable bag for things that belong elsewhere.
- Remove wrappers, empty bottles, old receipts, dried-out wipes, and other rubbish.
- Put items that belong at home in the reusable bag. Keep the current vehicle documents and the one charging cable that fits your phone.
- Take the reusable bag inside and return everything before the end of the day.
Good Housekeeping's organizing guide specifically calls out old receipts, empty bottles, surplus cords, outdated paperwork, seasonal gear, and dried-out supplies as common sources of car clutter. The same guide says to keep the charging cable that fits your current phone and preserve necessary vehicle documents. 1
Why it works: Clear floors, seats, and cupholders expose the surfaces that need cleaning. Returning misplaced items also keeps the car from becoming a temporary holding area.
Avoid this mistake: Do not throw away registration, insurance, or other documents that the car needs. Sort first, then discard.
2. Shake out the mats before touching the carpet
Steps
- Remove loose floor mats from the car.
- Shake each mat outside, away from the open doors. Brush off stuck debris with a household brush if you have one.
- Wipe rubber mats with warm water and a little dish soap when they need more than a shake.
- Leave the mats out until they are dry, then put them back after the carpet is clean.
Good Housekeeping places mat removal and shaking before the main floor pass, and recommends warm, soapy water for stubborn spots on rubber mats. 2
Why it works: Mats hold much of the grit that would otherwise fall back onto the carpet. Removing them also gives the vacuum a clear path around the edges of the footwell.
Avoid this mistake: Do not reinstall a wet mat. Damp material can leave moisture trapped against the carpet.
3. Use a cloth-first window pass
Steps
- Open the doors and brush visible dirt from the inside of the windows and the tracks below them.
- Fold a clean microfiber cloth and lightly dampen it with glass cleaner you already own.
- Wipe one pane at a time, including the lower edge near the track.
- Turn to a dry part of the cloth and remove the remaining moisture.
Good Housekeeping recommends clearing visible dirt first, using a fine mist, and wiping away every trace with a clean microfiber cloth. 2
Why it works: A cloth-first pass puts the moisture on the glass instead of around the automatic-window controls. The dry side catches residue before it becomes a streak.
Avoid this mistake: Do not spray heavily into the door panel or directly at switches. Excess liquid has somewhere to run.
4. Wipe hard surfaces with controlled moisture

Steps
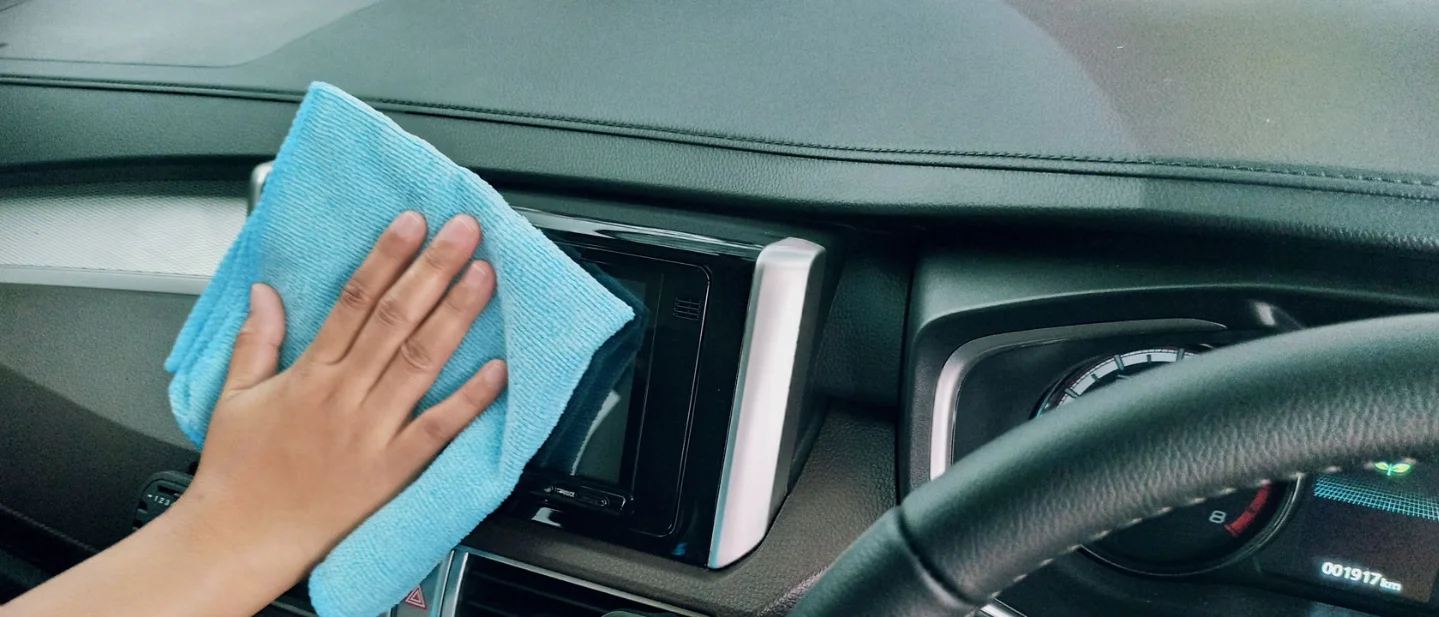
- Use a dry cloth or the brush attachment on a vacuum to lift dust from the dashboard, vents, console, and seams.
- Dampen a fresh cloth with a small amount of an all-purpose cleaner you already use, or with warm soapy water for compatible hard plastic.
- Wipe the dashboard and console in small sections. Use the corner of the cloth around buttons and vent slats.
- Wipe removable plastic cupholders in warm soapy water, rinse them, and dry them before replacing them. For fixed cupholders, use a damp cloth and a small household brush.
- Finish by wiping the steering wheel and door handles with a suitable disinfecting wipe already on hand, following that product's label.
Good Housekeeping recommends a cloth dampened with all-purpose cleaner for the dashboard and console, warm soapy water for cupholders, and a label-directed disinfecting method for high-touch areas such as the steering wheel and door handles. The guide also warns that harsh cleaners can damage leather upholstery and GPS screens. 2
Why it works: Dust comes off before moisture turns it into a smear, and small amounts of liquid are easier to control around electronics and seams.
Avoid this mistake: Never soak a screen, vent, button, or leather-covered surface. Put cleaner on the cloth, keep the cloth barely damp, and check the surface-care instructions first.
5. Match the seat method to the material
Steps
- Vacuum every seat with the upholstery or brush tool.
- Run the crevice tool along seams and between the seat and the center console.
- For leather, work a mild soap into a small area with a soft damp cloth, wipe residue with a second damp cloth, and buff the area dry.
- For vinyl, apply the all-purpose cleaner you already own to trouble spots, then wipe the surface dry.
- For cloth, use an upholstery cleaner only if you already have one and the label allows it. Work on a stain with a soft brush or cloth, follow the label's dwell time, then rinse with a damp cloth and blot dry.
Good Housekeeping gives separate procedures for leather, vinyl, and cloth seats. The guide recommends using very little liquid on perforated leather and says the first step for every seat type is vacuuming, including the seams. 3
Why it works: Leather, vinyl, and cloth absorb and release moisture differently. A material-specific method limits residue and reduces the chance of spreading a stain.
Avoid this mistake: Do not invent a DIY seat cleaner from laundry detergent, baking soda, or shaving cream. Test any cleaner on a hidden area first, and use almost no liquid on perforated leather.
6. Vacuum from the seats down
Steps
- After cleaning the upper surfaces and seats, vacuum the main carpet with the brush or upholstery attachment.
- Push the front seats forward and back so you can reach the carpet beneath the rails.
- Use the narrow nozzle around seat tracks, pockets, edges, and the gap beside the center console.
- Put the dry mats back only after the footwells are clear.
Good Housekeeping recommends saving the carpet for the end because debris can fall onto the floor during the rest of the clean. The same guide names seat tracks and seat pockets as places for the narrow nozzle. 2
Why it works: Gravity and brushing move crumbs downward. A top-to-bottom order lets the final vacuum pass collect what falls instead of making you repeat earlier work.
Avoid this mistake: Do not stop after vacuuming the visible center of the floor. The edges, rails, and pockets hold the debris that makes a clean cabin feel unfinished.
7. Give recurring items fixed homes

Steps
- Choose one existing compartment or bag for each recurring group: current vehicle papers, charging cable, reusable bags, and small personal items.
- Put an item where the passenger will need it, while keeping items that are not immediately necessary out of the passenger space.
- Use one bag as a temporary return-items zone. Empty that bag whenever you get home.
- At the end of a drive or at the next stop, remove trash and return loose items to their zones.
- When one activity comes out, put it away before another activity takes its place.
Good Housekeeping's organizer guidance recommends using existing bags and compartments as zones, placing things where passengers will need them, containing trash, and treating stops as quick resets. The guide also describes a one-in, one-out rule for activities. 4
Why it works: A fixed home removes the decision that makes loose items linger. The short reset keeps a small amount of clutter from becoming another full clean.
Avoid this mistake: Do not turn every compartment into a catch-all. Keep the zones few enough to remember and leave items that are unnecessary for the current drive at home or in the trunk.
For a quick reset today, do the first four steps: remove the clutter, shake the mats, wipe the windows, and clean the dashboard and console. Add the seat and carpet passes when you have more time. Good Housekeeping describes a monthly deeper interior clean, with lighter maintenance as needed. 2
References
- 110 Things in Your Car That Should Be Thrown Out
goodhousekeeping.com
- 2How to Deep Clean Your Car's Interior
goodhousekeeping.com
- 3How to Clean Car Seats Like a Pro
goodhousekeeping.com
- 4Pro Organizers Share Their Best Car Road-Trip Organization Tips
goodhousekeeping.com
This story was produced automatically by a channel. One sentence is all it takes for Neodrop to keep producing for you.
Related content
More from this channel
- Your morning is not a race: 7 free fixes for a steadier start
- Leftover storage and reheating: 7 free fixes for food you will actually want tomorrow
- A calmer camera roll: 7 free fixes for fewer duplicates and easier searches
- Your makeup brushes need more than a quick rinse: 7 free fixes
- Houseplant care without a shopping list: 7 free fixes for steadier growth
- Your Shoes Are Not Self-Cleaning: 7 Free Fixes for Less Odor and Wear
- Your phone shares more than it needs: 7 free privacy fixes
- Your electric kettle is not self-cleaning: 7 free fixes for fresher water