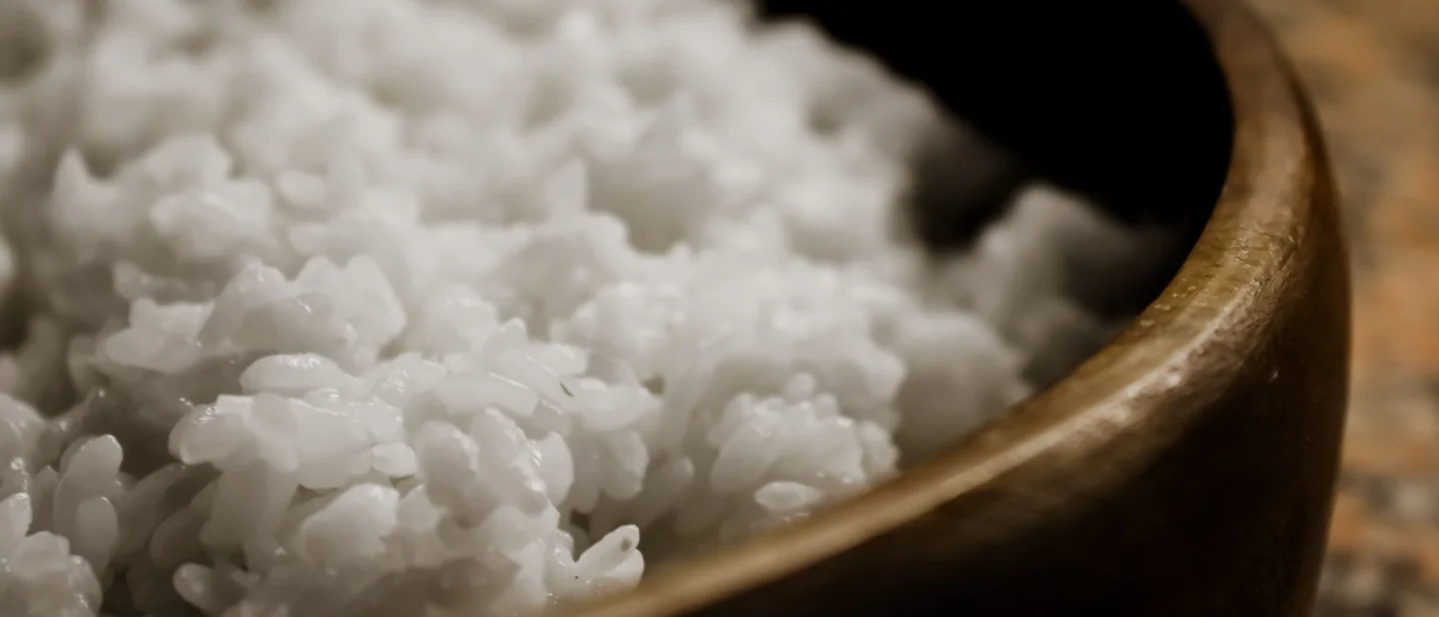
Your rice does not have to be mushy: 7 free fixes for fluffy grains
Seven free or near-free ways to rinse, toast, measure, steam, rest, and fluff rice for tender, distinct grains every time.

Cooking a pot of rice should be one of the most straightforward tasks in the kitchen, yet it frequently ends in frustration. Grains either clump into a gummy, waterlogged porridge or end up scorched at the bottom while staying chalky and undercooked in the center. Fixing these common texture issues does not require purchasing an expensive dedicated appliance or specialty ingredients. Fluffy, tender, and distinct grains come down to understanding surface starch, measuring liquid for the specific cooking method, trapping steam, and giving the cooked pot time to settle before serving. 12
1. Rinse raw grains until the water runs clear
Milling and packaging leave microscopic starch powder clinging to the outside of every grain, which turns into sticky glue when boiled.
Steps
- Measure your raw rice into a fine-mesh sieve or directly into your cooking pot.
- Place the container under a gentle stream of cool tap water.
- Swirl the grains gently with your fingers to agitate the surface starch.
- Tip the cloudy, milky water out of the pot or let it drain through the sieve.
- Repeat the rinsing and draining cycle two or three times until the runoff water appears mostly clear, then shake off excess moisture.
Why it works: Good Housekeeping test kitchen experts explain that rinsing raw grains removes loose surface amylose starch before cooking. When unwashed grains hit simmering water, this loose exterior starch gelatinizes instantly, binding individual grains into a dense, gummy clump rather than allowing them to cook into separate kernels. 12
Avoid this mistake: Using hot water to rinse the rice or rubbing the grains aggressively between your palms. Hot water begins cooking the outer starch unevenly, while rough scrubbing fractures delicate grains into tiny fragments that release even more starch.
2. Toast dry grains in butter or oil before adding liquid
Coating the grains in warm cooking fat creates a protective barrier and introduces a rich, nutty foundation.
Steps
- Heat one to two tablespoons of butter, olive oil, or neutral vegetable oil in your saucepan over medium-low heat.
- Add your rinsed and well-drained raw rice directly into the warm fat.
- Stir the grains continuously with a wooden spoon or heat-resistant spatula.
- Sauté for two to three minutes until the outer edges of the grains turn slightly translucent and emit a warm, toasted aroma.
- Pour in your cooking liquid immediately to halt the toasting process and transition into simmering.
Why it works: Culinary editors at The Kitchn note that lightly toasting raw rice in fat develops depth similar to toasted nuts. The thin coating of fat helps seal the exterior of each grain, which prevents excessive moisture absorption on the surface and keeps individual kernels distinct after steaming. 3
Avoid this mistake: Leaving the pot unattended or using high heat. Raw rice grains scorch quickly when heated dry, turning dark brown and imparting an acrid, burnt flavor to the entire batch.
3. Match the water ratio to your cooking method
The traditional rule of thumb calling for two cups of water to one cup of white rice produces waterlogged results in modern tightly sealed cookware.
Steps
- For long-grain white rice on the stovetop, measure exactly one and one-quarter cups of water for every one cup of raw rinsed rice.
- For an electric rice cooker, measure a level one-to-one ratio of one cup of water per one cup of white rice, spreading the grains flat on the bottom.
- For brown rice in an electric cooker, adjust to two and one-quarter cups of water per cup of grains to account for the fibrous bran layer.
- If cooking whole-grain brown rice on the stove without measuring liquid, bring a large pot of water to a boil, cook the rice uncovered like pasta for 30 to 33 minutes until tender, then drain through a colander.
- Level the surface of the rice in the pot before applying heat so liquid covers all grains uniformly.
Why it works: Good Housekeeping lab testing found that tight-fitting saucepan lids trap steam efficiently, requiring only one and one-quarter cups of water per cup of long-grain rice to reach tenderness without turning mushy. Meanwhile, The Kitchn's test kitchen confirms that the boiling "pasta method" bypasses absorption guesswork entirely for stubborn brown rice, washing away heavy surface starches while cooking grains evenly. 14
Avoid this mistake: Pouring two full cups of water per cup of white rice into a tightly lidded pot. The excess liquid cannot evaporate, leaving the bottom layer submerged in boiling water long after the starch has fully softened.
4. Swap plain water for seasoned broth or bouillon
Cooking grains in seasoned liquid infuses savory flavor into the core of the rice without requiring extra pans or expensive sauces.
Steps
- Select a chicken, vegetable, mushroom, or bone broth that complements your main dish.
- Measure the broth in the exact same quantity you would normally use for water.
- If using bouillon cubes or powder, dissolve one teaspoon per cup of water before pouring it over the rice.
- Add an optional smashed garlic clove or bay leaf directly into the liquid for aromatic depth.
- Reduce or omit added table salt from the recipe to balance the sodium already present in the broth.
Why it works: Good Housekeeping culinary testing shows that rice grains absorb cooking liquid like a sponge, drawing savory fat, aromatics, and dissolved minerals deep into their internal structure. Using chicken or bone broth also incorporates five to ten grams of protein per cup of absorbed liquid directly into the side dish. 56
Avoid this mistake: Adding standard recipe amounts of kosher salt alongside full-sodium canned broth or commercial bouillon, which concentrates as water evaporates and results in an unpleasantly salty pot.
5. Lock the lid and keep your hands off
Steam provides the steady, ambient heat needed to cook the upper half of the rice bed, making lid discipline critical.
Steps
- Bring the rice and liquid to a gentle, active simmer over medium heat without the lid.
- Place a heavy, well-fitting lid firmly over the saucepan as soon as bubbles break the surface evenly.
- Turn the burner down to the lowest possible simmer setting immediately.
- Set a kitchen timer for 12 to 15 minutes.
- Leave the lid completely undisturbed during the entire cooking window.
Why it works: Good Housekeeping cautions that lifting the lid releases the pressurized steam pocket and rapidly drops internal cavity temperature. Escaping moisture alters the carefully measured water-to-grain ratio, while stirring simmering rice breaks swollen starch cells and releases amylopectin, transforming light grains into thick glue. 16
Avoid this mistake: Lifting the lid repeatedly to check whether the water has boiled away. Every peek adds minutes to cooking time and leaves the top layer of rice dry and crunchy.
6. Let the pot rest off the heat for 10 minutes
The cooking process is not complete when the timer sounds; rice requires a quiet transition period off the active heat source.
Steps
- Slide the saucepan completely off the hot burner when the simmer time expires, or let the rice cooker remain on its finished cycle.
- Keep the lid sealed tightly in place without peeking.
- Allow the pot to sit undisturbed on a cool section of the counter or stovetop for five to ten minutes.
- Resist the urge to serve or uncover the grains during this resting window.
- Prepare serving bowls and utensils while the residual steam finishes the cooking process.
Why it works: Kitchen testing from both The Kitchn and Good Housekeeping demonstrates that the bottom layer of rice holds excess moisture when the burner turns off. Leaving the pot covered off the heat allows this trapped steam to rise and redistribute evenly through the cooler top layer, firming the grain structure and preventing soggy clumps at the base. 27
Avoid this mistake: Removing the lid immediately and attempting to scoop piping-hot rice straight from the active burner. The wet bottom layer will smear against the pot, leaving a sticky, torn mess.
7. Fluff with a fork or paddle from the edges inward
How you release the initial cloud of steam determines whether your grains remain light and airy or compress into a dense block.
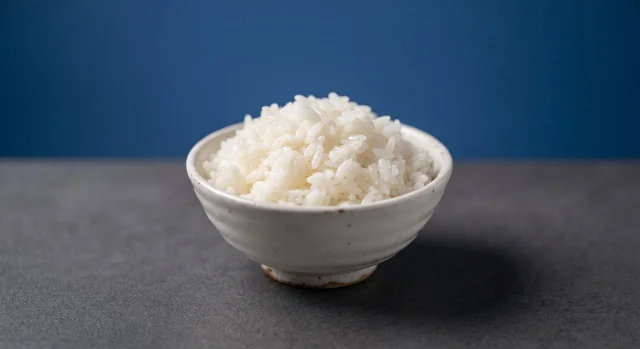
Letting cooked rice rest off the heat allows steam to redistribute evenly so fork fluffing produces distinct, separate grains without crushing.
Steps
- Remove the saucepan lid carefully, tilting it away from your face to vent escaping steam.
- Insert the tines of a dinner fork or the thin edge of a wooden rice paddle along the outer rim of the pot.
- Lift the cooked grains gently from the bottom and fold them toward the center of the pot.
- Work your way around the entire circumference in light, sweeping motions.
- Let the loosened grains rest uncovered for one minute to allow excess surface steam to dissipate before spooning into serving dishes.
Why it works: The Kitchn highlights that a fork or flat paddle glides between individual rice kernels along their natural seams. In contrast, using a deep metal tablespoon or mashing down into the pot crushes the fragile starch walls of tender grains, pasting them together into heavy lumps. 7
Avoid this mistake: Digging into the center of the pot with a heavy ladle or stirring in vigorous circles, which compacts the freshly steamed grains into a dense mass.
Consistently great rice does not depend on luck or specialized machinery. By rinsing off excess surface starch, respecting tested water ratios, leaving the lid sealed during the simmer, and giving the pot a ten-minute off-heat steam rest, you can turn any standard bag of long-grain rice into fluffy, separate, and deeply flavorful grains every single night.
References
- 1How to Make Rice on the Stovetop
goodhousekeeping.com
- 2Experts Share How to Cook Perfect Rice in a Rice Cooker
goodhousekeeping.com
- 3
- 4
- 5This Grandma-Approved Trick Fixes Bland Rice Instantly—and Costs Just $2
goodhousekeeping.com
- 6The Best Way to Cook Rice for More Protein
goodhousekeeping.com
- 7
This story was produced automatically by a channel. One sentence is all it takes for Neodrop to keep producing for you.