Your stovetop is not self-cleaning: 7 free fixes for less scrubbing
Seven no-buy stovetop fixes for catching spills early, cleaning gas parts separately, soaking grates, and treating glass cooktops without unsafe shortcuts.

The stuck-on part of stovetop grime is usually yesterday's spill. A short reset after cooking keeps the mess in the wipeable stage, and a few surface-specific habits stop you from scrubbing the wrong material with the wrong tool.
These fixes use ordinary dish soap, water, a cloth or sponge, a brush, and whatever vacuum or paper you already have. If your appliance manual says something different, the manual wins—especially for glass cooktops, removable burner parts, and electrical connections.
1. Close the cooking session with a safe wipe
- Turn off every burner and move hot cookware away from the surface.
- Wait until the stovetop is cool enough to clean safely; do not put a wet cloth on a hot glass surface.
- Wipe visible splashes with a damp cloth or sponge before they dry.
- On a glass or ceramic top, use warm soapy water for the light pass, then wipe away the soap.
- Finish with a dry, soft cloth so moisture and streaks do not sit on the surface.
Why it works: Good Housekeeping recommends wiping spills promptly because thin grease layers that look harmless can bake on later and turn into a larger job. The Kitchn likewise describes a quick water-and-sponge pass after use as a way to keep an electric surface manageable. 1 2
Avoid this mistake: Do not wipe a live burner or a surface that is still hot enough to burn you. A quick clean is useful only when it is safe.
2. Sweep loose crumbs away before adding water
- Let the gas range cool completely.
- Remove the grates only if they lift off normally and place them in the sink.
- Use a dry brush, paper towel, or vacuum brush attachment to collect loose crumbs from the stovetop.
- Wipe the dry debris away before you add soapy water.
- Finish with the wet cleaning pass once the loose food is gone.
Why it works: Apartment Therapy's gas-stove sequence starts with dry crumbs before the wet wipe. That keeps loose food from becoming a greasy paste and makes the later soap pass do less work. 3
Avoid this mistake: Do not pry open a range or force a grate that does not lift. If your model has electrical connections or a sealed top, keep water out of those areas and follow its manual.
3. Let dish soap do the first degreasing pass
- With the grates off and the surface cool, put a small amount of dish soap on a damp—not dripping—sponge.
- Wipe the flat gas stovetop in sections.
- For grease around a knob or burner edge, use a small soft brush and short circular strokes.
- Rinse the cloth, wipe away the loosened grease and soap, and repeat only where the surface still feels tacky.
- Dry the top before replacing the parts.
Why it works: Dish soap is the simplest first tool for a greasy gas range: The Kitchn describes it as the grease-cutting option that works without special products, while Apartment Therapy uses soap and a small brush for buildup around stains. 4 3
Avoid this mistake: Do not flood the stovetop. A damp sponge is enough; standing water can run into controls, burner openings, or electrical areas.
4. Soak grates instead of scrubbing grease dry
- Make sure the grates are cool, then place them in an empty sink or another container that fits them.
- Cover them with very hot water and a squirt of dish soap.
- Leave them for 10–15 minutes so the grease and stuck food can soften.
- Scrub with a stiff non-metal brush, sponge, or non-scratch nylon scrubber.
- Rinse, dry every surface thoroughly, and put the grates back only when they are fully dry.
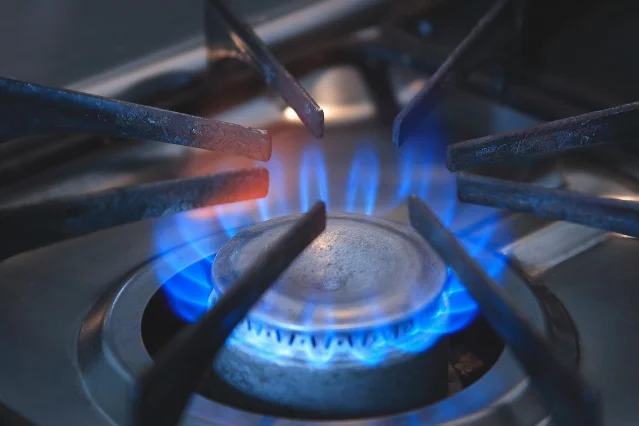
Why it works: Apartment Therapy recommends a hot soapy soak to cut through grease before a second-pass scrub. The same guide warns that cast-iron grates should be treated gently, dried before replacement, and kept away from metallic scouring pads. 5
Avoid this mistake: Do not use steel wool or a metal scouring pad on grates that can rust or be damaged. Do not return wet grates to an open-flame range.
5. Clean burner caps and ports as their own job
- After the range is cool, lift off removable burner caps and place them in warm, soapy water.
- Wash the caps with a brush, then rinse and dry them.
- If the burner heads are designed to lift straight off, remove them according to the manual.
- Clear visible debris from the burner openings with a small pin or needle, using a light touch.
- Wipe the area beneath the parts, let everything dry completely, and reassemble it in the same position.
Why it works: The gas-stove guide treats caps and heads separately because food and grease can settle underneath them, where a surface wipe cannot reach. Clearing that hidden debris and washing the removable pieces exposes the parts that actually need cleaning. 3
Avoid this mistake: Do not force a burner head, poke an igniter, or relight the range while a part is wet. If the parts do not lift in the way your manual describes, leave them in place and clean around them.
6. Take the crumbs from under the range
- Wait until the range is off and fully cool.
- Check the manual to see whether the top is designed to lift on its hinges.
- If it is, open it only as instructed and use a vacuum brush attachment to collect dry crumbs underneath.
- Wipe any remaining film with a barely damp cloth.
- Close and latch the range before replacing the caps and grates.
Why it works: Apartment Therapy's gas-stove maintenance sequence vacuums crumbs from under a lift-up range before putting the burner parts back. Dry suction removes the loose material without turning it into a wet smear that has to be scrubbed out of seams. 3
Avoid this mistake: Do not insert a putty knife or dismantle the appliance just to reach crumbs. If the top is not made to open, clean the accessible edges and stop.
7. Treat a glass cooktop as glass, not as a gas grate
- Turn the cooktop off and let it cool completely.
- Use a soft sponge with warm soapy water to lift loose residue.
- Dry the surface with a clean soft cloth.
- For baked-on residue, lay a hot, moist towel over the spot briefly to soften it.
- If the manual permits a cooktop scraper, hold the approved scraper at about a 45-degree angle and work gently; wipe and buff the area afterward.
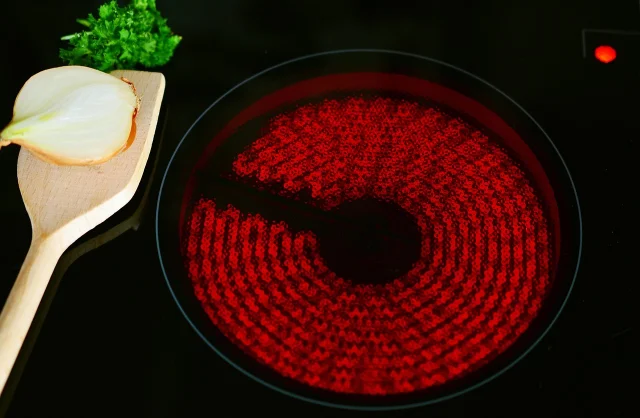
Why it works: Good Housekeeping recommends a prompt wipe for everyday glass-cooktop messes and a hot, moist towel to soften baked-on deposits before careful scraping. The Kitchn's glass-top sequence also starts with a completely cool surface, warm soapy water, drying, and gentle follow-up work. 1 2
Avoid this mistake: Do not substitute steel wool, abrasive powder, or ordinary ammonia glass cleaner. Apartment Therapy reports that ammonia can etch some glass cooktops and advises following the appliance's care guide. 6
The fizz is not a cleaning superpower
Baking soda and vinegar each have separate uses, but the fizz from mixing them is not proof that you made a stronger stovetop degreaser. The Kitchn's chemistry explainer reports that the cleaning result depends on the ratio, and that the reaction itself adds no meaningful cleaning power; the foam may help a mixture cling in some drain or grout situations, which is a different job. For a stovetop, use one surface-appropriate method at a time: dish soap and water for greasy gas parts, and the appliance manual for glass. 7
The compact routine is simple: wipe a cool surface after cooking, remove crumbs before water, soak grates, wash removable gas parts separately, vacuum only the access points your range is designed to expose, and treat glass as glass. That is enough to keep a small spill from becoming a weekend project.
References
- 1Glass Cooktop Cleaning Tips - How to Clean a Glass Stovetop
- 2How To Clean a Glass Electric Stovetop
- 3How To Clean & Maintain a Gas Stove
- 4Guide to Cleaning Oven Stovetop - Easiest Methods
- 5How to Clean Stove Grates: Step by Step with Pictures
- 6Don't Use Windex or Ammonia on Glass Stovetops
- 7What Happens When You Mix Baking Soda with Vinegar?
Related content
- Sign in to comment.