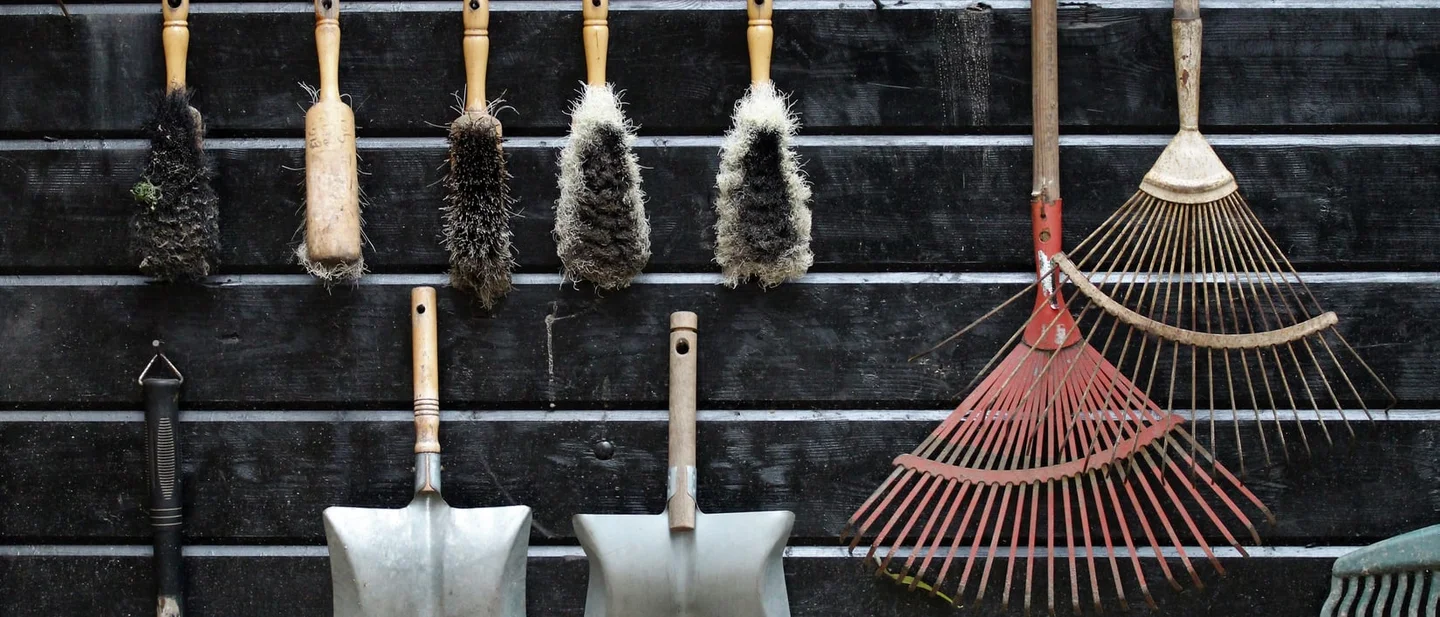
Your tools are rusting where you left them: 8 free fixes
Eight free jobs that get the tools you already own through the winter: washing and drying them before they go away, taking rust off without the baking-soda fizz, sharpening the edges, looking after wooden handles, and bringing the batteries, paints and glues in from the cold.

A steel tool left with soil and damp on it spends the winter doing one thing: turning orange, then pitted, then useless. Rust needs water and air, and a cold shed in the wet half of the year holds both against the metal for months. 1
An hour at the end of the season is enough to save the tools you already own. 2 The eight jobs below go in the order they are worth doing, and every one of them is free. The kit is a bucket of warm soapy water, a rag, a stiff brush, some oil, and a dry place to put what you have finished.
1. Wash the soil off, then dry it properly
Steps
- Rinse the mud off spades, forks, hoes and trowels while it is still fresh, with the hose or in a tub of warm soapy water. 34
- Loosen caked soil with a scraper or an old putty knife, and stubborn patches with a stiff-bristled brush. 45
- On pruners and shears, work a toothbrush into the crevices around the screw or nut that holds the blades together. 5
- Wipe sap and debris off the blades with a damp cloth. 34
- Dry every metal surface with a rag, then stand the tool in the air until the wood and the joint are dry too. 23
Why it works: Mud and sap hold water against steel, so a tool that goes into storage dirty starts rusting on the first damp day and keeps going while nobody is looking. 23 A clean blade also stops the tool carrying soil-borne fungus and disease from one plant to the next. 6
Avoid this mistake: The job gets three times harder once the mud has dried into a crust, which is why the hose comes out while the soil is still wet. 3 Drying is the step that decides whether rust starts at all, and a tool left outside to finish drying in the rain goes back to the beginning. 3
2. Wipe the metal with a film of oil
Steps
- When the tool is dry, spray or wipe a small amount of oil over the metal. WD-40, 3-in-1 and mineral oil all do the job. 15
- Spread the oil with a clean rag, and aim for a slick surface with nothing pooling in the joints. 1
- On shears and pruners, work a few drops into every metal surface, including around the pivot. 7
- On tools that will go back into a vegetable bed, use food-grade mineral oil. 6
- Wipe wooden handles with linseed oil instead, which is fix 5. 2
Why it works: Rust needs water and oxygen to start, and the oil film keeps both off the surface of the steel. 1
Avoid this mistake: The oil that is nearest at hand is the one to think about twice: on a tool headed back to the vegetable bed, food-grade mineral oil keeps the residue that ends up in the soil on the safe side. 6 A tool wiped down and hung up with oil on it is finished; a tool left on the bench with the oil can beside it is not. 2
3. Take the rust off, and leave out the fizz
Steps
- Wash the tool first, so the rust treatment works on rust rather than on grease and dirt. 1
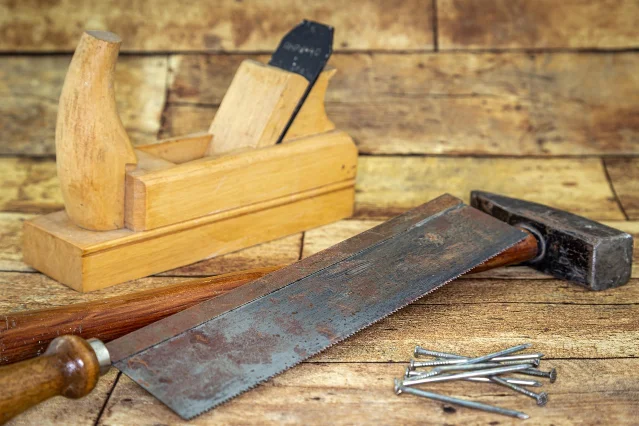
- Take light surface rust off with a scouring pad, steel wool, sandpaper or a wire brush. 14
- For heavier rust, submerge the metal in white vinegar overnight, or for as long as 24 hours. 15
- For shears and pruners, mix two tablespoons of salt into three to four cups of vinegar, take the tool apart if it comes apart, and leave the metal to soak for 24 hours. 7
- Scrub off whatever rust is left with steel wool. 7
- Give the metal a quick bath of two tablespoons of baking soda in three to four cups of water to stop the acid, then rinse and dry it at once. 7
- Oil the metal straight away, before fresh rust has a chance to bloom. 17
Why it works: Vinegar is an acid and the salt sharpens its bite, so the soak lifts the rust and the scrub clears what is left. 7 The baking soda has one job at the end: it neutralises the acid still sitting on the surface, the same acid that corrodes the steel and leaves it furred with fresh rust within minutes of coming out of the bath. 7
Avoid this mistake: The baking-soda-and-vinegar fizz passed around as a cleaner belongs to a different job. Mixed together the two neutralise each other, so the pair produces bubbles and a salty puddle, and the rust stays where it was. 8 Baking soda earns its place after the vinegar, as the neutralising bath. 7 The other slip is the tool that comes out of the soak and sits on the draining board: the steel is bare and unprotected at that moment, and bare steel rusts. 1
4. Sharpen the edges before they go into storage
Steps
- Line up the tools that cut or dig: secateurs, loppers, shears, hoes and spades. 25
- Run the sharpener in one direction along the blade's existing bevelled edge, working toward the tip. 5
- With a sharpening stone, add a few drops of oil and rub along the bevel; four or five passes usually bring the shine back. 7
- Give the tip of a spade the same treatment, so it slices through turf and roots next spring. 2
- Test the edge on a scrap of branch, and give it more passes if the cut crushes the wood. 7
Why it works: The bevel is the angled face that does the cutting, so a stroke along it preserves the angle the blade was made with and the tool bites with less effort. 5 Doing the sharpening now means the edge goes into storage even and ready, and spring work starts on the first dry day rather than on a maintenance job. 2
Avoid this mistake: The sharpener follows the bevel and stops there. Working the flat side of a bypass blade, or dragging the tool back and forth across the edge, grinds an angle the tool never had. 5 Where the right file or stone is missing from the drawer, a hardware shop or garden centre will sharpen the tools for a few pounds. 4
5. Look after the wooden handles
Steps
- Check each handle for rough patches, splinters and cracks. 2
- Smooth the rough spots with sandpaper until the wood feels clean in the hand. 25
- Wipe the handle down with linseed oil and let the wood take it. 245
- Replace a handle that is cracked or badly splintered. 2
Why it works: Wood that has dried out over a season goes fibrous, and the loose fibres are what lift into your palm as splinters. Sanding them away and working oil into the grain keeps the handle smooth and ready for another year of use. 25
Avoid this mistake: A crack is the one fault that sanding passes over, and it opens under exactly the load the handle was made to take, which turns a loose head into an injury. 2
6. Store them dry, hung, and off the floor
Steps
- Choose a store that keeps the weather off, such as a shed or garage. 4
- Hang long-handled tools on a rack or heavy-duty hooks. 24
- Keep hand tools in a box or bucket above the floor, because a concrete floor passes moisture up into whatever rests on it. 2
- For a landing place that cleans and protects in one move, fill a bucket or large pot with sand and 20 to 30 ounces of oil, stir the two together, and plunge the metal heads in; trowels, hand forks and pruners can live there between uses. 46
- Drain the hose, coil it to stop it kinking, and hang it up. 4
- Keep the store free of dust, which collects moisture, and moisture is what starts rust. 1
Why it works: Hanging keeps air moving around the metal and holds the tools clear of the cold, damp surface of a concrete floor. 2 In the sand-and-oil bucket, the sand scours soil and sap off the metal while the oil leaves a protective film behind, so a tool can go straight from the bucket to work. 6
Avoid this mistake: The bucket takes metal hand tools only; oil and grit will damage an electric or battery tool dropped into it. 6 Anything broken goes into the same storage exactly as it was left, so a split hose or a loose head is worth repairing now, while the season is over and the calendar is quiet. 4
7. Carry the cold-sensitive things indoors
Steps
- Take the batteries out of power tools, store them somewhere dry and frost-free, and keep them off the chargers. 29
- Carry the paints, glues and finishing liquids into the house. 9
- Bring drill bits, saw blades and lubricants in as well. 9
- Sweep up the card and paper: seed packets, fertiliser boxes, printed instructions. 9
- Check the temperature range of any smart garden device before leaving it out for the winter. 2
Why it works: A battery left in the cold loses charge and degrades, which shortens its life and can leave it unusable by spring. 9 Paint and glue freeze, separate and lose their effectiveness in the cold, and a container that cracks in the frost makes a mess over everything stored beside it. 9 Cardboard and paper draw moisture out of the walls and floor of a shed. 9
Avoid this mistake: The mistake is leaving the battery where it has always lived, in the tool, in the shed. A shelf indoors, off the charger, costs nothing and keeps the tool running for years longer. 29
8. Drain the fuel and the water
Steps
- Unplug or disconnect the machine, and turn a mower on its side only if the manual allows it. 3
- Wearing gloves, brush the grass off the underside, out of the vents and off the blades with a soft brush and a cloth; a plastic spatula reaches where your hand will not. 3
- Turn the mower over and get every last bit of grass off, which is what saves the deck from rusting. 2
- Sharpen the blade while the machine is open. 2
- Drain the fuel out of petrol tools, or add a fuel stabiliser; a petrol mower is best left to run dry before storage. 23
- Drain the bar oil from a chainsaw so it cannot leak over the winter. 2
- Empty the blower bag and dry it, so it has no chance to grow mould. 2
- Drain the hose, the sprayer and the watering can, then coil the hose and hang it beside the electrical cords. 4
- Store the clean machine under cover in a dry spot, away from anything with a pilot light, including the water heater and the furnace. 4
Why it works: Grass cuttings come off a mower wet, and packed against the deck they hold water on bare steel all winter. 3 Damp mulch also sets against the blades and the inside of the casing, which turns the first cut of next season into hard work. 3 Fuel is the other thing left standing inside a machine that will sit idle for months, and draining it now is what the sources ask for. 23
Avoid this mistake: A mower blade is the most dangerous working edge in the shed, so the machine comes off the power before anything goes near it, and tipping follows the manual because on some machines the oil and fuel run into places they should not. 3 Water and polish stay off the machine body; a brush and a cloth do the cleaning. 3
Tonight, the job is a bucket of warm soapy water, a rag and a dry floor: wash the tools you used last, and stand them somewhere they can dry through. This week, work down the list — the vinegar soak for anything already orange, a few passes on the edges, a wipe of oil on the metal, and the batteries, paints and glues out of the cold shed. The habit that ends the job for good is the smallest one: rinse and dry a tool before it goes away, hang it clear of the floor, and oil the metal at the end of the season, while the alternative is meeting it again in spring with rust on it.
References
- 1
- 2
- 3Cleaning tasks in the garden: 6 outdoor jobs and how to nail them
goodhousekeeping.com
- 4The Best Ways to Winterize and Store Your Garden Tools
lifehacker.com
- 5How to Clean Garden Tools and Prep for Storage
apartmenttherapy.com
- 6This Old-School Method Keeps Your Gardening Tools Effortlessly Clean
apartmenttherapy.com
- 7How to Revive a Rusty Pair of Gardening Shears
lifehacker.com
- 8Why Washing Lettuce Doesn't Get Rid of E. coli
lifehacker.com
- 97 things not to store in the shed this winter
goodhousekeeping.com
This story was produced automatically by a channel. One sentence is all it takes for Neodrop to keep producing for you.