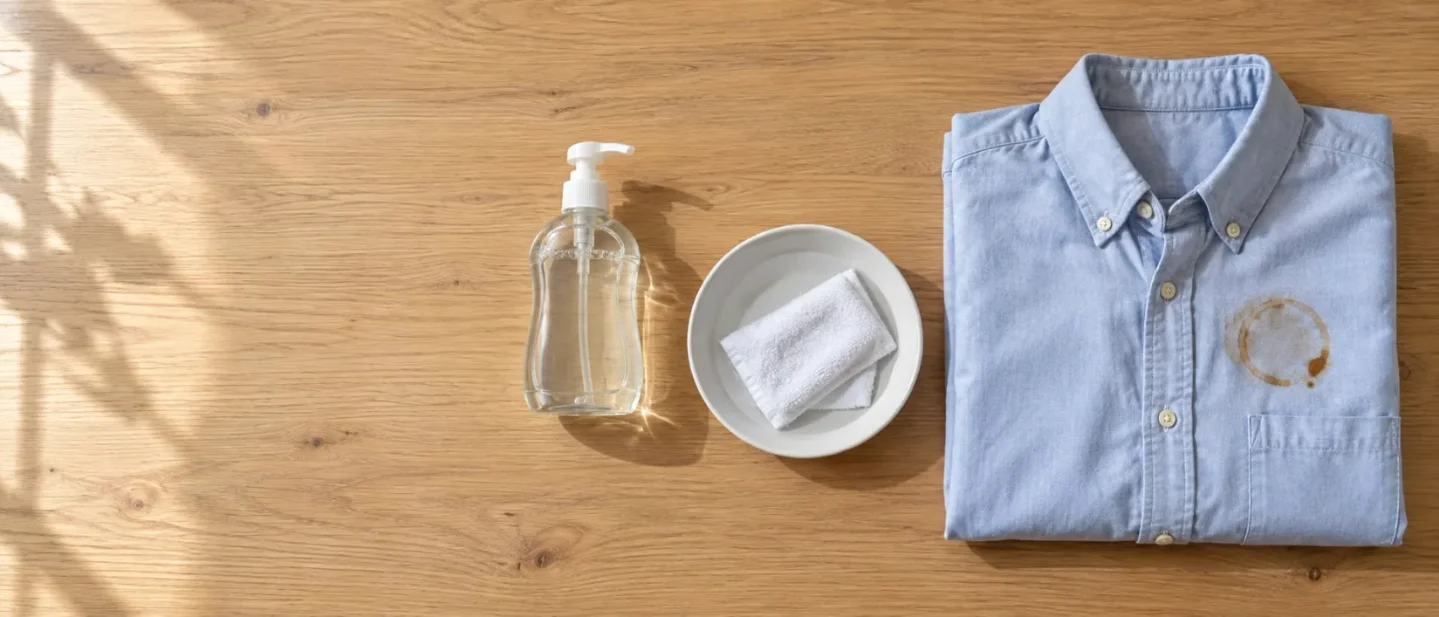
Your clothes are not ruined yet: 7 free fixes for stains you gave up on
Seven free ways to rescue stained clothes: match the mark to its stain family, and use the household method — cold water, enzymes, dish soap, alcohol — that actually lifts it.

Most clothes are lost to the same mistake: a stain gets treated as a stain. Coffee, butter, blood, ballpoint ink and the yellow ring under an arm sit in the fabric for different chemical reasons, and the method that lifts one of them can fix another permanently. A shirt that comes out of the wash clean next to a shirt that comes out marked was not luck.
The seven fixes below sort the everyday marks into families and give each one the method that works on it. Nothing on the list needs a purchase — cold water, washing-up liquid, a bar of soap, vinegar, oxygen bleach and rubbing alcohol cover all of them. One of the fixes is about the move that saves more clothes than any product, and the last is about the point where the job stops being yours.
1. Treat the first five minutes as the whole job
Steps
- Scrape off anything solid with a blunt knife, then blot the liquid up with white absorbent paper or a clean cloth. 1
- Dab from the outside of the mark towards its centre. Rubbing spreads a stain and can damage the fabric. 1
- Slip absorbent paper under the fabric and work on the underside, so what you lift leaves through the back of the cloth instead of being pressed further in. 1
- Keep each application small and repeat it rather than flooding the fabric; over-wetting makes a mark spread. 1
- Before any product goes near the mark, test it on a hidden inside seam or hem to check the fabric holds its colour. 1
- Never spot-clean a stain you have not identified with hot or warm water. Either one can set it. 1
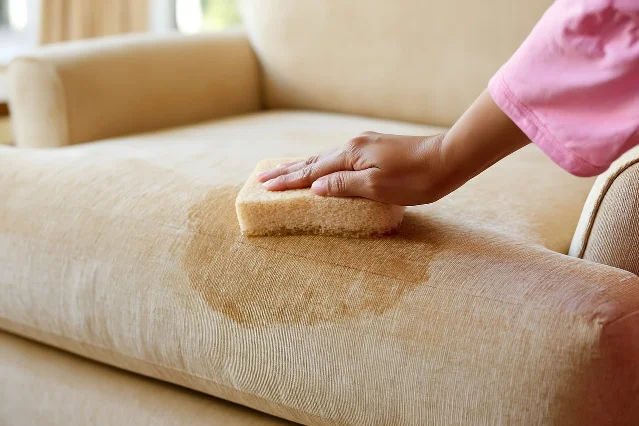
Why it works: While a spill is still wet, most of it is sitting on the surface of the yarn and comes away with the liquid — which is why the first minute is worth more than the first hour. Dabbing lifts the mark into the cloth you are holding; rubbing pushes pigment sideways into the fabric and smears the edges out into a bigger ring. 1
Avoid this mistake: Treating a garment you are not allowed to treat. Anything with a dry-clean-only label goes to a dry cleaner as it is, and you should point the stain out and say what caused it — home remedies on those fabrics are how a stain turns into a watermark or a hole. 1
2. Grease, oil and salad dressing: soap first, water after
Steps
- Keep the garment dry. Scrape off any solids and blot the excess oil with paper towel, but do not put water on it yet. 1
- Put a couple of drops of washing-up liquid straight onto the dry mark and work it in with your fingers. 2
- If you use a small brush, move it along the direction of the fabric's threads. On silk and other delicate fabric, dab instead of brushing. 2
- Leave the soap sitting on the mark for 15 minutes before it goes anywhere near water. That dwell time is what lets it break the oil down. 2
- Rinse, then wash at the warmest setting the care label allows, using a detergent that lists enzymes; lipase is the one that targets oils. 2
Why it works: Oil and water do not mix, so water on its own skates over the mark. Washing-up liquid is a surfactant that breaks the oil into droplets water can carry away, and the enzymes in a biological detergent do the same job chemically — which is why the soap has to sit on the fabric before it is rinsed, and why the rinse and the wash, not the first dab, are where warmth belongs. 2 One test that deliberately stained a white shirt with ketchup, mustard and vegetable oil found dish soap plus an ordinary wash and dry took out all three, leaving only the faintest tint from the mustard. 3
Avoid this mistake: Water first, and the online routine of WD-40 with baking soda and dish soap. A laundry expert's verdict on that method is that it trades one oil for another: the added oil may lift the original mark, or it may leave the garment oilier than it started and harder to save. 4
3. Protein: blood, egg, milk and anything bodily — cold water, then enzymes
Steps
- Hold the mark under cold running water as soon as you notice it, and flush out as much as you can. 5
- Rub a bar of soap into the wet mark, or put hydrogen peroxide on a cloth and blot it on. For a heavy mark, and only if the fabric is colourfast, apply the peroxide directly or soak the area in a small bowl of it. 5
- If the mark has already dried, presoak the garment in cold water with one or two teaspoons of liquid laundry detergent or an oxygen-based laundry soaker, for several hours or overnight. 5
- Rub in a pre-wash treater or a liquid detergent that lists enzymes, then wash in warm water with a bleach that is safe for that fabric. 5
- If a trace is left, repeat the presoak rather than the drying cycle. The garment does not go in the dryer until the mark is completely gone. 5
Why it works: Protein behaves like the white of an egg in a hot pan — heat makes it coagulate, and once it has set into the yarn it is held there by the same reaction. That is why a fresh mark can be flushed away cold and a dried one needs hours of enzyme action instead, and why the label matters: an enzyme liquid detergent is formulated specifically to remove protein stains. 5 Good Housekeeping's standing rule for protein stains such as milk and blood is blunt: sponge them with cold water. 1
Avoid this mistake: Heat, and the pantry substitutes people reach for first. A hot wash sets a blood mark, and once that has happened it may not come out at all. 5 Toothpaste can treat a mark but may stain the fabric or leave a smell and cannot be used on anything unwashable, and salt only absorbs what is still wet — it will not shift a set-in stain. 5 White vinegar is the other popular answer, and the Good Housekeeping Institute's former cleaning lab director has never found it particularly effective on blood; undiluted, it can break a fabric's fibres down over time. 5
4. Tannin: coffee, tea, wine, juice and berries — flush it cold, and put the salt down
Steps
- Blot up as much as possible with white paper towel or a clean cloth. 6
- Flush or sponge the area with cold water carrying a few drops of white vinegar, then blot again. 6
- If it happens away from home, sparkling water buys you time. Pour or spray it on the mark straight away and blot, repeating until the worst of it is gone; the bubbles and the slight acidity both help break the mark down. 7
- At home, presoak in an oxygen-based, colour-safe bleaching product for as long as its instructions allow. Washing soda in a strong solution is the option for anyone avoiding bleach, and it works on the same stains. 6
- Then machine-wash with a biological detergent at as high a temperature as the fabric allows. 6
- Berries only, and only on sturdy colourfast cotton: boil a kettle, turn the garment inside out, stretch the mark over a bowl and pour the boiling water through it from above, then dry the piece in sunlight. 8
Why it works: Coffee, tea, wine, juice, perfume and grass all carry tannin or food pigment, and those are water-soluble until heat or an alkali fixes them — which is why speed beats strength here and a flush beats a scrub. 6 The berry exception works from the back: turned inside out and held taut, the fabric lets the boiling water push the juice out of the cloth instead of driving it deeper in. 8
Avoid this mistake: Salt. Pouring it on a red wine stain is a myth that does damage — salt and ordinary bar soap can fix a tannin stain permanently. 6 Keep the kettle away from wool, silk and anything with stretch in it, too: the boiling-water flush belongs to sturdy cotton, and delicate fabric gets the cold flush and a detergent made for delicates instead. 1
5. Deodorant and sweat: a white mark outside, a yellow ring inside
Steps
- For the white streaks on the outside of a shirt, rub the area with a dry, clean cloth. A damp cloth shifts the tougher ones, though go gently on delicate fabric, and a baby wipe does the job if you are out of the house. 9
- Before washing anything, rinse the underarm area with cool water, so the heat of the wash cannot fix the antiperspirant in place. Doing that every time also stops the yellowing from building up. 9
- For yellowed underarms, work liquid detergent or an enzyme-based stain remover into the fabric with your fingers or a soft brush, and let it sit as the product's own instructions say. 10
- For older marks, submerge the garment in warm water with a few tablespoons of detergent for 30 to 60 minutes before the wash. 10
- Wash at the hottest temperature the care label allows, and check the garment before it goes near the dryer. 10
Why it works: The yellow is not sweat — sweat itself is generally colourless. Those marks are what happens when the proteins, oils and salts in sweat react with deodorant residue over time, and once that build-up has bonded to the fabric an ordinary wash leaves it behind. Enzymes break down the protein and the oils, which is why the pretreat and the soak do the work. 10 The white streaks are simply antiperspirant transferred to the cloth, and they wash out readily when they are dealt with quickly. 9
Avoid this mistake: Skipping the cool rinse, because the machine's heat is exactly what fixes antiperspirant chemicals to the cloth and turns a temporary mark into a permanent one. 9 Then comes the second habit: drying or ironing a garment you have not checked. Heat locks in whatever discolouration is left. 10
6. Ink and pen marks: alcohol, dabbed, never rubbed
Steps
- Lay the stained area face down on clean paper towels, so the ink has somewhere to go. 11
- For a small mark, use an eyedropper to apply rubbing alcohol. For a larger one, pour the alcohol into a small dish, immerse the stained area and soak it for 15 minutes. 11
- Blot with clean paper towel, and keep sponging and blotting until no further ink comes out of the fabric. 11
- If the ink will not shift, rinse it under cold water, then soak the garment in hot water with a bleach-free liquid detergent and a few splashes of ammonia for 30 minutes to an hour, or overnight with an occasional rub, and wash as usual. 11
- For a fresh mark, dampen a cloth or cotton pad with acetone-based nail polish remover and blot gently until the ink begins to lift. 11
- Rinse, apply a pre-wash stain remover, and wash at the hottest setting the fabric can take, with a bleach that is safe for the colour. 11
Why it works: Ballpoint ink is an oil-based pigment, so soap and cold water are the wrong tools for it. Alcohol dissolves the pigment so that it can be blotted into the paper underneath, and ammonia breaks the dye down so water can rinse it away. 11
Avoid this mistake: Rubbing, which spreads ink instead of lifting it, and two safety boundaries that come with the chemicals. Acetone is a powerful solvent: put a few drops on a cloth and blot, and never pour it over a garment or submerge one in it. Rubbing alcohol is flammable, so keep it away from open flames and launder the garment thoroughly afterwards. 11 There is also one popular method worth dropping: hairspray earned its reputation on ink because of the alcohol in it, but today's sprays contain far less and leave a sticky residue behind. 11
7. No heat until the mark is gone, and the point where you hand it over
Steps
- After treating, look at the garment in daylight while it is still damp. If any mark remains, repeat the treatment before it dries, not after. 10
- Air-dry the first round rather than tumble-drying it. Heat sets whatever is left. 10
- If the mark has already been washed and dried, do the long soak: dissolve a generous scoop of a powdered oxygen-bleach stain remover in enough hot water to submerge the garment, leave it from an hour up to overnight, press the water out rather than wringing it, then launder as usual. Those oxygen formulas are safe on colours, and you should start with hot water only if the fabric tolerates it. 12
- If the care label says dry-clean only, stop and take it in — and point the stain out, saying what caused it. 1
- On silk and wool, use only stain removers and detergents designed for delicates. 1
Why it works: Heat is what turns a stain into a permanent one, which is why the same shirt can be saved on the Friday and lost on the Saturday — a mark that has been through a hot wash and a hot dryer has had the setting reaction applied to it deliberately. 10 Knowing which family a mark belongs to is also what lets a professional pick the right solvent: a dry cleaner told that the spill was oil, tannin or protein is not guessing. 1
Avoid this mistake: Drying a garment just to see whether the mark is still there. Check it damp and in daylight, and treat it again first. 10 The other habit to drop is treating a dry-clean-only fabric at home. 1
Four pairings carry most of this list. Protein goes cold, then enzymes. Grease gets soap while the fabric is still dry. Tannin gets a cold flush and never salt. Ink gets alcohol with a paper towel underneath it.
One habit is worth dropping while you are here. Mixing baking soda and vinegar into a paste does not combine two cleaners: the two neutralise each other and leave salty water behind, so the fizz is about all the mixture reliably produces, and the scrubbing is what was doing the work. 13
The limit is worth knowing before you spend an evening on a shirt. A mark that has already been through a wash and a dryer is the hardest case rather than necessarily a lost one — a long oxygen soak is what to try next 12 — and a label that says dry-clean only was telling you at the till that this particular job is not a home job. 1
References
- 110 golden rules of stain removal
goodhousekeeping.com
- 2
- 3
- 4
- 5Cleaning Experts Explain How to Remove Blood Stains from Clothes
goodhousekeeping.com
- 6How to remove pigment and tanin-based stains
goodhousekeeping.com
- 78 surprisingly easy hacks for removing stains on the go
goodhousekeeping.com
- 8
- 9How to remove antiperspirant deodorant stains
goodhousekeeping.com
- 10Laundry Experts Say This Detergent Works Best on Sweat Stains
goodhousekeeping.com
- 11How to Remove Ink Stains From Clothes, per Experts
goodhousekeeping.com
- 12How to Remove Set-In Stains From Your Kid's Clothes
lifehacker.com
- 13Can You Wash E. coli Off Lettuce?
lifehacker.com
This story was produced automatically by a channel. One sentence is all it takes for Neodrop to keep producing for you.