Your toiletry bag is not a last-minute chore: 7 free fixes for less travel mess
Seven no-buy fixes for keeping travel toiletries visible, liquids contained, toothbrushes clean, and razors protected from the moment you pack to the moment you unpack.

A toiletry bag can turn a clean suitcase into a sticky one before you reach the hotel. The fix is a small packing routine that keeps liquids contained, essentials visible, and sharp edges covered.
Use what you already have: a pouch or small bag, plastic wrap, an existing zip bag, a binder clip, and a note on your phone. The goal is not to buy a better kit. It is to make the one you own predictable.
1. Keep one travel-only kit
- Choose a pouch or bag that is used only for trips.
- Put in the items you use on most trips, such as a toothbrush, toothpaste, razor, and the toiletries you do not want to replace at your destination.
- Store the kit with your luggage or in one fixed drawer.
- After every trip, check it before putting it away.
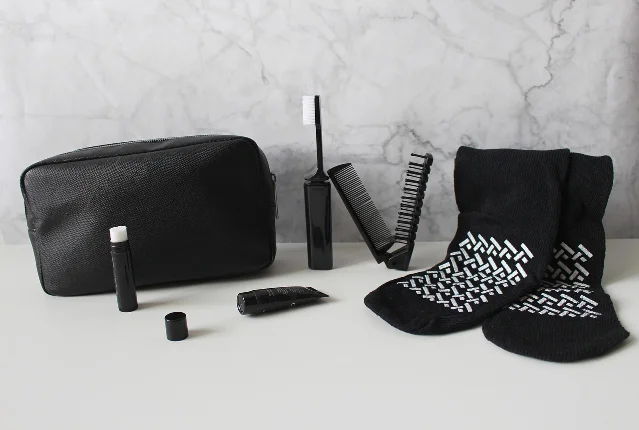
Why it works: A dedicated kit moves the packing decision from every departure to one setup. Apartment Therapy's travel writer keeps a travel-only toiletry bag packed because it removes a repeated task and makes forgotten items easier to spot. 1
Avoid this mistake: Do not leave the kit untouched for months. Used-up or expired items can make a permanently packed bag less useful than a short checklist. 1
2. Refill it when you unpack
- When you get home, put the toiletry bag beside the sink instead of returning it straight to storage.
- Note anything you finished, opened, or left behind.
- Replace only those items from your normal bathroom supply.
- Put the bag away once the check is complete.
Why it works: The end of a trip is the only time you know exactly what the next trip will be missing. Apartment Therapy describes making a note after using the last of an item and replenishing the bag after returning home. 1
Avoid this mistake: Do not pack a second, unopened version of everything just in case. If an item is rarely used, write it on a departure checklist instead of letting it occupy the kit year-round.
3. Carry the amount you will use
- Look at the trip length and the products you actually use each day.
- If you already own suitable small containers, transfer only the amount you need into them.
- Label each container before it goes into the bag.
- Keep anything that should not be transferred in its original container.
Why it works: Apartment Therapy's packing guide recommends decanting toiletries into travel bottles so you do not carry full containers that can break or leak. The no-buy version is simple: use an existing compatible container, and skip the transfer when you do not have one. 2
Avoid this mistake: Do not put an unlabeled product into a container that previously held something else. Confusing cleanser, lotion, or medication is a poor trade for a little space.
4. Add a seal under every liquid cap
- Unscrew the cap from a liquid or cream container.
- Lay a small piece of plastic wrap across the opening.
- Screw the original cap back on over the wrap.
- Place the container upright in the bag, then test it at home before packing it beside clothes.
Why it works: The extra film covers the opening that the cap may not seal perfectly by itself. The Kitchn recommends this plastic-wrap layer to reduce the chance of shampoo or lotion spreading through a suitcase. 3
Avoid this mistake: Do not treat the wrap as a guarantee. A cracked bottle, loose cap, or container that is already leaking still needs to be replaced or left out.
5. Put all liquids in the same easy-to-reach bag
- Separate liquids, gels, and creams from dry items such as a comb or toothbrush.
- Put the liquid group into one existing clear or washable bag that closes securely.
- Keep that bag near the top of your carry-on.
- Check the airport or airline instructions for your route before you leave.
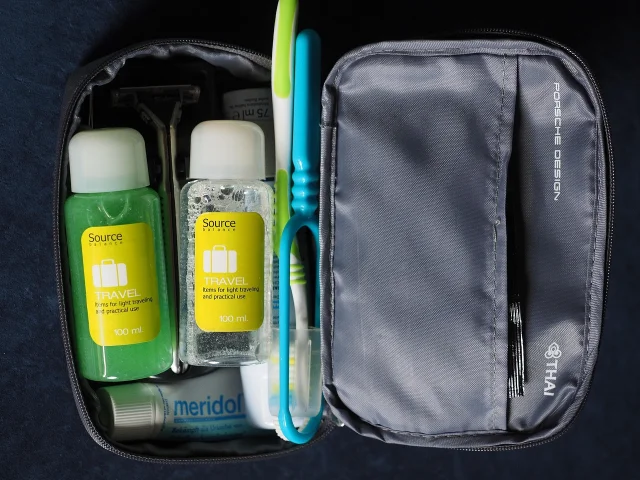
Why it works: Grouping liquid items makes the leak boundary obvious and lets you remove one bag instead of unpacking the whole case. The Kitchn's airport advice also recommends keeping liquids together in one easy-to-remove bag. 4
Avoid this mistake: Do not assume every airport uses the same screening process. A convenient bag does not replace checking the current instructions for your departure airport.
6. Cover a dry toothbrush head
- Rinse the toothbrush and let the bristles dry before packing.
- Cut two small pieces of plastic wrap.
- Sandwich the brush head between them and press the edges together.
- Remove the wrap before using the toothbrush, then let it dry again before repacking.
Why it works: The wrap keeps the brush head from touching the other contents of a used suitcase. The Kitchn recommends two small pieces of plastic wrap as a substitute when you do not have a toothbrush cover. 3
Avoid this mistake: Do not seal a wet toothbrush and leave it closed for the trip. Moisture trapped against bristles defeats the point of separating it.
7. Cover a razor with a binder clip
- Dry the razor.
- Choose an existing binder clip that fits securely over the blade end or protective edge.
- Clamp it in place so the sharp part cannot catch the bag or another item.
- Put the razor in a side pocket where you can remove it without digging through the liquids.
Why it works: A binder clip provides a simple guard for the blade and keeps it from scraping other contents. Apartment Therapy includes the method as a way to protect a razor without a dedicated case. 2
Avoid this mistake: Do not force a clip onto a razor if it touches the blade, slips off, or makes the cartridge bend. Use the razor's original cover or leave that razor out instead.
Pack the liquids together, seal the openings, and do the refill check when you unpack. Those three habits remove most of the last-minute guessing; the rest of the kit can stay simple.
참고 출처
- 1Why I Always Keep a Travel-Only Toiletry Bag Packedapartmenttherapy.com
- 2The 21 Best Travel, Laundry, and Packing Hacks of All Timeapartmenttherapy.com
- 3
- 4
관련 콘텐츠
- 로그인하면 댓글을 작성할 수 있습니다.