
github.com
hako-mikan/sd-webui-lora-block-weight — GitHub
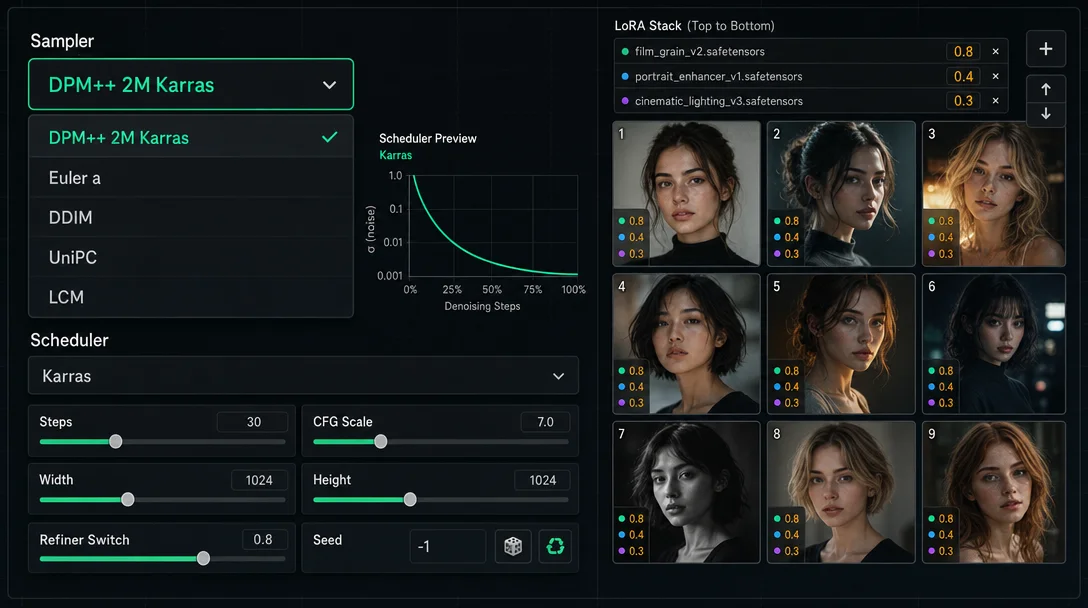
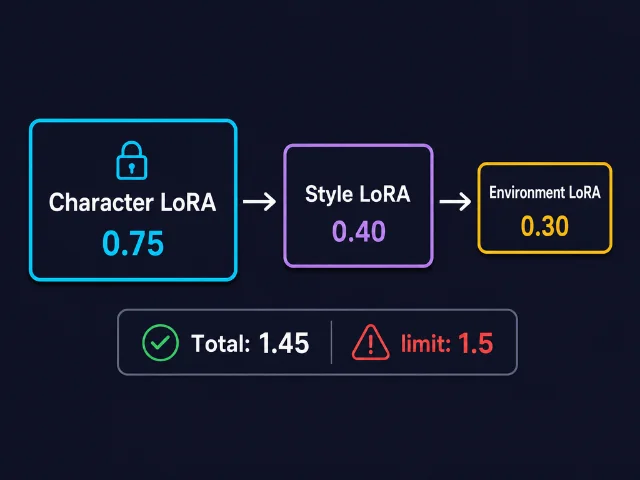
A1111 extension for per-layer LoRA weight control. Presets include OUTD (output layers only, for face preservation), MIDD (middle layers, for style isolation), and INALL. Covers SDXL and SD 1.5.
이 콘텐츠를 둘러싼 관점이나 맥락을 계속 보강해 보세요.